If you want to ask me any questions, you can reach me at [email protected].
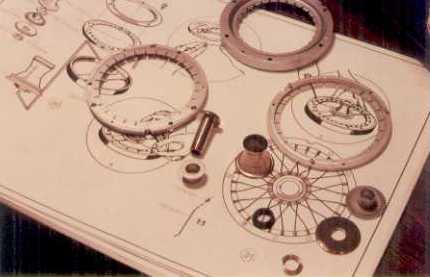
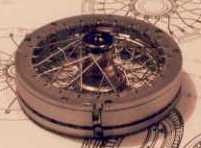
The "Saga" continues now with what we've all been waiting for; tackling the "weird wire wheels" as the Boyd supplement says. In order to adjust the brakes, you need to install the brake drums and to do that, you need to have the wheels in place. With that, here go my adventures with the wheels. I started by assembling one wheel. Here go some of the main pieces (save the spokes and nipples).
Since this kit has five wheels, there are five castings of the wheel parts which include five jigs. Go through all five jigs and look for which one has the straightest post in the center. A straight jig will end up with a wheel with no wobble. Also, be sure to clean up each groove in the hub pieces where the spokes will go, this will help with the insertion of the spokes during the assembly. First the hub is assembled then placed into the jig with the first plastic ring. After the first set of spokes and nipples are attached you have this.
So far so good. Except for the occasional tight fit of the spoke into the hole in the hub, it was easy going. When I was confronted with a fit that was too tight, I used a sewing pin and enlarged the hole just enough to allow the spoke to be inserted. Be sure you grasp the spokes FIRMLY in the needle nose pliers and hold them deep in the jaw, not at the very tip. About a half-inch in should do. Keeping the spoke near the tip could get one lost. I had one near the tip and was working it into a stubborn hole when it slipped and I heard a "snap," next thing you know, the spoke goes flying across the room. Fortunately, I found it (not to mention that there were a few extras left over when I was done). I needed tweezers to put the nipples on the ends of the spokes, damn, they're small. Next was the first inside metal ring held in place by the second plastic ring. Putting the spokes on the second plastic ring was a bit more of a challenge. The Boyd supplement recommended putting the odd numbered spokes in first then the even ones. That seemed to work better than what Pocher instructed. The hard part was getting the second inside metal ring in place; the spokes didn't want to stay in their slots. I ended up putting the metal ring in place anyway making sure the raised edge of the end of the spoke nipples are behind the lip of the inner edge of the metal ring. Then I placed the third plastic ring in position, tightened the third plastic ring down just a little and slid the spokes into place as I tightened the third plastic ring down a little at a time.
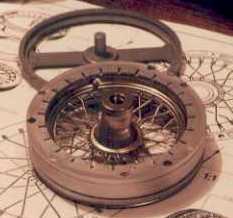
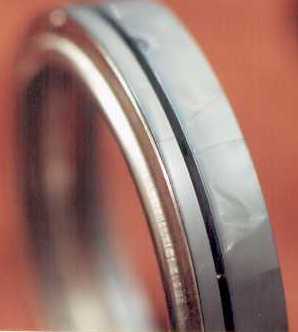
The third and final row of spokes was probably the easiest. The resulting "sandwich" was not something I was going to be happy with. Just look for yourself.
There was a huge gap between the first and second plastic rings that made the assembly too wide for the tire to fit right. I set that aside for the moment and started another wheel. This time, I laid out all the parts (save the spokes and nipples) and test fit the rings.
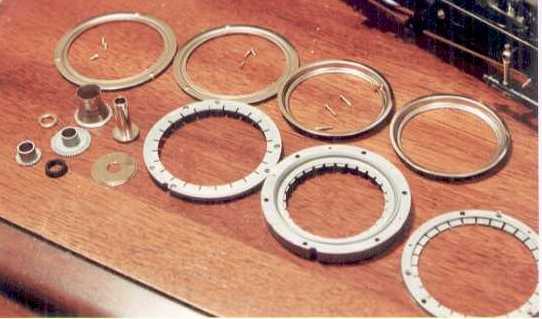
The first problem was with the middle (second or thickest plastic) ring. One of the holes needed to be drilled out. If you look at the holes, there are twelve. Six go clean through, three are (or in this case, should be) partially recessed, and three are small.
This hole is the one that needed to be reworked a bit to be partially recessed.
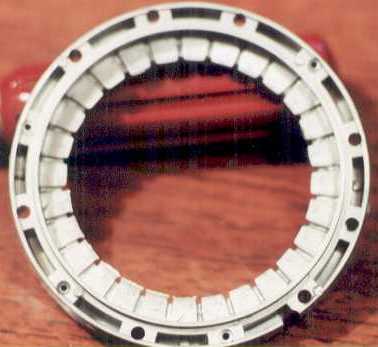
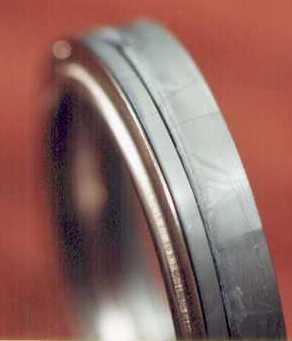
Once that was done, I assembled the rings together, save the nipples and spokes. Here's the gap that needed to be dealt with.
The inner surface on the second plastic ring where the first inside metal ring makes contact was resurfaced and reworked until the gap was gone (say goodbye to one evening of your life per wheel). Also, the screws needed to be shortened just a bit, otherwise, they would be pushing the outer metal ring away from the outer plastic ring.
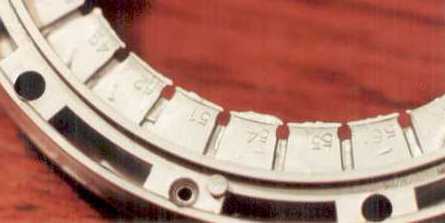
With the rest of the "sandwich" assembled, I figured I would trim the ends of the plastic "tongues" (for lack of a better word) between the slits for the spoke nipples that are on the second (or middle) plastic ring. This was done because when the spokes and nipples are in place and the rings are tightened down, the "tongues" prevented the nipples from being held firmly in place. Actually, they prevented the nipples from seating deep enough in the plastic ring in order for the metal ring to grab onto the raised edge of the nipple.
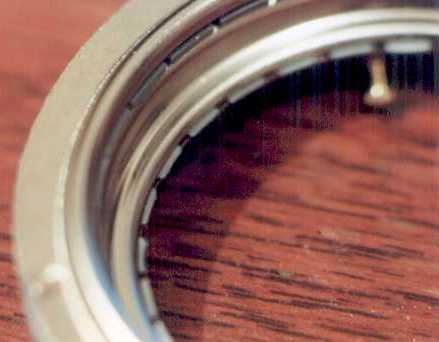
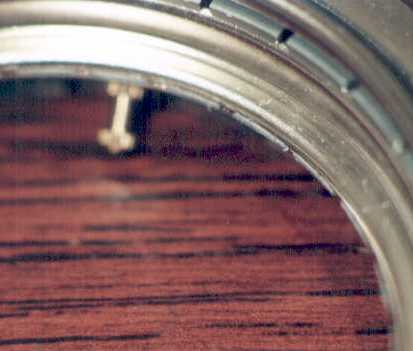
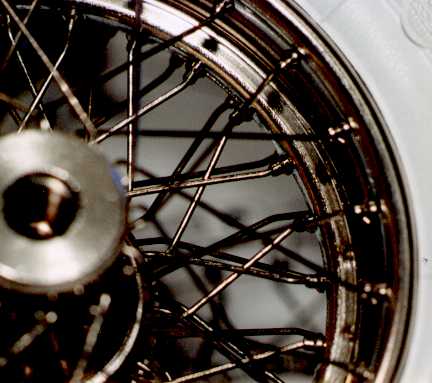
The rest of the wheels were assembled without any further issues but having to rework the surfaces for each of the five wheels was a tedious drag. That's right, I reworked all five wheels, meaning, I disassembled the first wheel (spokes and all) and reworked it too. Putting on the tires presented another challenge. They were a little firm but not too firm to hinder mounting. The problem I did run into was getting the tire bead to stay put in the inner rib of the outer metal rings. Three of the tires stayed in place fine, one was only problematic on the inside (the side facing the car) of the wheel but the fifth one was a problem on both sides. Thanks to Craig, I got a couple of wheels from an old kit that had been poorly assembled and used the outer rings from those with great success, not to mention having extra spokes and nipples and other parts I got from him, he sure is a life saver. The next photo shows how the spoke nipples are held in place in the center ring after the modification. Definitely more secure and sturdy.
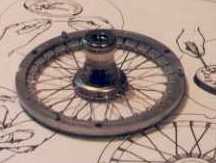
And here goes a complete wheel and tire assembly.
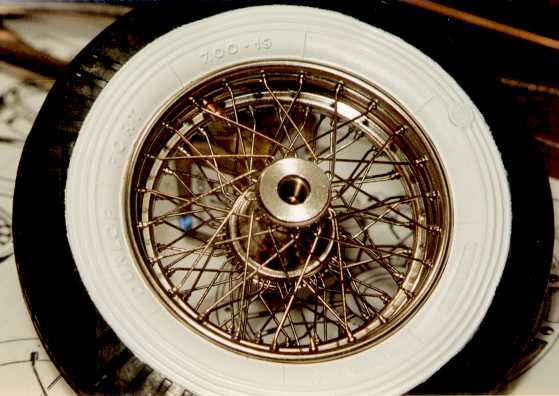
Add the hub and it actually looks kinda cool.