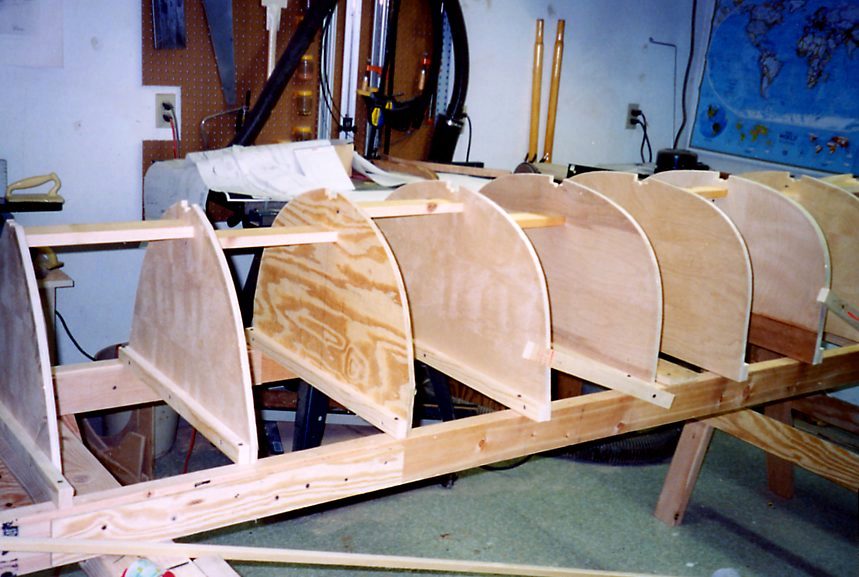
I went crazy and used birch ply for the molds since my eyes just can�t follow pencil marks on chipboard, and void-free plywood holds a nail or screw very well.
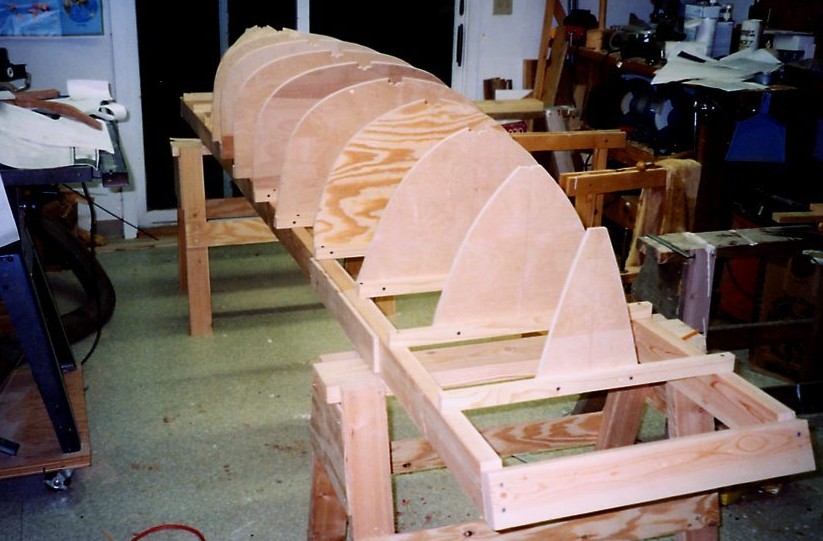
I marked out the molds by punching holes through the patterns with an awl, then marking off with a batten. I bought the plans from WoodenBoat, and the baseline had all but disappeared in the copies they sent me. I measured and measured, but was still terrified that I�d get the molds set up and the front ones would be exactly a half-inch higher or lower than the back. It worked out fine. In fact Oughtred�s plans are so good that I ran battens all over the molds when set up and simply couldn�t find anything to fuss with. I actually worried that I�d done something wrong until I laid the first planking stock on and it hit every mold tighter than Madonna kissed Britney.
I didn�t feel with a boat this light that it was necessary to laminate the stems, but I didn�t have any stock thick enough. So I made an epoxy sandwich of two boards and planed them down, with the joint in the middle (which you can�t see on the finished boat) achieving a strong, warp-fee assembly without the glue-mess of laminating six or seven pieces.