GSX250FAcross
Maintenance tips & forum archives

   Site online 21 Jan 2002Made in Sydney, Australia


Tip #4 
using quiksteel
(new tip below; rear swingarm spacer/gauge mod)

This page is set out for 1024 x 768 viewing.

I am in no way related to the sellers of quiksteel & have no commercial interest in it.
It's just that I have been waiting for ages for something like this
and it proved to be a simple & useful mod for a part of my across.

This stuff comes in a putty like form & you just knead it for a while then stick it on to wherever you want to be. It is sticky like epoxy and very strong. Just make sure to wash it off your hands before it sets, which is very quick (around 5 minutes after mixing it starts getting really hard). It can then be painted, sanded, drilled... whatever. The best thing is that it resists about 240 degrees temperature. I obtained a small tube from K-Mart for less than 15 bucks.

Unfortunately, the previous owner of my bike thought it would be good to entertain the mates between VB stubbies with a nice party trick, which involved sanding down parts of the top of the bike using the road surface. When I bought my bike there was a nice cleanly shaven corner right off the top of the front brake reservoir. Here's how my reservoir looked after applying quiksteel and sanding back. It hasn't been painted yet.


One useful application for quicksteel would be to put it between the
rear wheel axle spacers that grab around the swingarm, that
show you where the rear wheel is in relation to the swingarm.

Thank you, yes it is a work of art.
Stick a bit of quiksteel in the space illustrated, and then once it is dry file it down just enough so that it
neatly fits onto the swingarm. This will take away the play that exists in the stock spacer.
This is often necessary because play in the stock spacer makes for a completely crap / innacurate reading
of where your rear wheel is when you are trying to line it up evenly.


Here's some good repair tips copied from the Yahoo forum, mentioning quiksteel;


Message: 1
   Date: Fri, 08 Nov 2002 07:54:18 -0000
   From: "spanish_stallion2002" <[email protected]>
Subject: Repair Tips

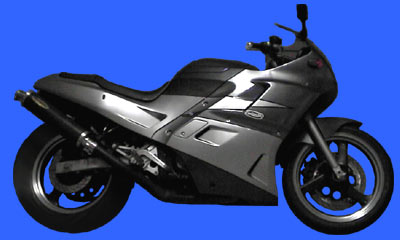
I recently had an encounter between my Across and a mini. About 
40km/h into the side of a f^#^wit who pulled out "didn't see me". 
Across impacted on the front left hand side. Able to walk away from 
the accident so I am happy. Estimated repair cost was about $1600 for 
a new front fairing, inner trim, new mirror, x2 new indicators, new 
clutch lever, new LHS engine bracket and new foot-peg bracket and 
gear lever. Manaqged to get the guy to pay me $1200 cash as he wasn't 
insured. Good thing was I managhed to repair the bike myself for less 
than $100! Here's how:

1. Fairing crack + Inner Trim - Got some epoxy from local car shop 
for $7. Put in crack, used a strap-tie down to keep it still for 48 
hours and now is unbreakable! Bit of touch up paint and can barely 
see the crack.

2. Engine Cover - thank you whoever discovered quicksteel. Filled in 
all the deep gouges and a oil leaking crack, sanded back and spray 
painted - good as new, can't see the repair at all.

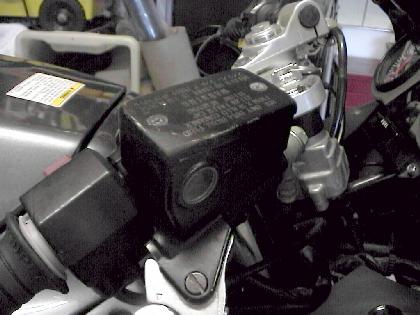
3. Mirror and Indicators - Sanded back the gouges and with some 
Armour All good as new. Also you can just swap L + R and the 
scratches end up being on the bottom side.

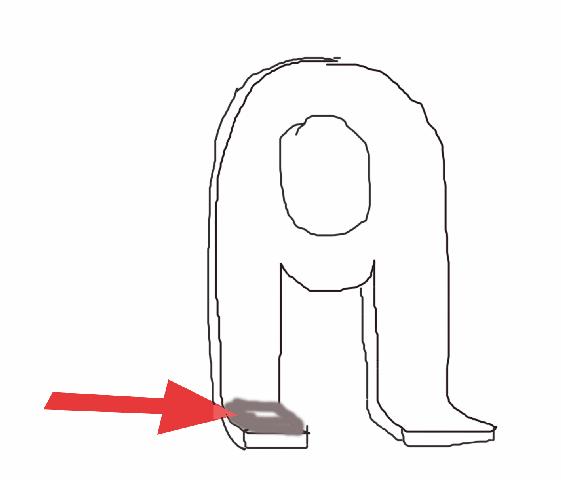
4. Gear Lever + Bracket - Found this stuff called JB Weld form K-
Mart. $17 a tube. Put it on, let it dry for 24hours and all fixed. 
This stuff boasts being as strong as a weld, and I am able to jump 
onto the Footbeg, and the crack holds. Lever bent easy after 30 
seconds heating on the barbie!

Hope this helps someone else out who wants to save a few bucks after 
a prang.

Cheers

Pedro


return to Across 250 home page
back to home page


Hosted by www.Geocities.ws

1