
Christmas Ornaments - Christmas Lights
 |
 |
 |
 |
 |
 |
 |
 |
 |
 |
 |
 |
 |
 |
 |
 |
|
It cannot be used with raster objects or on the background layer or a selection of the background layer
|
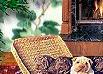
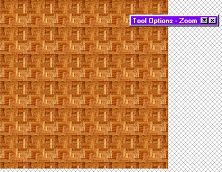
2. Flood fill this layer with a pattern or solid
color of your choice, these will became the floor.
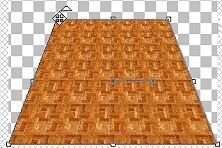
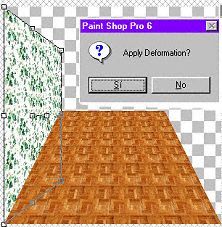
3) Click on the deformation tool![]() .
.
|
If you dont agree with the deformation, cancel and begin again.
|
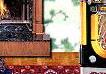
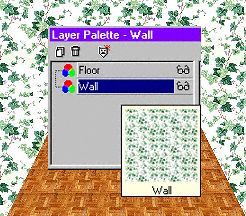
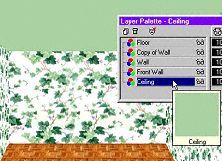
4. Add a new layer under the floor for
the walls, again flood fill with a color or texture.
|
Repeat step 3 until you agree with the future wall.
|
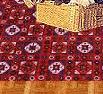
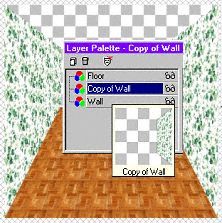
5. Duplicate the wall layer and select Image/Mirror,
you have to take care for to place the wall with the floor.
|
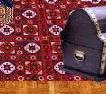
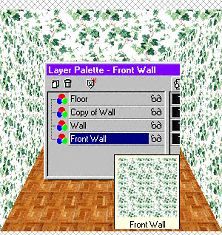
6. Add a new layer under the the wall, and
rename "front wall", apply again deformation tool, until these wall meets
the floor and the others walls.
|
TIP: If your pattern not tile, apply the "clone
brush tool" for to adjust.
|
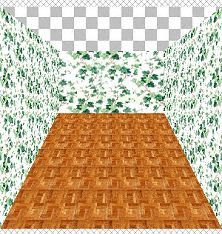
7. Again create a new layer for the ceiling, flood
fill with the color of your choice, and apply deformation tool, making
sure the corners match perfectly.
|
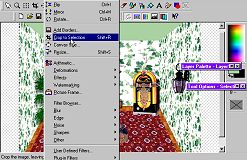
8. If you agree with your room, select Layers/Merge/Merge
Visible, and begin to decorate the room, for each objet add a new layer. When
you are ready, select to desirable size and Image/Crop to selection.
For each objet you can apply drop shadow, and adjust brightness/contrast.
Thanks Tubes by Deanna
|
|
|
None of these graphics may be duplicated, copied, uploaded to another server or linked to