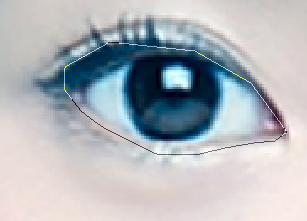
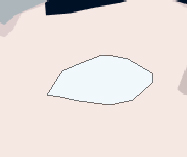
When your working w/ the white of the eye.. sometimes it shouldn't always be white. maybe an off white, or in this case (which i didn't do) a light light light light blue.
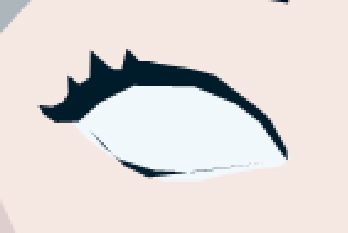
Now your going to want to outline the eye, usually i just use black.. but in this case i'll use dark blue for the upper lid (eyelashes-ish). I also throw in a little dark line on the lower lid to really define the eye. So you should get something along the lines of ....
Don't worry about the white that is over
the edge, you can easily fix that when
your touching up the odds and ends
of your vector.
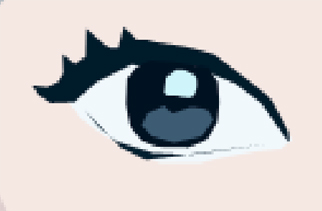
After this, i add the ball in the middle w/ the colors. (forgive me that i didn't listen while i was learning the parts of the eye in school) I usually choose the darkest color to make the full circle and fill it in accordingly to the lighter colors on the inside. I ALWAYS make sure i have the little reflective balls of light in there, since those add realism to your vector. So in this images case, most of the eye is very dark, the lower part of it is a medium shade of grey and then of course the white reflection. If you've only used those 3 colors as i have.. you should end up with.... (left below) but now your probably |