 |
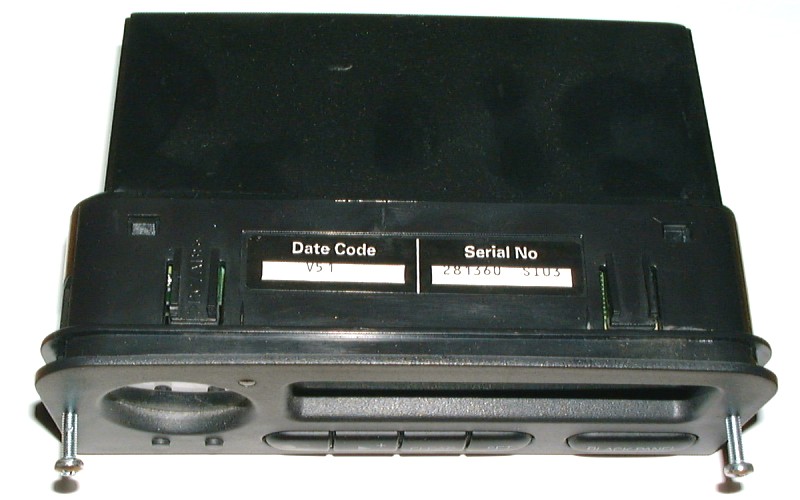
Enclosure
A SID-3 after removal. The plastic case is held in the dash by
four snaps, two on the top of the case, and two on the bottom (click
picture for more detail). M4 screws were used to pull the SID out
of the dash. |
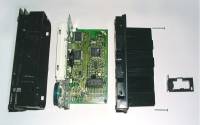 |
Disassembly
Two metal screws and one L-shaped bracket (shown on the right) at the
cable connector must be removed. The front and back of the plastic
case are held together with small plastic tabs that can be released by
pressing down, then the case can be opened and the circuit boards can be
slid out. |
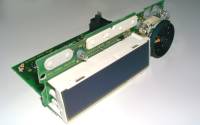 |
LCD
Front of the unit (upside down), showing the LCD mounted in a white
plastic frame and the analog clock. |
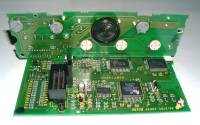 |
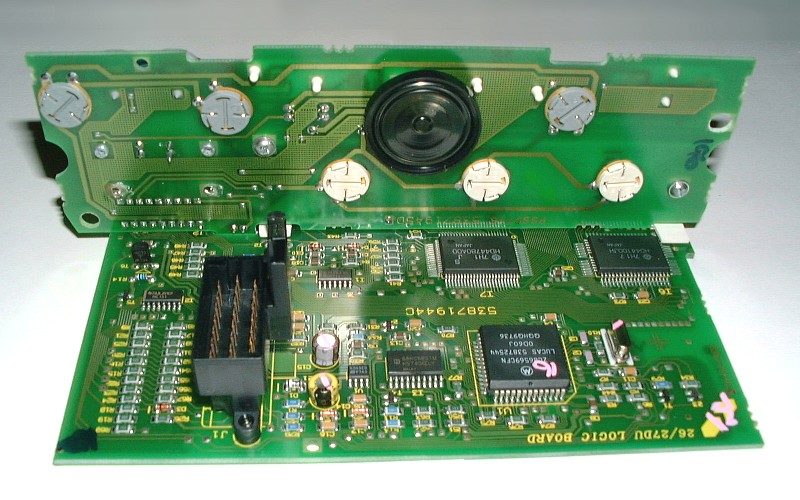
Circuit
Boards
Back of the unit (still upside down), showing the two circuit boards
and the cable connector. The round black object is a piezoelectric
buzzer. |
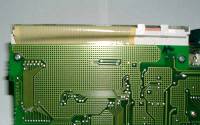 |
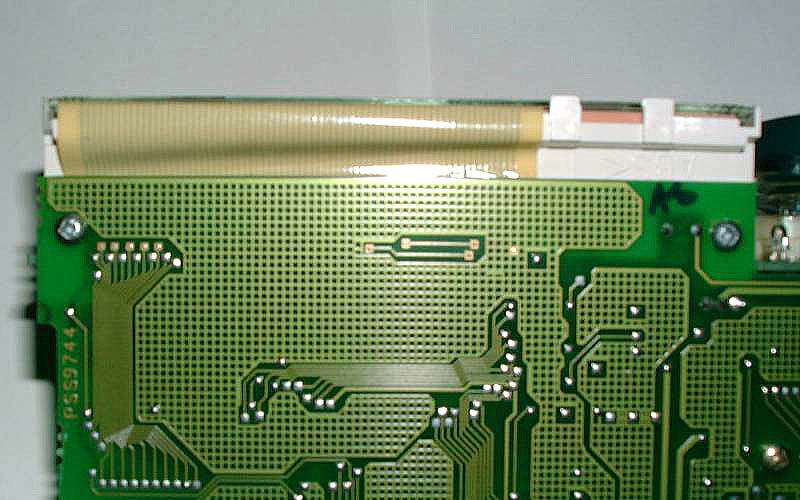
Ribbon
Cable
The liquid crystal display (LCD) is attached by a flat ribbon cable
soldered to the main circuit board. One approach to fixing the missing
pixels by repairing the ribbon cable is described here: Saab
LCD Fix, others are documented on the Saab Central and Saab Net
message boards. |
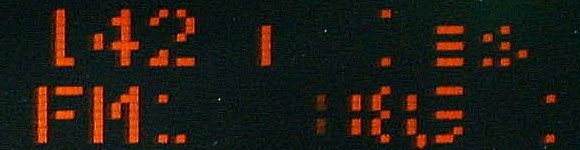 The SAAB Information
Display (SID) with "missing" pixels. The problem gets worse over
time until the display becomes unreadable. The cause is broken
and intermittent cable connections between the display and a circuit board.
Some displays can be restored by applying pressure to the cable using a
rubber band or by resoldering the connections, others have to be replaced.
To get access to the ribbon cable, the display has to be removed from the
dash and disassembled.
The SAAB Information
Display (SID) with "missing" pixels. The problem gets worse over
time until the display becomes unreadable. The cause is broken
and intermittent cable connections between the display and a circuit board.
Some displays can be restored by applying pressure to the cable using a
rubber band or by resoldering the connections, others have to be replaced.
To get access to the ribbon cable, the display has to be removed from the
dash and disassembled.