Tools you will need
Saw (only if you cut the
lumber yourself)
Electric drill and bits
7/16 socket fitted to drill (to fit bolt heads; optional but easier than a
ratchet)
Ratchet or open end wrench to finish tightening the bolts
Knife to cut Styrofoam
Calking gun
Hammer
Parts required
1
2x6, 12′ - pressure treated (if you want it to last)
1
2′ x 4′ plastic peg board with holes (available at Lowes)
8
hex head lag bolts – 4″ long
14 sq. ft. Styrofoam - ¼″ to ¾″ thick
1 tube panel adhesive
1
soil heating cable with thermostat
(I used Charley’s Greenhouse model
8052 – 26′)
1
piece of hardware cloth or other metal mesh - 2′ x 4′
30
short galvanized roofing nails (about ¾″)
lot
large twist-em's
15 pounds sand
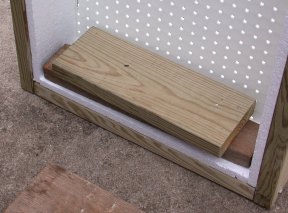
Step
1
Build the box frame
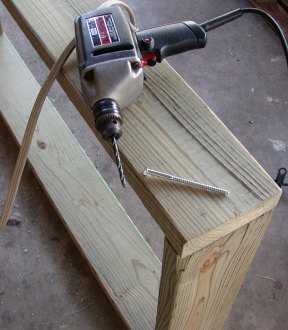
Cut the 2x6 into four pieces, two four feet long and two 21″ long. Set up
the box on a level surface, with the two 21″ pieces inside the ends of the
two four foot pieces. This will insure a flat finished box. Drill two holes
(approx ¼″ diameter) ¾″ from the end of each
four foot piece 1½″ from the top and bottom. This will roughly
center the holes. Drill about ½″ into the end of the smaller pieces. When
done, fit drill with a smaller pilot sized bit (a little smaller in diameter
than the screw) and drill 2½″ holes into the ends where the original
holes were started.
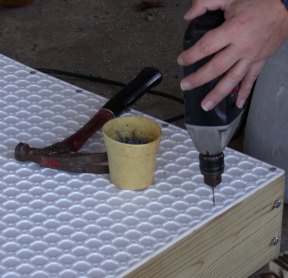
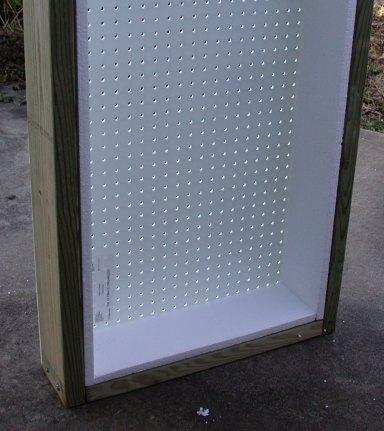
Fit
your drill with a hex socket if available and screw in each of the bolts. Since
your box may not be perfectly square, don’t go quite in all the way. Put the
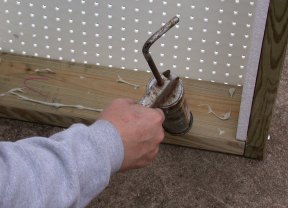
box flat on the floor and fit the “Peg Master” plastic pegboard on
top. Square up with the box. Drill small pilot holes in every fourth pegboard
hole on the outside edge. Hammer in the roofing nails. Finish the bolts with a
socket if necessary.


Step
2
Line with insulation
Cut the Styrofoam into pieces fitting the sides first. This will allow water to
drain out the bottom without keeping the wood wet. Secure the Styrofoam to the
wood and plastic using the paneling adhesive. This is not critical since gravity
will keep the bottom in place and the soil mix will tend to keep the sides in
place. Once dry, cut a series of small holes from the bottom through the holes
in the plastic through the Styrofoam. This provides drainage. Go slowly so you
don’t blow out the Styrofoam when you come out the other side (the top).
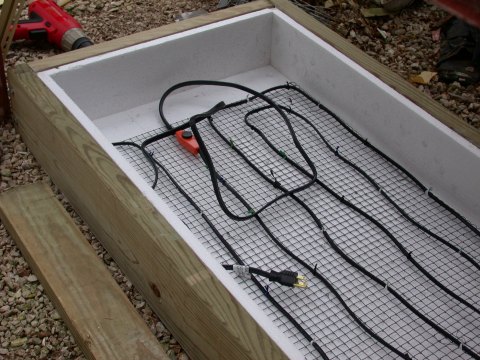
Step
3
Prepare the heating cable
Trim the metal mesh to allow about 1″ inside the Styrofoam. The exact size
will depend on the thickness of the Styrofoam that you use. Lay out the heating
cable in a serpentine pattern on the mesh maintaining a reasonably constant
distance between wires. The cord can exit through the box side or simply come
out the top any side. Just be sure that the heating part of the cable and the
thermostat remain on the mesh. Using “twist-em’s”, fasten the heating
cable to the mesh. Don’t install just yet. The purpose of the mesh is to
maintain cable spacing and to protect the cable (especially when removing well
rooted cuttings), and the box will use less energy and stay nice and warm
Step
4
Level the ground and put the box in place
Since things are getting heavy, now prepare the location for the box. It should
be relatively level. The box can sit on the ground or be placed on a series of
2x2″ or 3x4″ planks (think bed slats). The only concern is that the
plastic needs to be supported at several places in the middle since the moist
mix will be fairly heavy. If the box sits right on the ground the galvanized
nails will eventually rust (but not for quite a while).
Step
5
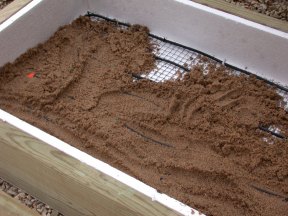
Install cable and filling
Lay
in about ½″ of sand on the bottom. Press in the wire mesh with the
attached heating cable on the bottom side if the thermostat will allow. Mine was
too large and I put the cable on top. Just don't leave pups in too long or the
roots will envelope the mesh and cable!. Fill with your favorite propagating
mix. You can add a “Quonset hut” style roof of clear plastic on fiberglass
rod hoops to maintain humidity.
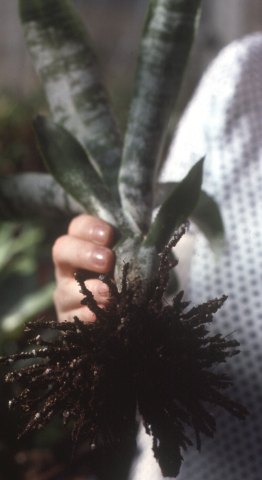
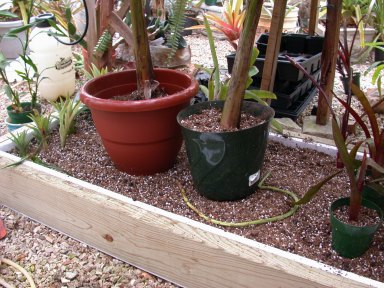
Now plug in the cable (your
greenhouse should have a GFI protected circuit), take some pups or start some
seed, and watch them go! (Yes, those are bananas!)
Back