| Home | Stone | Wood | Tiles | Paintings | Thief-Based | Others | Tutorials | Tools |

- Tutorial: NVDoor01 -
I will now explain how I created the texture NVDoor01 (which you can download here).
The very first thing I did was to find a nice-looking door and take a photograph of it:
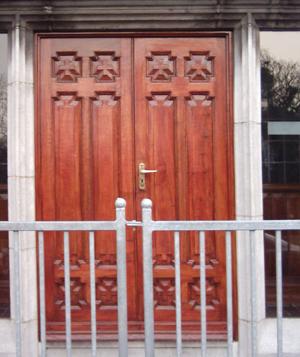
Next, I loaded up the image in Photoshop.
As the photograph wasn't completely straight, I used the Edit->Transform->Rotate to rotate it by 0.50°.
Once the photograph was rotated to my satisfaction and the edges seemed to be straight, I used the Marquee tool, set to a fixed aspect ratio of 1:1, to select a square portion of the top part of the door:
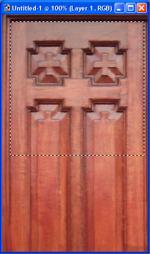
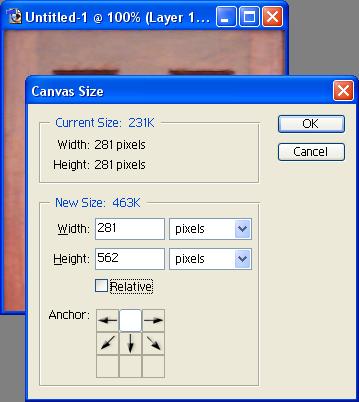
Once the selection was made, I used Image->Crop to remove the rest of the image, and then I used Image->Canvas Size to double the vertical size of the canvas, making sure to tell Photoshop to put the original image at the top of the canvas:
Next, I selected the top half of the image (by selecting the magic wand tool, reducing the tolerance to 0, clicking anywhere in the empty lower half of the image, and then pressing Ctrl-Shift-I to invert the selection), copied it to a new layer, then hit Ctrl-A to select the entire image and used Edit->Transform->Flip Vertical.
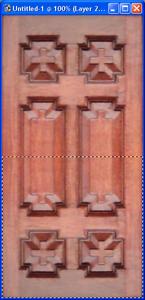
Next, I used Layer->Flatten Image to get everything onto one layer (this is not necessarily a good idea, but it makes it easier to uniformly change the shade of the entire door, otherwise I would need to do each step twice - once for each layer. Also, Photoshop has an evil habit of putting transparency around the edges of multi-layered images when you resize them, completely ruining their seamlessness.)
I hit Ctrl-Shift-U to turn the image to greyscale (Image->Adjustments->Desaturate), and proceeded to adjust the colours to my satisfaction by changing the midtones in the Colour Balance window (Ctrl-B) twice.
I used these settings, making sure to leave 'Preserve Luminosity' unchecked:
First modification |
||
| Red | Green | Blue |
| 0 | -100 | -100 |
Second modification |
||
| Red | Green | Blue |
| -100 | -85 | -100 |
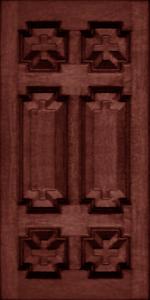
Finally, I did a few minor adjustments to the image, such as flipping the two inset pieces at the bottom of the door so that they were the same way up as the ones at the top of the door. I also resized the image to the proper size (128x256).
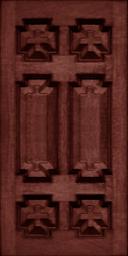
Final Image
You can download this texture (and several other door textures) here.
| Home | Stone | Wood | Tiles | Paintings | Thief-Based | Others | Tutorials | Tools |