Configuring DNS on the Client Computer
Ā
If the client computer's IP address is set to "Obtain automatically" your DNS configuration should be as follows :-
From below select the operating system that represents your client computer:
1.Ā Click on Control Panel -> Network.Ā Under the Configuration tab, click on "TCP/IP for the LAN Adapter" -> Properties.
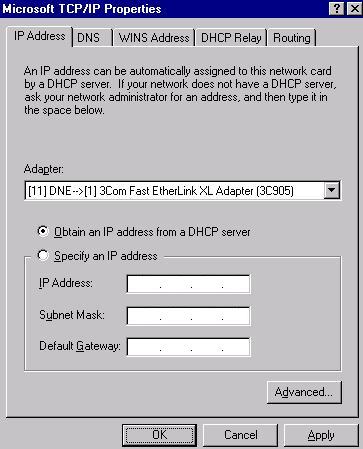
- Under the IP Address tab, "Obtain an IP address automatically" should be selected.

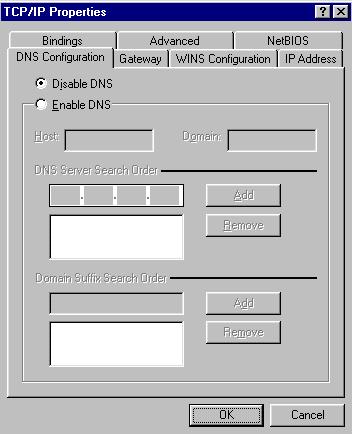
- Under the DNS tab, select "Disable DNS".
2.ĀĀ Click OK
-> OK, then reboot/restart your operating system.
Ā
Ā
1.Ā Click on Control Panel -> Network.Ā Under the Configuration tab, click on "TCP/IP for the LAN Adapter" -> Properties.
- Under the IP Address tab, "Obtain an IP address automatically" should be selected.
- Under the DNS tab, select "Disable DNS".
2.ĀĀ Click OK
-> OK, then reboot/restart your operating system.
Ā
Ā
1.Ā Click on Control Panel -> Network -> Protocols.Ā Under the Protocols tab, hi-lite TCP/IP Protocol and click on Properties.
- Under the IP Address tab, "Obtain an IP address from a DHCP server" should be selected.
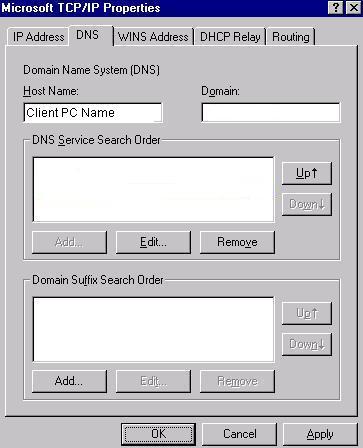
- Under the DNS tab, enter in only information for Host.Ā (Do not place any entries for Domain and DNS Server Search Order.)Ā For Host Name enter in the name assigned to that client computer.Ā The name is available from Control Panel -> Network -> Identification.Ā Avoid punctuation marks.
2.ĀĀ Click OK
-> OK, then reboot/restart your operating system.
Ā
Ā