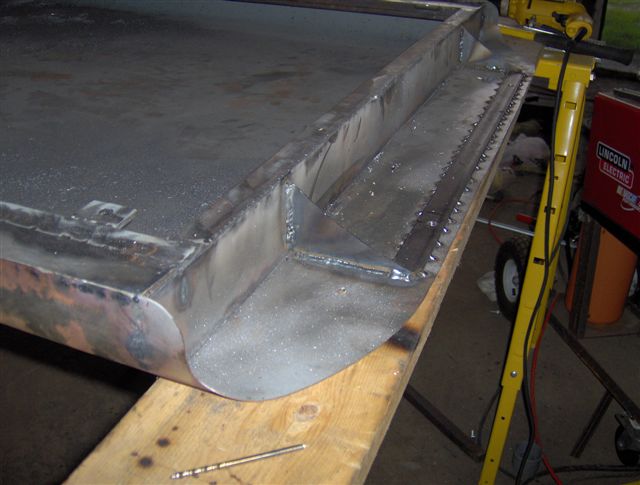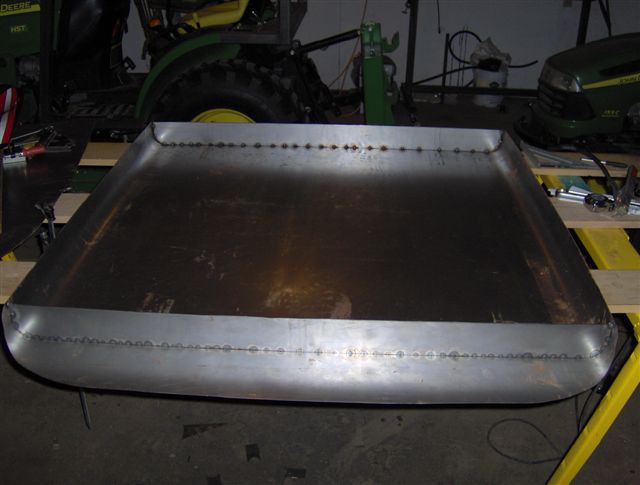
After bending the sides of the roof, the rest of the roof fabrication could take place. First was the addition of end plates at the front and rear. A small template was cut out of plywood with the proper radius to match the bends on the main piece. The nibbler was used to cut the round ends on the 2 pieces. Then the ends were positioned and the sides pulled square and things were tacked together.
After adding the end plates, a small frame of 1" tubing was made to match the top perimeter of the cab frame. This subframe would be used to attach the roof to the cab and also to reinforce the roof. Once the subframe was welded up, it was centered in the roof and welded to the end plates.
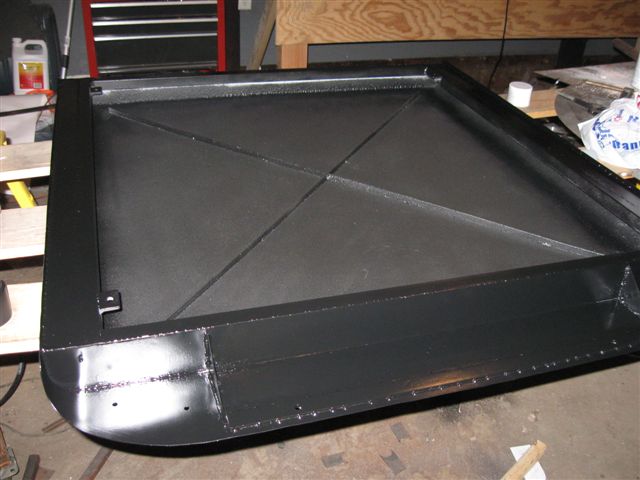
Before adding the filler strips to close in the left and right side overhangs, some zinc-rich primer was sprayed onto the areas that would become difficult to paint after the fillers were added. That way, atl least some protection is on those surfaces.
The front and rear overhangs were a bit weak by themselves, so some gussets and reinforcements were added. First, the scraps left over from the corner cuts were trimmed down to create curved gussets. These were welded in to strengthen the overhang just inboard of the flasher lights. Along the roof edge, in between these gussets, a 1/8" x 1" strip of steel was welded in to add stiffness to the edge and hold it straight. As it turned out, that stip also provides a good spot for mounting the worklights.
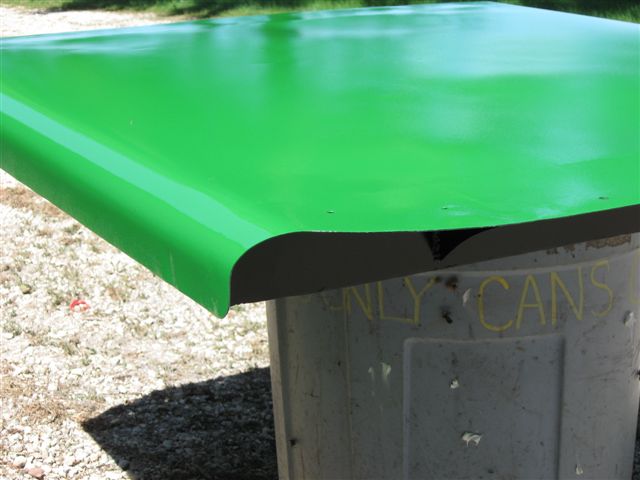
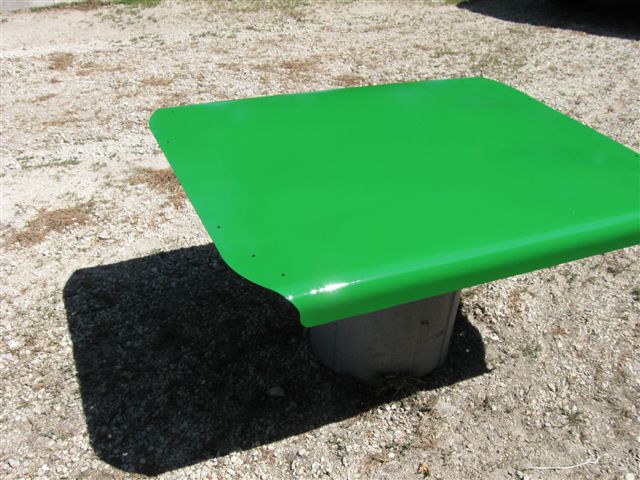
This past weekend, I dug out the paint gun I'd bought about a year ago. I hadn't used an air paint gun before, usually using aerosol cans for most smaller projects. I got things put together, played around on some cardboard for a bit to adjust the gun, then gave it a whirl on the roof. The paint went on a bit rough, like spray paint tends to, but flowed well and smoothed out to a pretty nice shiney finish. I drug it out to bake in the sun for the afternoon. Looks good to me...