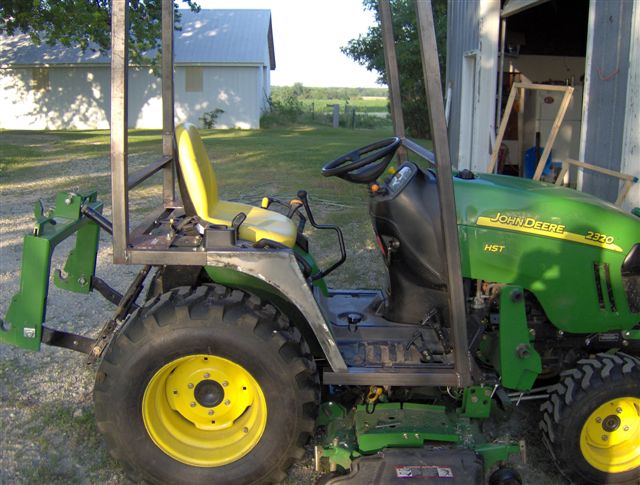
Since the cab will have to bolt together, the pieces that tie the front frame to the rear frame had to become the bolt-in pieces.
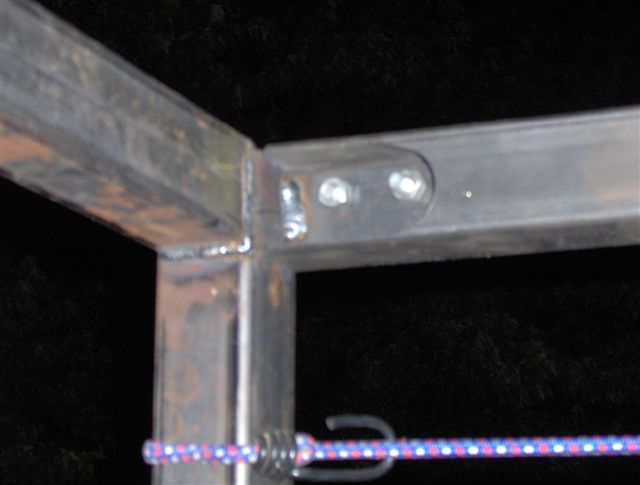
Work started with the upper tubes. The distances were measured and the various angles marked onto tubes. On each end of the tube, on the inside surface, a hole saw and grinder were used to open up pockets to allow access to the bolts that will attach these tubes to the frames. 3" x 1.5" plates of 3/16" steel were cut to fit in the ends of the tubes. The tabs were clamped in the tubes and both pieces drilled for bolt holes. One at a time, the tubes were clamped into position and the tabs welded to the frames. The tubes themselves were not welded to the frames. Now, when the 4 bolts per tube are removed, the tube can be removed as well, separating the tops of the 2 frames.
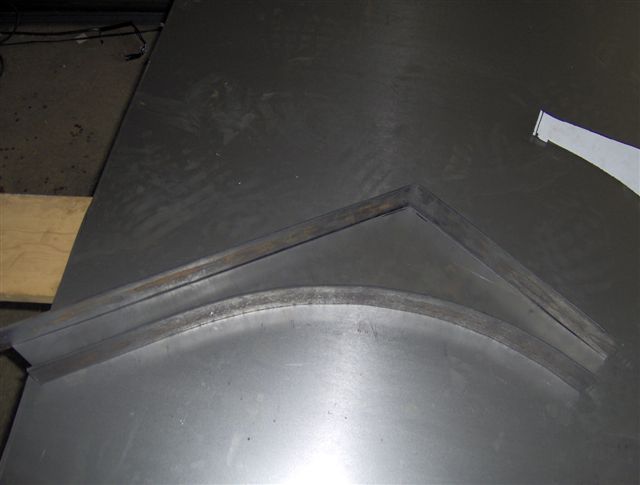
Next came the pieces to tie the bottoms of the frames togeher. These were trickier since the tractor has arched fenders. To save headaches later when I build the doors, I didn't want a big sweeping arc on the top side to have to follow. However, I did want a nice curved bottom to the pieces to cover up the factory fenders... The solution was to fabricate special shaped channels.
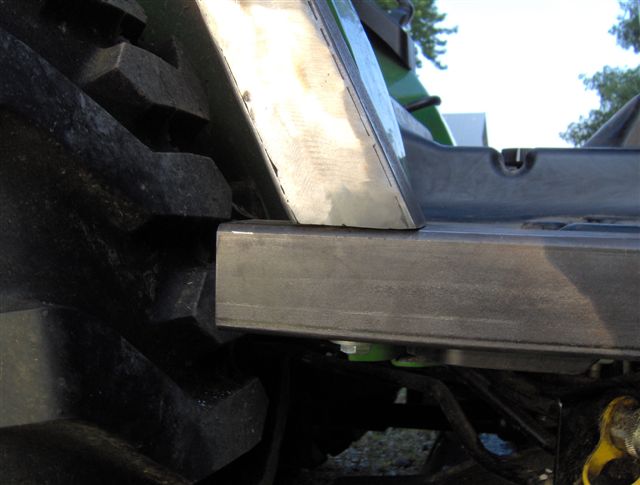
Using poster paper, I marked and created a template for what the fender piece would be shaped like. I then shrank the pattern by 1/8" top and bottom. Using the template and an air nibbler, I cut 2 pieces out of 18 gauge sheet metal. Next, I formed 2"x1/8" flat iron to create the top and bottom flanges. The 3 pieces were welded together on the inside. The outside will get some Bondo work prior to paint. Some similar mounting tabs were added to the fender pieces, this time with nuts welded to them. At the rear, the tabs fit into the horizontal legs of the rear frame. At the front, a bolt comes in from the bottom, through the front frame tube and into a weld nut in the end of the channel pieces. Looks pretty good, gives a true corner on the top side for the door to follow, but hides the arched fenders.