Changing Dirt Bike Tires cont.
Probably the most important step when putting a tire back on is not pinching the new tube. If your old tube does not look extremely chaffed you can probably use it again but using a new tube each time you change a tire is the best preventative method to keep from getting a flat on the trail.
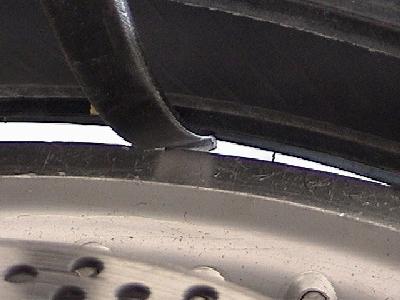
I use Bridgestone Heavy Duty tubes because they are much thicker than a standard tube and therefore wear quite a bit longer. Thicker tube = less wear = less flats. But if you are learning how to change a tire chances are you are going to pinch 1 or 2 tubes with the tire irons before you figure out the best method. But you can greatly reduce you chances of pinching the tube by not pulling the lever all the way forward. Instead, just push the lever enough the tire slips on, and then back off. Please click here for a visual illustration
It is much easier to get cheapo tubes in than it is the heavy duty tubes. Heavy duty tubes run about $15 and cheap Kenda standard tubes run about $5-6. So staring with a cheapo tube might not be a bad idea either. Your call.
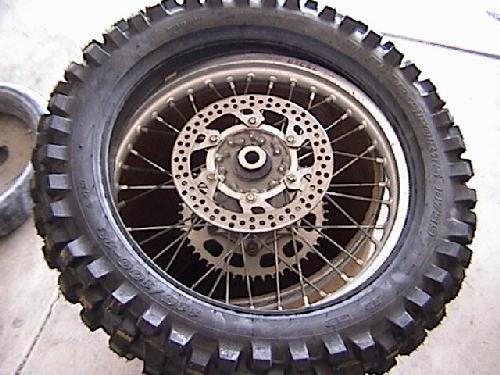
First thing you should do before putting your new tire on is check the rim for any sharp edges that might catch the tube as you are installing it. If there are any present then take a file to it and smooth it out. Secondly, look at the sidewall of the new tire. Does it have a arrow on it pointing in a certain direction? If it does then be sure and mount the tire with the arrow pointing in the direction that the tire will be rotating. I run Dunlop tires myself and I have never seen an a arrow on one but I know some tires do so watch out for that. Paddle tires are one specific kind of tire that has to be mounted in the correct direction. You want the sand to be "scooped" by the tire not hit by the backside of the paddle.
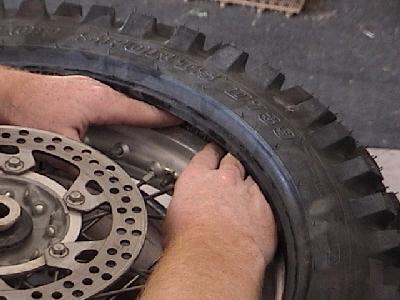
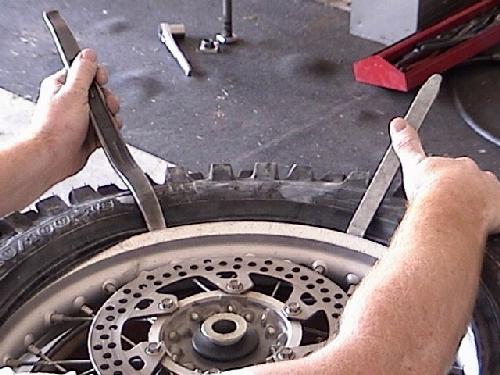
The first thing you want to do is lay the tire over the top of the rim. (still working from the rotor side) Now, you can push it on about halfway before you will have to start levering it on. Grab your tire irons and this time use the lip of the tire iron on the edge of the rim and not the tire. Pry outwardly (away from the the wheel). Hold the lever in place and grab your other tire iron and get another bite. (not too big of a bite - about 2-3 inches apart) Keep rotating tire irons until the first side is on. Next thing you want to do is put in the rim lock(s). Thread the nut on to the rim lock after you run it through the rim. Do not thread it down all the way just 2 or 3 turns after it starts to thread.
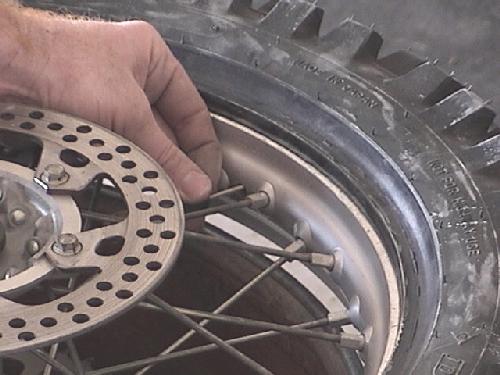
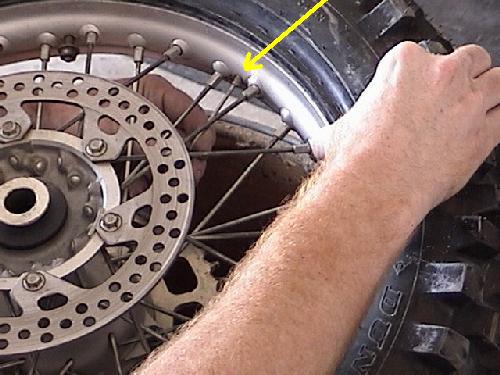
Fill the tube with just enough air that the tube is not collapsed on itself. You want the tube to have enough density that when you slide a tire iron in it wont pinch it when you are putting on the final bead. Now take your baby powder (or talcum powder) and coat the outside of the tube. This will help the tube slide around inside the tire and the tube will not chaff so much. Now comes probably the toughest part of changing a tire. (not what you wanted to hear is it?) Take the tube and place it inside the tire with the valve stem parallel with the hole in the rim. The tube should be in the tire but also over the rim as much as possible. Now you want to get the valve stem though the hole from the inside right? Seems impossible but with some determination and a little luck you can squeeze your hands in there and guide it though. I learned a little trick years ago on how to make this much simpler than just guessing where the valve stem pokes through. Just take a very small screwdriver and from the inside of the rim (spoke side) run it though the valve stem hole
Then put the valve stem on the end of the screwdriver and guide it through. Wa-La! No problem eh?
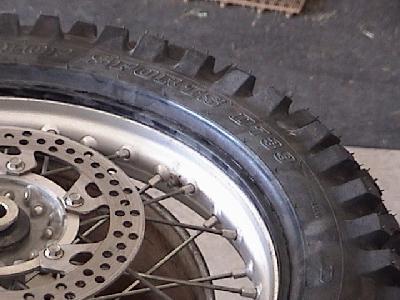
Now all you have to do is put the last side of the tire on and your done. Starting where the rim lock is push the tire down over the edge of the rim using your hands. Just push as hard as you can and you will see the tire sliding over the edge of the rim. Do this as far as you can moving from the rim lock outwards. Once you have pushed it on as far as you can, FLIP THE WHOLE WHEEL OVER AND MAKE SURE TO PUSH THE BEAD DOWN IN THE DROP CENTER PORTION OF THE RIM. This is very important to do. Not only will it make your tire change so much easier, if you stretch the tire bead too much you can ruin the tire. I know, because I did just that when I first started changing tires.
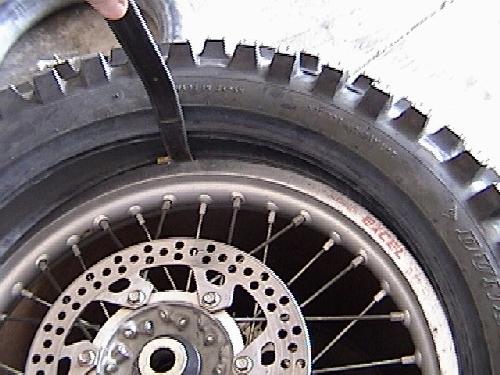
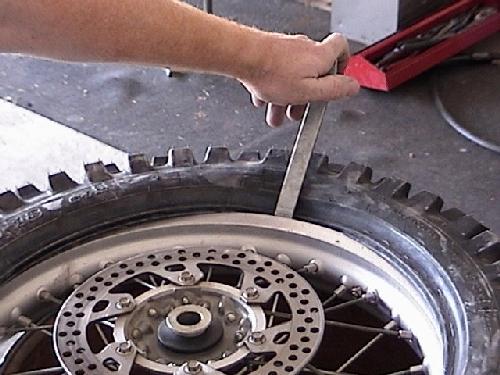
Now flip it back over (rotor side up) and spray the bead of the tire down with a slippery substance. Soap and water works great. You want to have this on for 2 reasons. One, It helps the tire slide over the rim easier and two it helps you keep from pinching your tube. Now grab a tire iron and place the lip of the lever on the rim carefully noting that you DO NOT have the tube pinched in between the rim and the tire iron. Push the tire iron back and hold it in place. Grab the other tire iron (hopefully it is close to you) and place it on the opposite side and lever down another section of the tire. Keep holding the first lever in place and pull out the second lever and keep working it all the way around. After about 3 bites, flip the tire over (to sprocket side) and push the bead down all the way around. Do this on the rotor side again too. Once again, remember, this is the most important thing to keep doing when changing tires. Keep levering the final side on until you get the last of the bead back on the rim. Now you have changed a tire!!!!
All you have to do now is put the nut on the valve stem and put some air in the tire. Wet down both sides of the tire bead with soap and water and put about 60 lbs of air in the tube. This will seat your tire. If it dosn't then let the air back out, bounce the tire on the ground in the area it is not seating and fill with air again.
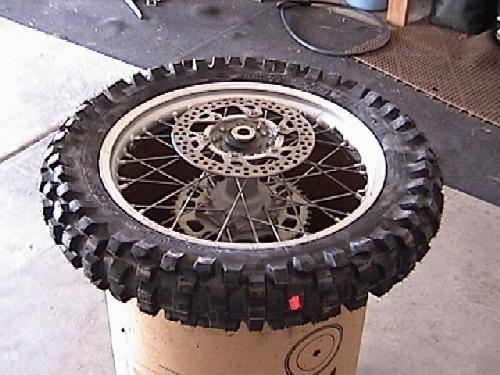
Then tighten your rim lock, valve stem nut and set to the correct air pressure and put that sucker back on and go riding!!!!!!!!!!
Back to page 1 of How to Change a Tire