Changing Dirt Bike Tires
I spend a lot of time on Thumper Talk (www.thumpertalk.com as MOmilkman) reading posts from various WR/YZ owners and one of the topics that surfaces the most is how to change a tire.
Tires cost a lot of money so why would you want to give your dealer even more to put one on?
Now a lot of people have different methods and ideas on how to do it properly and I am sure they all work fine, but if you follow my instructions you should be changing tires in no time.
Item's you will need to have on hand before you start this project:
A waist high place to work, 2 or 3 tire irons (I prefer Motion Pro's), a new tire, a new tube (optional), baby powder (optional), an air source (compressor), and a jammin' stereo, and patience! (the last is probably the most important!)
Note: Tires are much harder to change if they are cold. If you can lay your new tire in the sun or somewhere hot while taking off your old tire, do it! It will make your life much simpler when it comes time to put the new tire on.
I have posted several pictures during different stages of removing an old tire and installing a new tire. Look for the link in the text, and click on it to take you to that picture.
Step 1 - Getting your old tire off
Once you have the wheel off the bike the easiest way to approach this task is to find a surface to work on so you wont have to stoop over and work off the floor as that can get tiresome. I found an old barrel that was once used for electrical cable and it fits the diameter (18") of the rim of my bike perfectly. It can be smaller but I wouldn't go larger than that because the rim will fall into the barrel once you get the tire off.
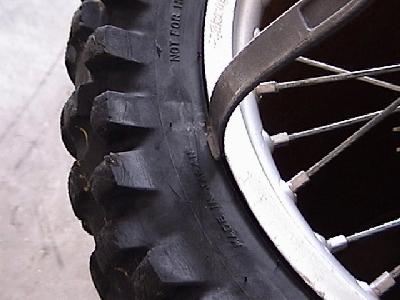
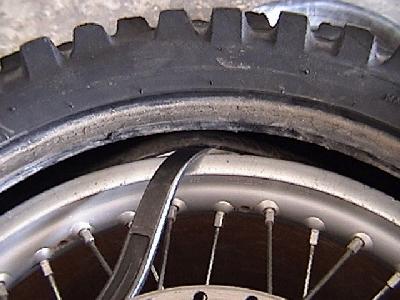
Now that the tire is off the bike and you have a good working surface, the first thing you want to do is take off the rim lock nut(s) and the valve stem nut. Remove the core of the valve stem or just release the pressure in the tube (all the way) by pressing on the valve stem core. Now lay the tire on your flat surface and push with your hands trying to break the bead of the tire from the surface of the rim. BE ABSOLUTELY SURE BEADS ON BOTH SIDES ARE BROKEN DOWN BEFORE PROCEEDING. If the tire rubber is a hard compound then it might be hard to break free, but just keep pushing on it with the palms of your hands and it will eventually break free. (Motion Pro makes a tire bead separator specifically for this job. It is not necessary but it does make the job easier) Break the bead loose on both sides of the tire. You can use C-clamps to hold the sidewalls together and MAKE SURE to get the bead(s) down in the drop center portion of the rim opposite the tire irons.
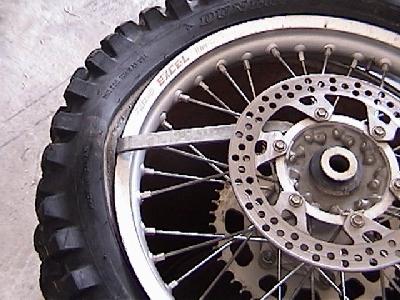
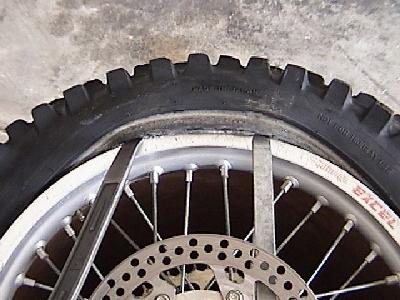
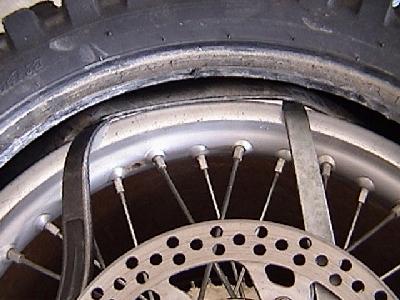
Lay your tire down on your working surface with the sprocket side down, grab your tire irons (I like the Motion Pro tire irons myself) and put the lip of 1 tire iron on the tire. Now, pull the iron back. I like to rest the handle of the iron under the brake rotor to hold it there (it will not hurt your rotor) while I work on the second bite. NOTE: VERY IMPORTANT! - After you take the first bite on the tire take your palm and push down on the bead all the way around the tire. Then flip it over and do the same thing on the sprocket side. The purpose of this is to keep the bead of the tire to the center most part of the rim and will allow you to stretch the tire over the rim MUCH EASIER! (additionally, it will make it much easier if you do this after the 2nd and 3rd bites also)
The second bite is the toughest step in getting the tire off. It is kind of tough to get the tire iron in between the rubber of the tire and the rim because of the pressure the 1st tire iron already putting on the tire. The secret is not taking to big of a bite on the second and 3rd bites. Wiggle the tire iron back and forth until you can slip it under for a second bite on the tire. Pull it back and rest the handle under the brake rotor. Now if you have a 3rd tire iron then your in great shape. Just use it like you did #2 tire iron and then rest the handle of #3 tire iron under the rotor. Then go back to the first tire iron and remove it. (this may take some wiggling and patience) and place it in front of #3 and keep rotating them until you have one side of the tire off. (If you only have 2 tire irons then it might make it a little tougher but can easily be done. Just keep rotating the 2 tire irons until one side of the tire is off) Now that one side of the bead of the tire is off, reach inside the tire and grab the rim lock(s) and pull it out. Also grab the tube and pull it out. All you have to do now is get the rest of the tire off the rim. This is the last step in getting the old tire off.
This part is very easy, keep the rim with the rotor side up and put your tire iron past the bead that you just pried off and down to the lower bead. With the lip side of the iron facing the tire pry the lever downward toward the rotor and rest the handle once again under the rotor. The tire will be in a severely misshapen manner at this point but that's fine. Grab your 2nd tire iron and do the same thing and then your 3rd if you have one. Once you get about 5 or 6 bites on the tire just grab the sucker and pull it off. It shouldn't be any problem at this point. NOW ITS OFF! Congratulations!
Move on to Step 2 - Putting a new tire on
![]()