Pepakura Files
Most of the time, while constructing a set of armor, you'll start your project with something called a pepakura file. For someone who is inexperienced with other types of crafting such as metal working or leather working this is the simplest way to begin and requires the fewest new tools to start.
Tools
- A pepakura file
- A program to read the file
- Card Stock Paper
- A printer
- A hot glue gun
- A pen
- An exacto Knife or a crafters knife
- Auto Body Resin
- Fiber Glass
- Spray Adhesive
- Bondo
- A sander
- Silcon Brushes
- A putty knife
I know it looks like a lot of things to get and it might be a little daunting at first but it is fairly simple.
Once you've downloaded the file, open it with the viewer. Odds are, especially if it's a modern style armor, you'll be able to adjust the design based on your size. Once you do that, you'll print the file on card stock. This will give you a series of 2D designs which you will need to cut out, mark, and fold. Once the folds are completed, you'll see there are places where tabs connect the various pieces, you'll need to glue those pieces together.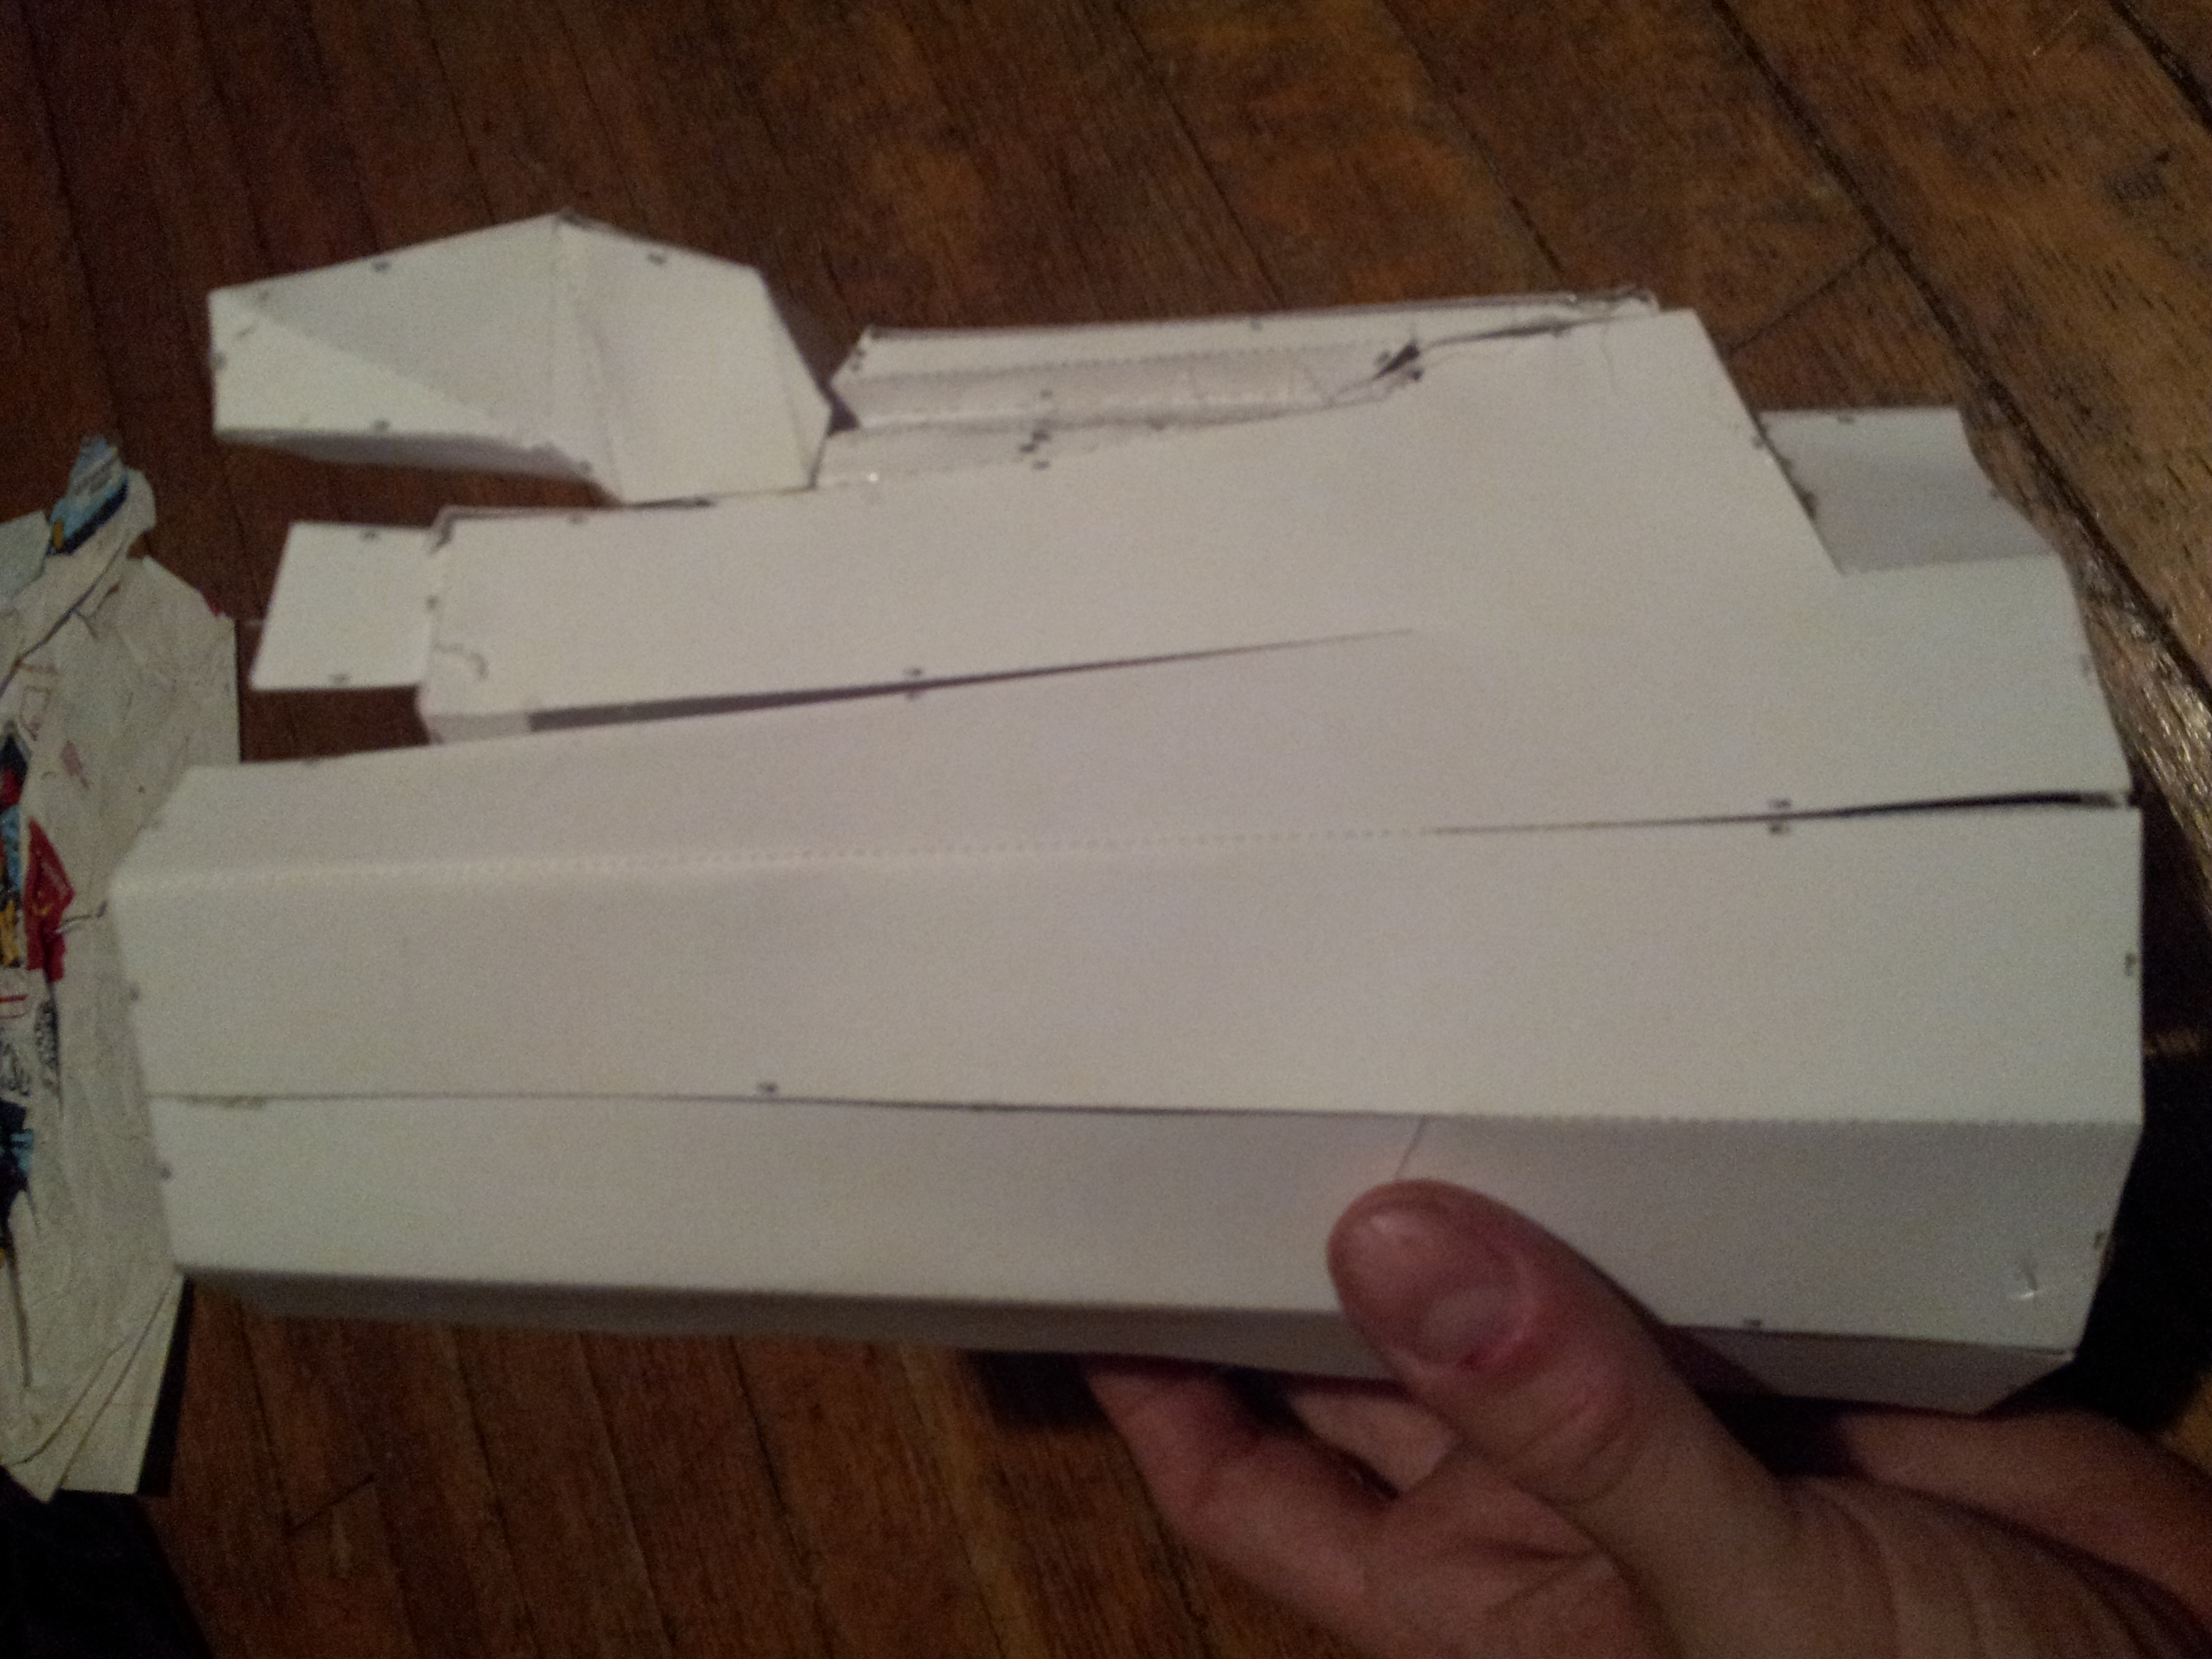
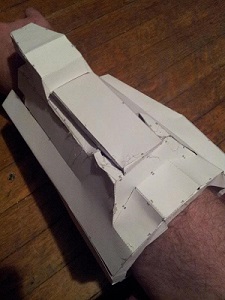
Once you glue it together it should look something like this
Once you've added the resin to the paper. It should absorb readily and it will take a little while to dry. Only use resin in a well ventilated area, preferably outside. 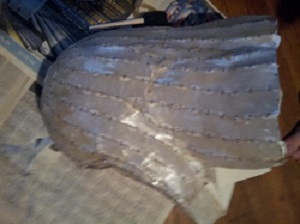
After the resin has hardened, for most of the armor pieces you'll be gluing fiberglass cloth to the inside to provide additional stability to the piece. Spray the adhesive to the inside of the piece and make sure you don't leave any air bubbles. You can if you wish apply fiberglass to the inside of the helmet, however keep in mind that it can make it hotter to wear as well as irritating your skin so it's not recommended.
After which you'll apply bondo to the outside of the piece. You'll have to work quickly as it starts to set fairly fast and you don't want it to start to granulate while you're spreading the material to the outside. If you feel like you need more time to spread, then add a little less of the setting material and it should give you a little more time to work. Best bet is to do it in small batches which means you'll need a few goes to get one piece covered. Just try and get an even coating so that when you sand it down it won't take as much time to get a smooth finish.
Once you have it sanded down and nicely smooth you'll start painting the piece. There are a few ways to go about doing it but spray paint works best and has the best variety of shades to use. Do a base coat with a metalic paint so that it appears to be metal underneath. If you wish to add in battle marks to the paint, use liquid latex to an area in whatever pattern you wish. Once you've done your second color coat, peel off the liquid latex and you're left with the metalic paint underneath exposed. You can also use black paint to create scoring effects. The visor material is often the same as a motorcycle helmet cut down to fit in the helmet.