Home Gallery Tutorials Downloads Other Stuff Links About Me Email
TUTORIALS
sPatch Basics
Using sPatch is vital for creating smooth organic looking models which can be imported into and used in your Bryce scene.
1. Open sPatch (available on the downloads page), then click view/split and then click once. Then click view/grids to turn on the grids. Now you should have four windows, three of them with grids. Press A in the top left window, then click and drag. Now should be two vertexes with a straight line between them.

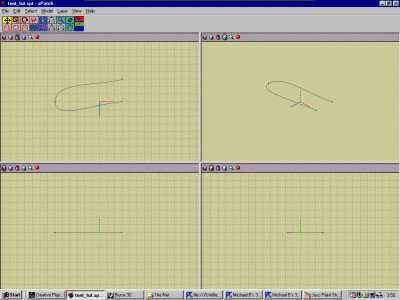
2. Now click and drag about three units below your first set of points. Now press T. Click on your first point and drag it onto your second point (the one three units below it) and right-click. Now your points should be joined, so there is three vertexes all joined in one line with a curve like below:

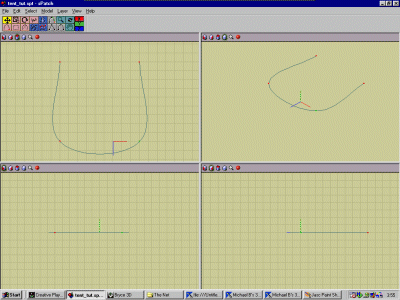
3. Move the top most vertex so it is at a 90 degree angle to the bottom line (so it forms a curved L). Add another line by pressing A, and clicking and dragging the mouse so it form a vertical line parallel to the other vertical. Joint the bottom point of this new line to the bottom right point of our existing shape by pressing T, then dragging the point onto the other point and right-clicking.

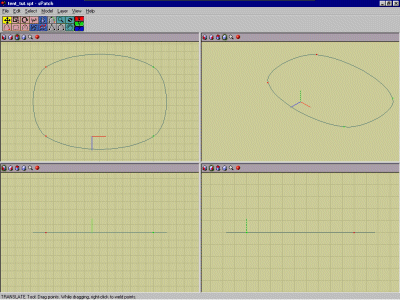
4. It should look like a U now. Now add another point (press A and click-drag) above the whole shape. Joint this last line to the existing shape so it forms a squashed O. Now select the two right most points by pressing G and dragging a box around them. Press T and drag these points to the right about five units. To ungroup things, press ENTER.

NEXT: sPatch Basics continued...
Best viewed in 1024x768 using Netscape Navigator
Copyright Michael Balzer 2000
[email protected]