|
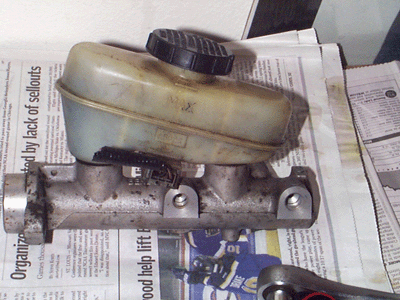
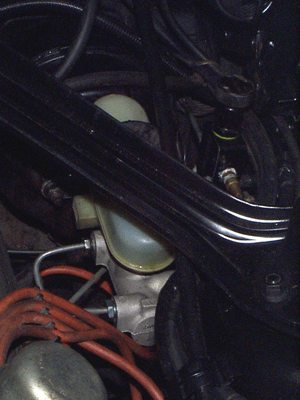
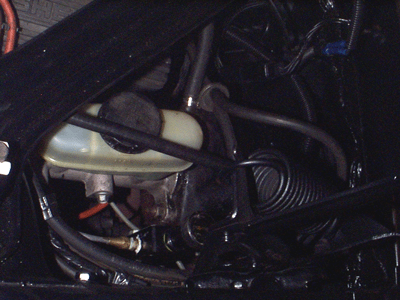
This is the passenger side of the MC. You can see the brake line ports here. If you go this route, take the brake lines and fittings (they are metric) from the junkyared car. Notice the front port on the MC (for the front brakes) is larger. It actually had a bigger diameter brake line! This was a problem. I tried finding adapters, but had a hard time since it was metric. Back to the junkyard! I found out that many of the late 80's and 90's Fords (Thunderbirds, crown vics, etc) had this "style" of MC. What I found was that the Thunderbird and Cougars of these years had the same front metric fitting, with the normal "smaller" brake line. This brake line has an inverted flare and still seals the bigger port on the MC fine. Sooooo, if you go this route, thats how I got it all to fit. FYI, I ran the rear brake line (the port on the left in the above picture) to an adjustable proportioning valve. This will allow for dialing in the front to rear braking pressures. The following pictures show the MC installed and plumbed. |
|
|
Step 7 :
Now everything should be hooked up (MC, brake lines, and rear discs). Time to flush and bleed the system. This is where I went around in circles for a week or two! The way the calipers are mounted, the bleeder screws are too low in relation to the piston cavity. When bleeding the rear calipers, you will need to remove the calipers (remove the locating bolts and you may need to loosen the parking brake cable) and tilt them up (get bleeder screw higher than piston cavity). This will get all the air out of the calipers. If you dont do this, you will not have a brake pedal. This is the only downside of the brackets. The following pictures are of the rear disc assembly in the car. |
|