| Rooting a Cutting by ChrisMac |
| Life of a Seedpod ~ What to do once you have a seedpod |
| Germination Pool ~ How I grow all my seeds |
| Chris's Plumie Collection ~ What I got going on |
| My Plumie Pals ~ Pictures of who is who from GPS Meetings |
| So, It has been a year for me and I have rooted many cuttings. Failed some (like that silly Elizabeth Thornton) but soon found out reds like that are much harder to root. Now I got my first real rooting challenge. In the mail I received center cuttings and thought I would get some pictures on here on what I learned. |
 |
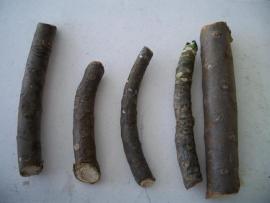 |
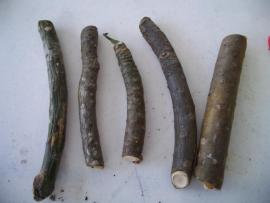
| These are the 2 sets of cuttings I got. In both sets there is one tip cutting and the rest are center cuttings. I thought, 'Okay, time to Rootone and stick in perlite and cactus soil'... |
 |
 |
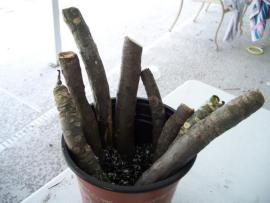
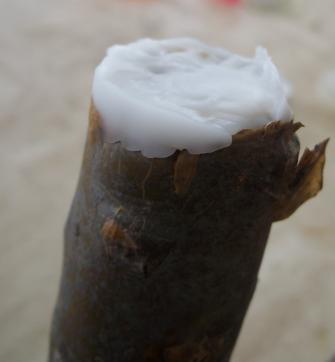
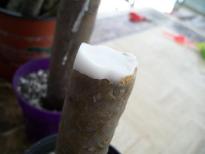
| ...then someone mentioned "Waxing the top". HOLEY I thought!! What is this. SO I went to my PA Family (Thanxs Bud and Karen) and found out this To properly root a center cutting you must WAX the top to keep the top from rotting and shrinking down inside your cutting. Put a piece of scotch tape around the top of the cutting. Drip wax on the surface to seal it. You can use plain white candle wax or Bee's wax used for grafting Once wax has hardened, remove the tape and allow the center to root as normal As long as you have old leaf nodes at the top of the cutting, your branches will grow steadily from there and the wax will not impede any growth |
 |
 |
 |
 |
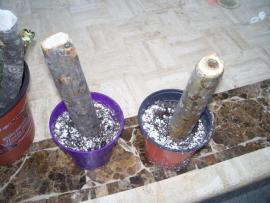
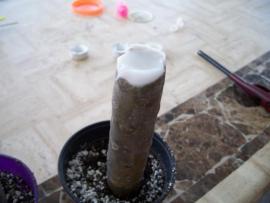
| Tape wrapped around surface sticking up about 1/4 to 1/2 inch. Then dripped wax inside surface |
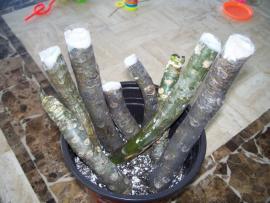
| The whole gang waxed |

|