 |
| 75 Body Repair Scheme |
| Step 2. Stringing (Continued) |
|
 |
 |
 |
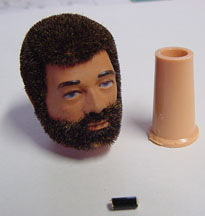
| Here are the 3 parts needed to finish the stringing and attach the head. The black rod is a 1/8" wooden dowel rod cut to just a about 5/16" long. |
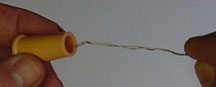
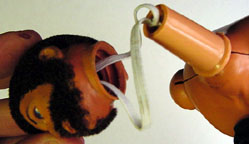
| Snake needle down through neck insert piece. |
| Evenly thread both elastics through the eye of the needle and pull both through the neck piece. |
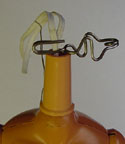
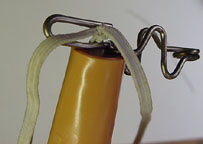
| Check tension and pull up on the elastics, then clamp both elastics above the neckpiece. |
 |
 |
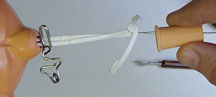
| When the tension is right, tie a few sqaure knots with the elastic just above the clamp. |
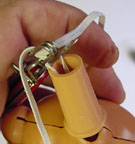
| I am using the file blade of my little Swiss army knife to go between the elastic strips below the clamp and knot. Don't use anything sharp for this or you be starting over if you cut one of these elastics. |
 |
| Use the flat blade to lever up the clamp and knot. |
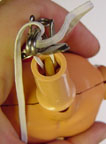 |
| Insert the little dowel rod and position it evenly down and 90 degrees to the slot in the top of the neck insert. |
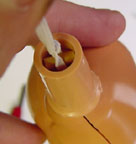 |
| Keep tension on the elastics as you remove the blade and clamp. Then ease the knot down on to the top on the dowel rod. |
 |
 |
 |
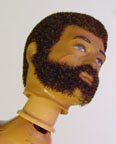
| Put both ends of the elastic into the head. You may want adjust this sometime in the future and leaving them long will make this much easier. |
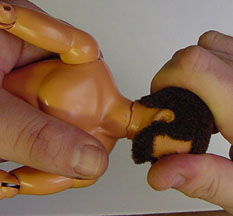
| You have to push pretty hard to pop these heads back on. I find it works easier if you put your thumb over the face and the fingers on the back and push. It is completely on when the outer neck area touches the neck all of the way around. |
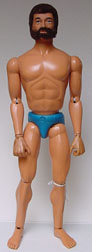 |
| The stringing step is now over, but we are not done yet. There is one more thing to do that will really tie this all together and restore the original range of movement. |

|