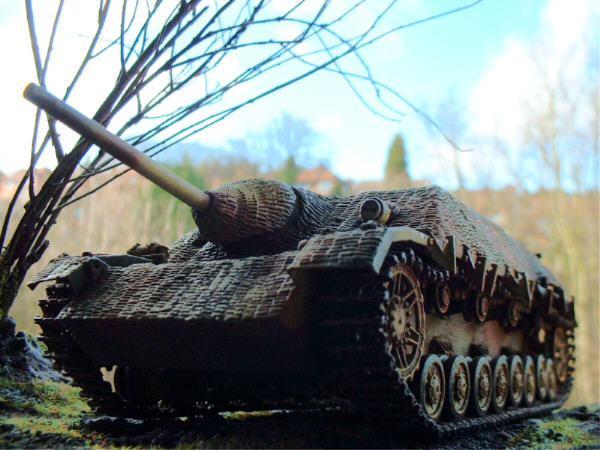
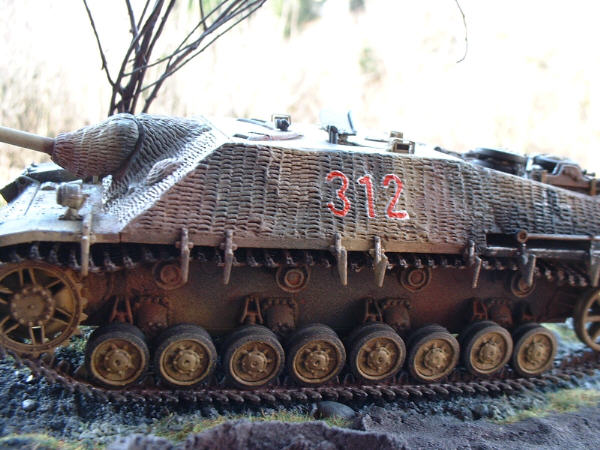
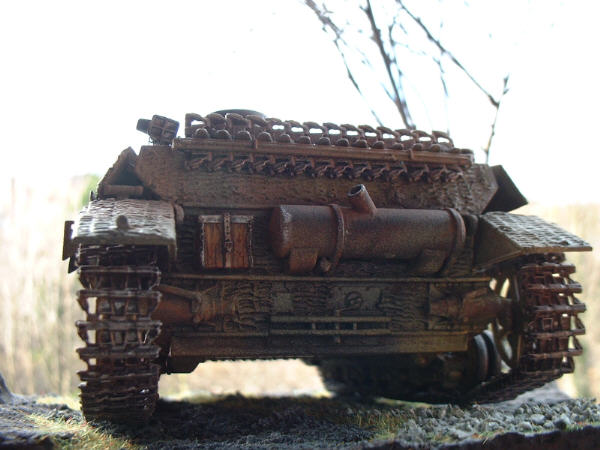
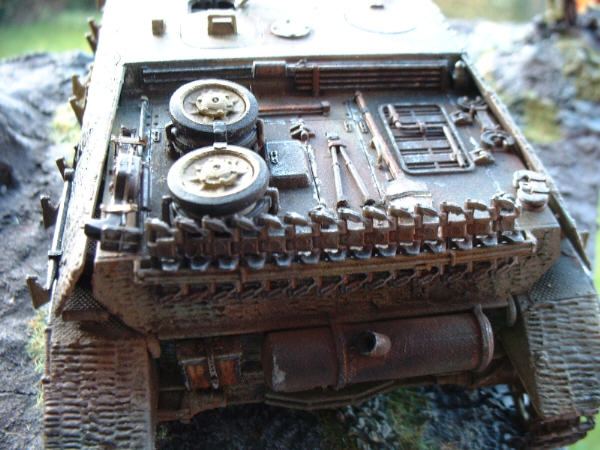
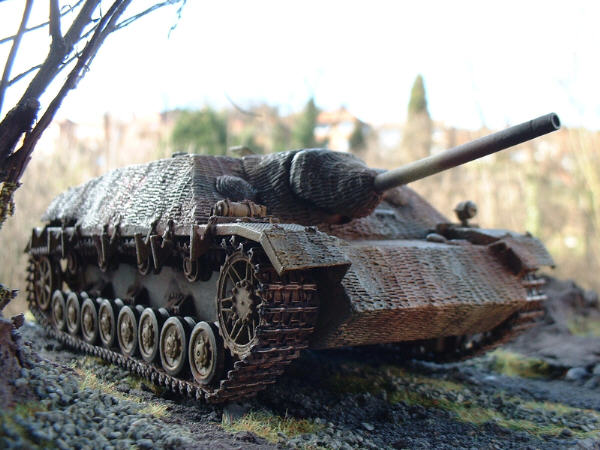
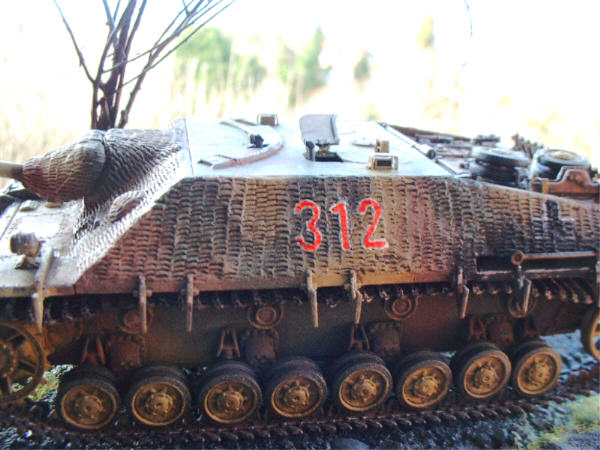
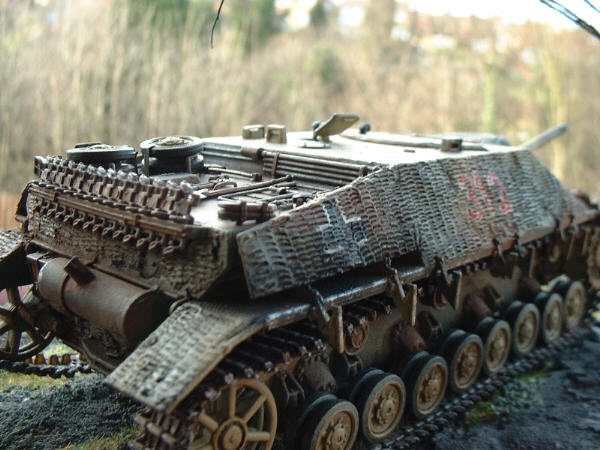
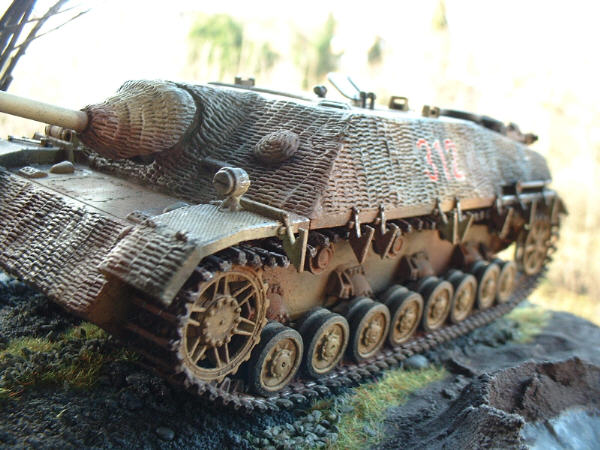
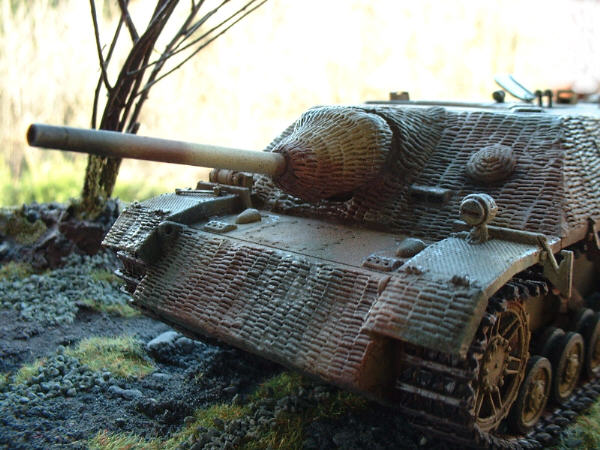
This is the 7th Kit I built, again another Ebay win. This is a model kit by Revell, and again the difference in quality between it and the Tamiya kits I have made was immediately apparent. The parts are nicely detailed but masses of extra sprue needed to be trimmed from the components and the body parts did not fit together without large gaps, which required substantial filling. That being said, Its still a very nice kit, and quite straightforward to assemble. I used milliput to do the large amount of zimmerit you can see ( again Jentz and Doyles german tanks of ww2 was invaluable for reference shots). However, I realise now that the zimmerit was applied too thickly and I am not at all satisfied with the result, so I have switched to Humbrol modelling putty to try to get a thinner more authentic look for my next kit requiring zimmerit. Unable to find an Eduard etched set, I purchased an Aber brass set which was designed for the Dragon version of this kit. I believe both Revell and Dragon share the same tooling on this kit so the fit of the Aber brass was not a problem. To round off, I purchased a Jordi Rubio PaK 39 L48 cannon without muzzle break. I would have loved to have fitted this kit with skirts but I could not find anyone who did a set. However, shortly after I finished, Verlinden released a lovely etched brass set which I think would have rounded it off nicely.
As stated earlier, the zimmerit was two part super fine milliput, applied after surface roughing with a modelling drill and indented using my now familar 5mm screwdriver technique. I decided to try something different in regard to painting and opted to try oil based paints and washes. Following tips from Ospreys Panzer modelling master class book by Tony Greenland, I tried my hand at oils. They do allow you to create a real depth of shading on the base coat and a great mix of colours. However I found the curing time of several days and the fact that once you applied the other camo colours, all your hard work was covered somewhat depressing. One gem I did discover was using white spirit thinned burnt umber oil paint as a wash. This stuff is so versatile I cant live without it. It gives great definition, great rust effects, I cant praise it enough, so if you dont have any get some!! and experiment!!!! After applying the oil based camo colours I found the finished result too garish for my tastes so I opted to fade the model using Tamiyas Buff colour very faintly sprayed at a distance to dust the model up.
Operationally, the Jagdpanzer IV appeared late in the war, developed on the back of the success of the Stug units in the eastern theater as ad hoc tank destroyers. This tailored machine was issued to the tank hunter units of the Panzer Corp from March 1944 , seeing action in Italy, France and Russia and finally Germany itself. The low silhouette and decent gun made it a great ambush predator, especially in the Normandy bocage, and it soon racked up a good score. Easy to produce in numbers, it later benefitted from having its gun upgraded from the small L48 to the large L/70 PaK 42, as fitted to the Panther for greater hitting power, this necessitated replacing the forward rubber wheeled suspension with steel wheels to take the added weight of the larger weapon.
|