| |
The Making of a Flame Job - Part 3
by Frank Colgoni |
| |
|
|
|
As I mentioned at the conclusion of part 2 (day 2), this should
be an exciting part of the process. We�re going to get to see our
flames come alive in color.
Speaking of color, I mentioned in the first article of the flame
series that we would be following a traditional layout but not
following a traditional color progression (or gradient).
Traditional progressions typically start with white or yellow
moving to yellow or orange then to a variation of red or magenta.
While I like traditional progressions, I don�t particularly like
them on red cars. Therefore, we decided to do something different.
Specifically, reverse the progression entirely. That is, begin
with red (in this case, the body color, then move to a dark orange
(Ultra Orange), then to a lighter orange (Tangelo) then yellow
(Sunset)and finally white (Pearl White). Everything will be
outlined in process blue. Ron was receptive to this idea. In fact,
he�s done a variation of this before (look for a killer late model
F150 done this way).
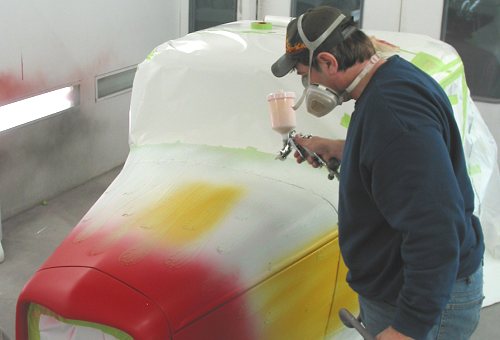
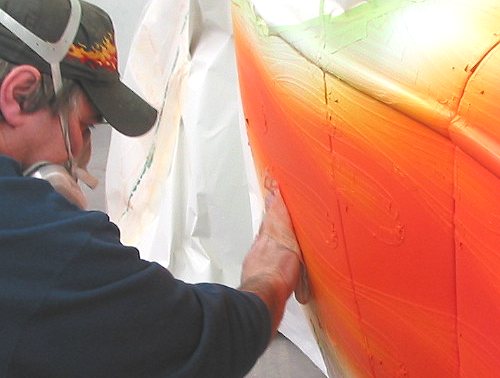
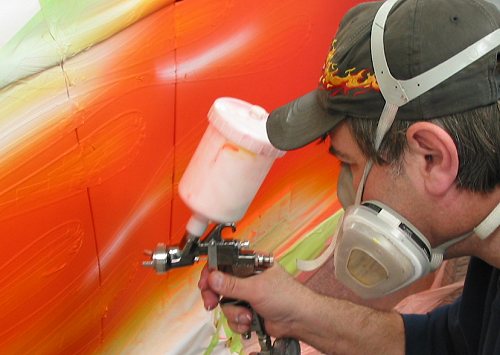
To begin, Ron applied some base white to the rear section of the
flames where the lighter colors will be applied. The body color
will act as the base for the red and dark orange. After the
application of the base white, Ron applied a fresh coat of body
red to the rad shell and the area directly behind the shell on the
hood and hood sides. He then moved to the back again and started
applying Sunset Yellow sweeping from the back to the front. Next
came the Tangelo with the same back to front sweep and finally
Ultra Orange as the final fade to red.
|
| |
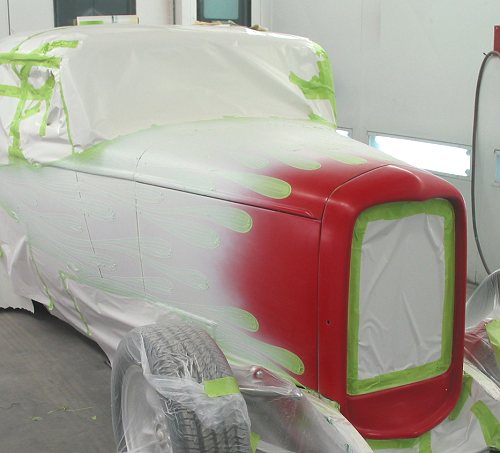 The white base coat goes on toward the rear of the layout.
 |
| |
 Then, a splash of the body base red.
 |
| |
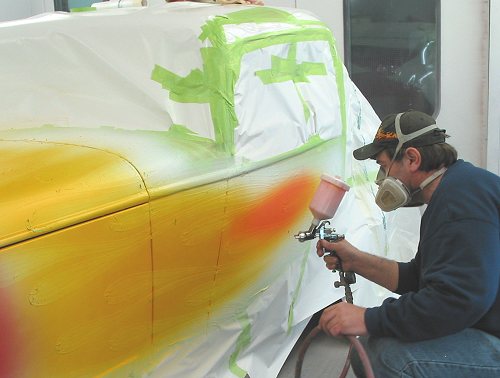
 To the back again to start the Sunset Yellow.
 |
| |
Ron works his way toward the front until he feels he's gone far
enough
into the area where the dark and lighter orange colors will
transition.
|
| |
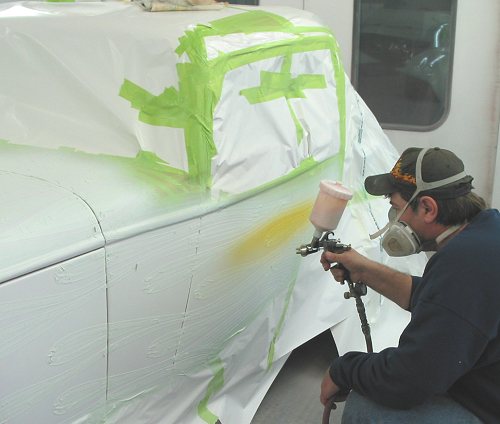
 Then comes the hood. Again, with Sunset Yellow.
 |
| |
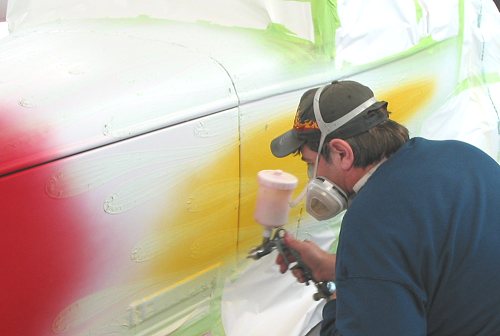
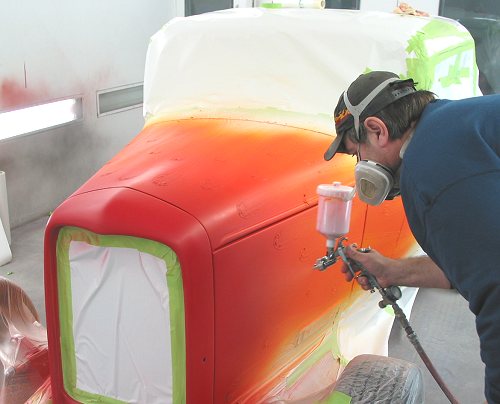
 Next comes the Tangelo. Ron is working from back to front.
 |
| |
 After completing the side, he moves to the hood.
There is still one additional color to come. |
| |
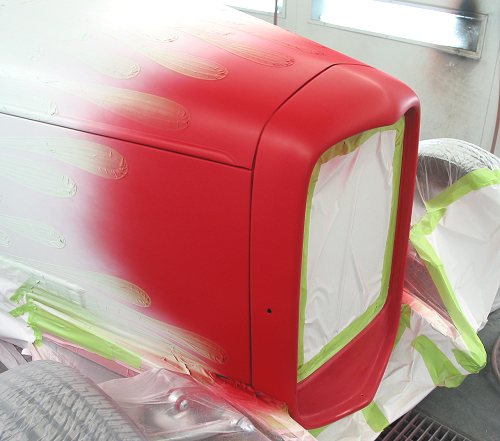
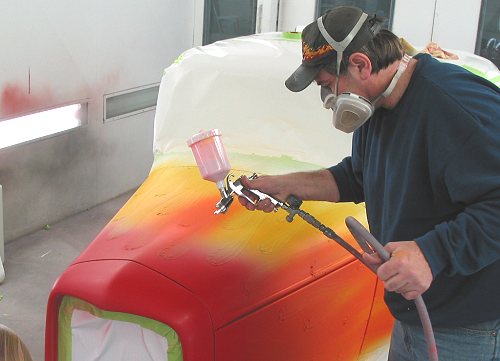
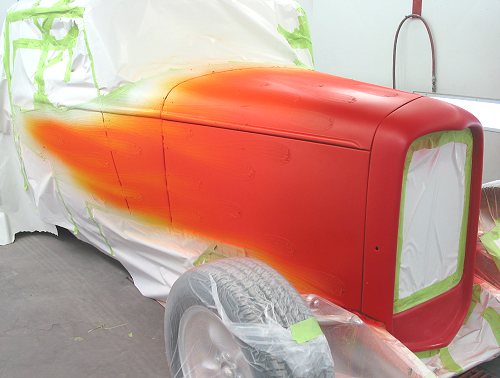
 At this point, Ron has layed down Sunset Yellow and Tangelo.
Remember that the red on the nose is the body color. |
| |
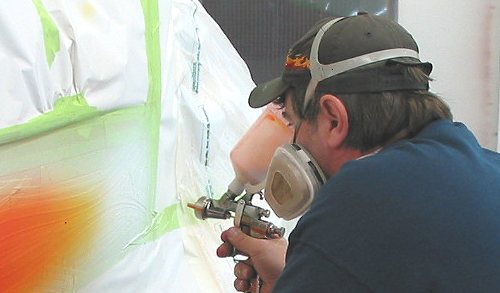
Needless to say, this is not a quick process as some drying is
required between color hits as well as cleanup of equipment between
colors. Also, Ron is careful to tack everything between colors as
paint �dust� will have settled. |
| |
 Ron tacks off after the Tangelo.
 |
| |
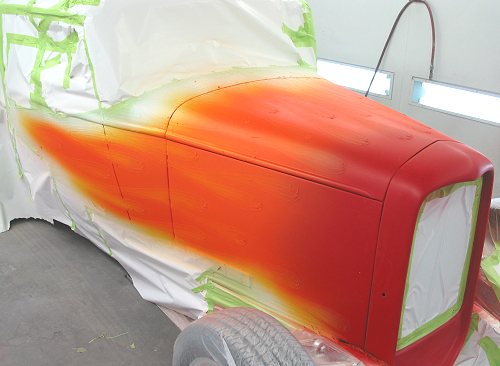
 Finally, the Ultra Orange goes down. It is quite dark.
As such, it will make the final transition to red. |
| |
Ron advises at this point that the entire process will need to be
done again as the way to get a seamless gradient (perfect
transition from color to color) is to apply the colors again but
to spray in the opposite direction than was applied in the first
coat. In other words, if you sprayed the colors from back to front
on the first pass, spray front to back on the second.
Additionally, sweep in the opposite direction.
As you can imagine, after this many color changes, things were
getting pretty busy in the area being sprayed. In some ways it�s a
leap of faith to try to visualize the finished product. Ron says
it�s going to be very cool and I trust him. |
| |
 At this point, two passes have been made through all colors.
Including the white base and body red, that's 8 color changes so
far.
|
| |
To complete the color, Ron will add white pearl to define the tips. |
| |
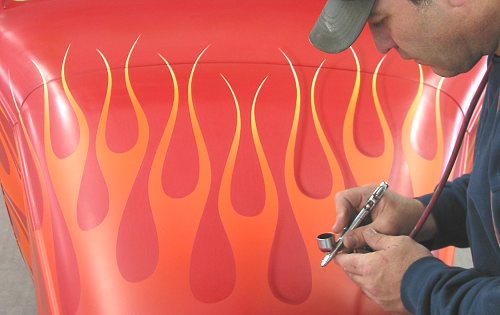
 White pearl being added to the tips of the door licks.
 |
| |
 Ron progresses to other tips.
 |
| |
 Finally, the hood.
 |
| |
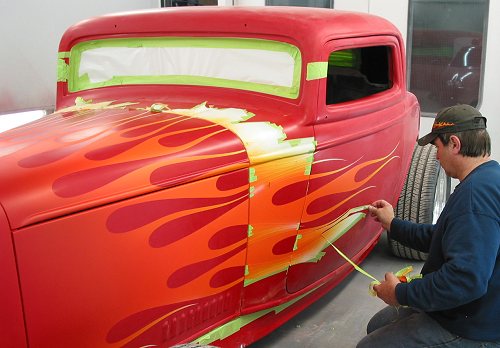 After a suitable drying time, all the tape and masking paper comes off.
Ron pulls the tape away at a 45 deg. angle. from the surface. |
| |
Despite a lot of work in this session, we�re not finished yet. Ron is
going to add �drop shadowing�. Drop shadows are commonly used in
conjunction with printed and computer generated graphics to give the
illusion of the object or text hovering above the surface. On paint, a
similar effect is created and can, in fact, be more intense because
you get to view the effect from different angles. Under a smooth, well
polished clear coat, the effect is amazing (caveat here: IF the drop
shadow is done correctly and with the right touch). The drop shadows
are applied using an air brush and Ron mixes up a combination of our
body color (base red), black and intercoat clear or a base clear so
that the shadow is subtle, not too intense and natural looking. The
addition of clear gives a natural transparency to the shadow.
This step is not for the faint of heart or shaky of hand. In some
areas, like the inside curves, it�s necessary to get close to the
flame without getting the shadow color on the flame. And, below the
licks, the shadow has to flow and can�t be applied with jerky
movement or out of alignment.
|
| |
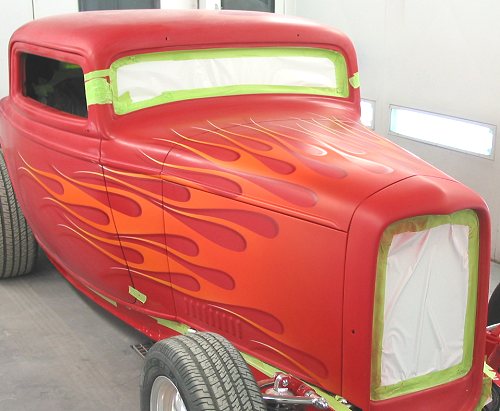
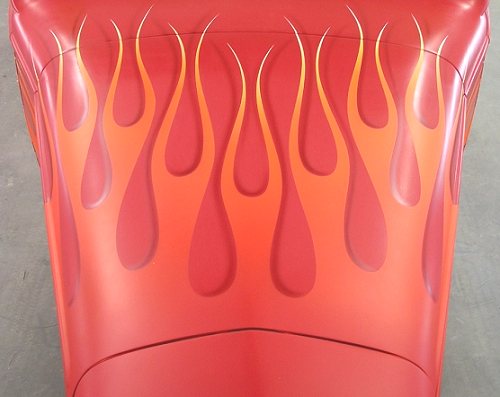
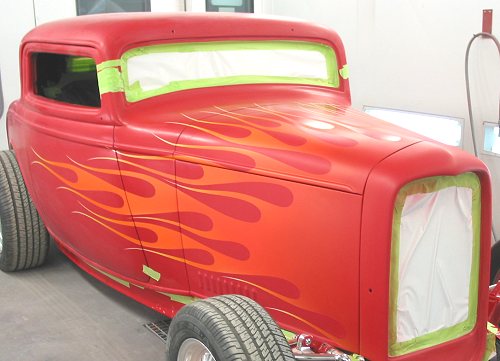 With all the tape off, here's the way things look - without the drop shadows.
 |
| |
 With a steady hand, Ron begins the shadowing process.
 |
| |
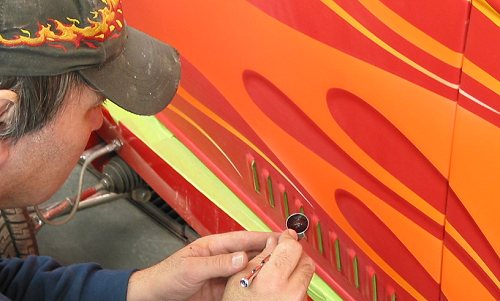
The sense of depth is noticeable immediately.
It's amazing how far the small amount of paint in the air brush
bowl will go. |
| |
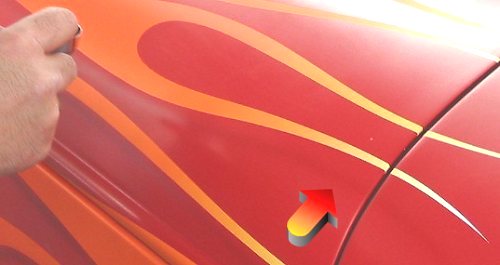 Look just above the arrow. Ron has just made a first
pass to add a shadow beneath the lick. |
| |
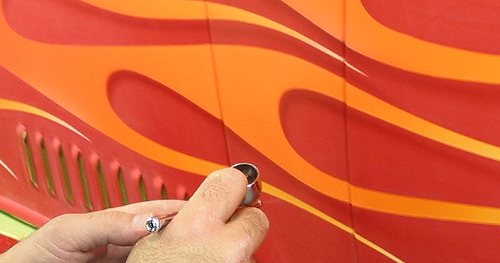
 In this shot, you can compare no shadow (left)
versus with shadow (right). |
| |
 Shadowing completed. Scroll up five photos to view the before shot.
 |
| |
 The completed hood. The layout is a thing of beauty.
While I say complete, stay tuned for part 4. |
| |
This has been a very long day for Ron. A fascinating process to
watch.
Wouldn�t have missed any part of this. |
| |
| |
