I have no pictures of this stage im afraid.
When all wetsanding was complete the most boring part of drumbuilding kicked in..... waiting for the lacquer to cure....
Tum ti tum.....
When this was complete i polished the drum using polishing compound and the drum came up with a beautiful glossy look.
The Thing I Learnt From This Experience...
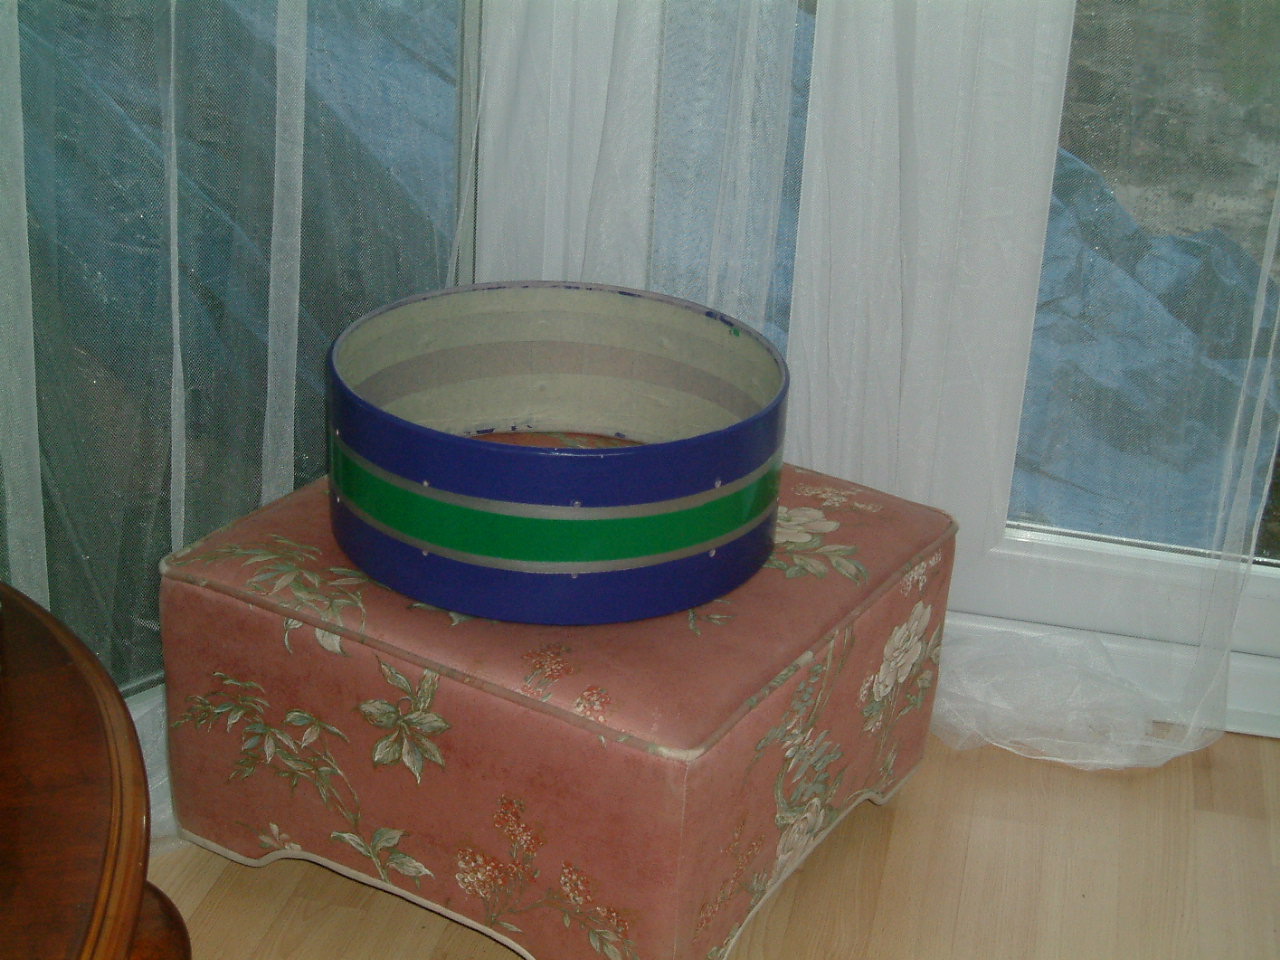
DO NOT use regular masking tape. I used it to mask the inside of drum and by the end there was all this sticky crap all over the inside of the shell and it was a bitch to remove and get the inside nice and smooth....
INSTEAD..... next time I will use actual Painting Tape........
ANYWAYS..........
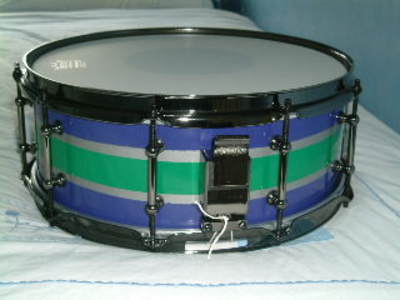
HERE IS THE FINISHED PRODUCT!!!!