Kenix Kil Images
Larger Images
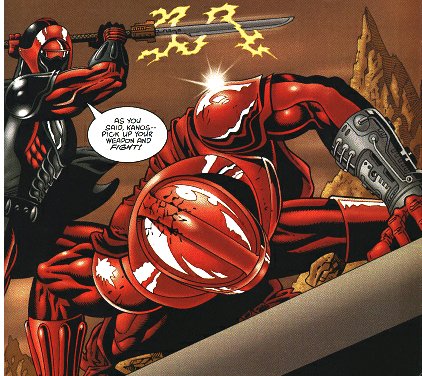
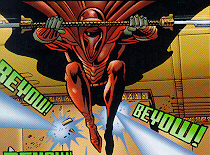
image one: Carnor Jax attempts to deliver a death blow to Kir Kanos.
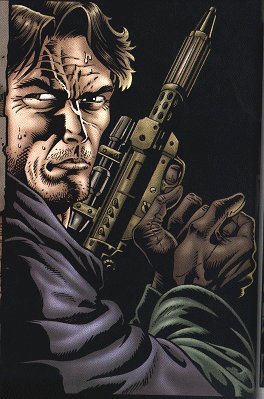
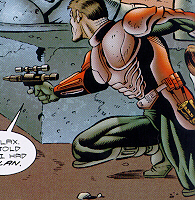
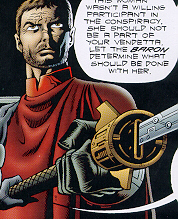
image two: Fugitive from the empire, Kir Kanos prepares for unwanted company.
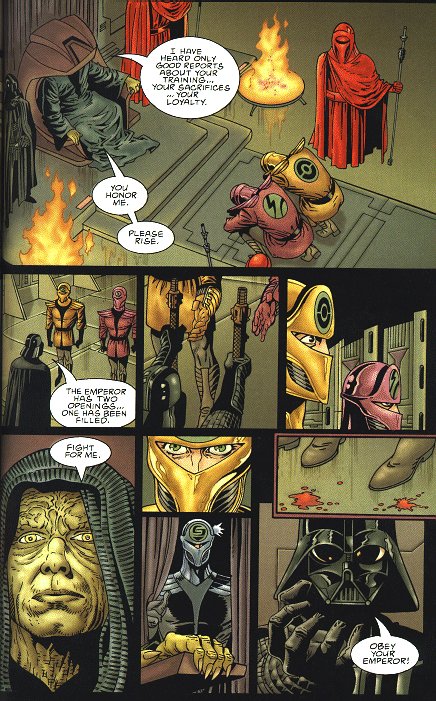
image three: Kir Kanos and his training partner Lemmet Tauk at their graduation ceremony.
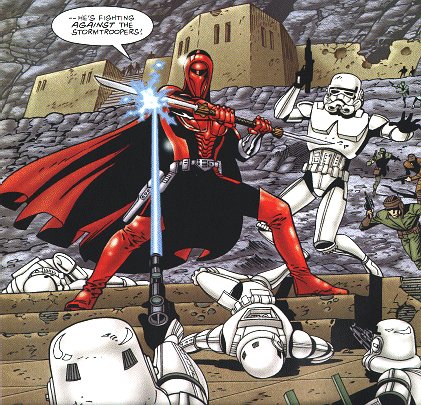
image four: Kir Kanos fighting against Imperials sent to capture him.
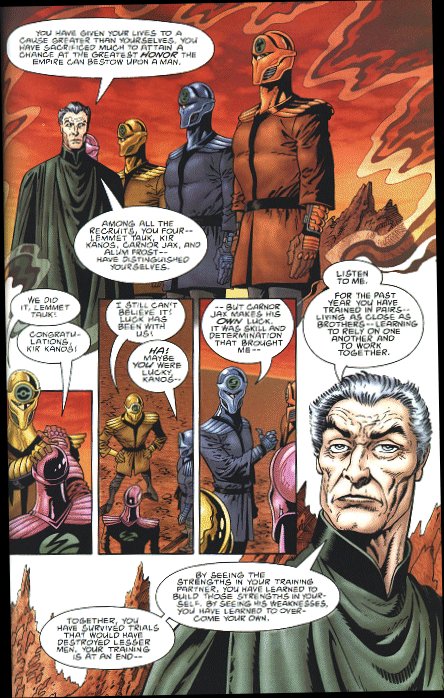
image five: The four surviving trainees from Kir Kanos's class, before their final test.
image six: The final test...
image seven: Lemmet Tauk, fighing for his Emperor.
image eight: One stormtrooper who did not know who he was messing with.
image nine: As above, overhead view.
image ten: "...maybe if I sneak up on him."
image eleven: "...CRAP! Bad idea!"
image twelve: Kir Kanos in the thick of battle.
image twelve+: Kir Kanos in armor, displaying the DH-17. fixed link!
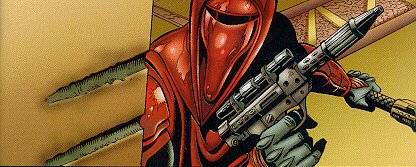
image fourteen: Don't hit the boots!
image fifteen: Good view of the left underarm.
image sixteen: "Urk! Ugh!"
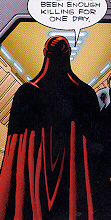
image seventeen: "Been enough killing for one day."
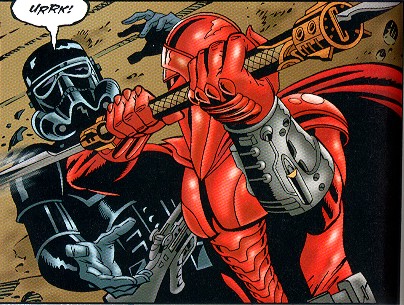
image eighteen: This is the noise pretentious, black clad stormtroopers make when you stab them.
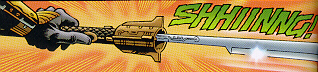
image nineteen: Demonstration of the Glaive's ability to block blaster fire, in the right hands.
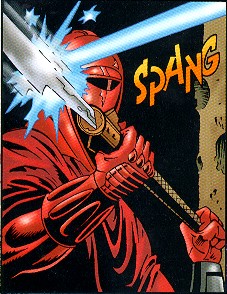
image twenty: Kir Kanos demonstrates his interpersonal communication skills.
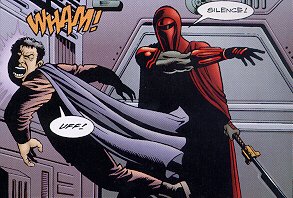
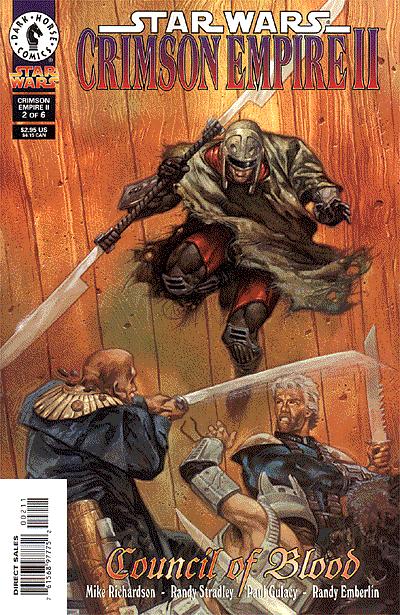
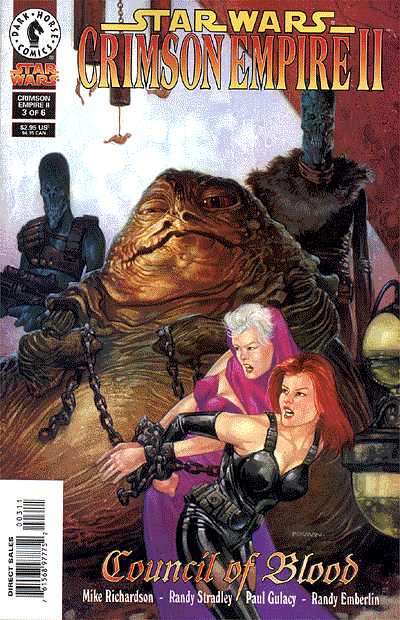
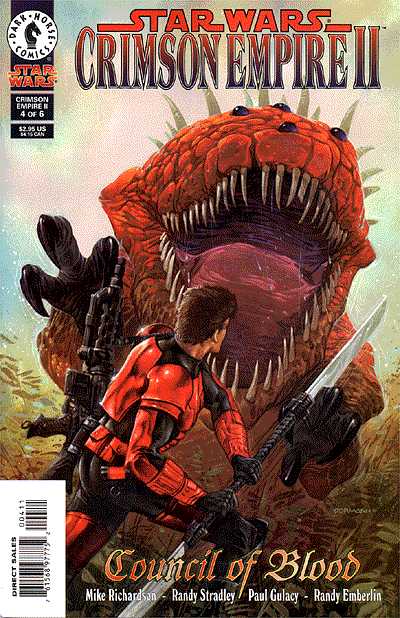
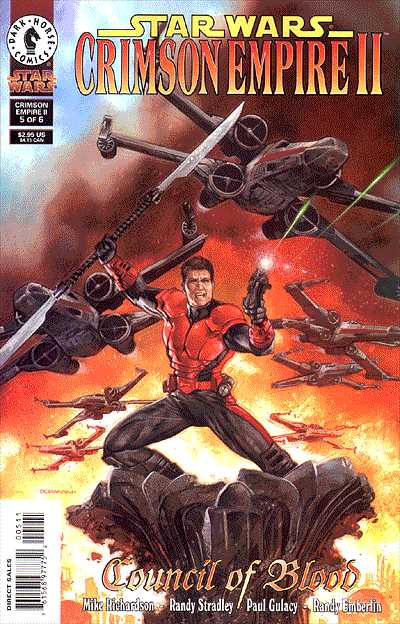
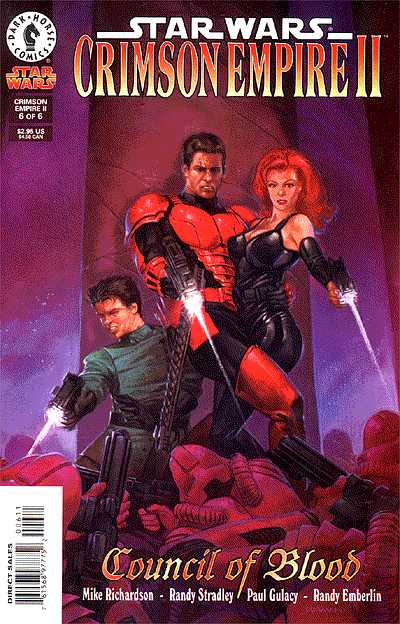
images 21-25: Crimson Empire Cover Art 21 22 23 24 25
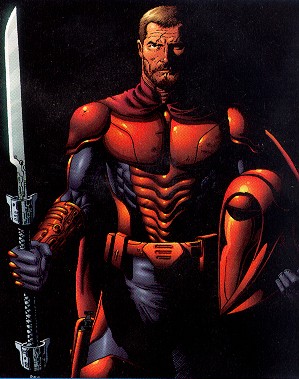
image twenty six: Kir Kanos posing for the camera.
image twenty seven: Carnor Jax same as above.
image twenty eight: close up of the activator button of the Glaive.
image twenty nine: close up of an three finned emitter on the Glaive.
image thirty: Carnor Jax strikes a pose.
Back to Crimson Empire
Back to The Squall
(These images are copyrighted to Dark Horse Comics / Lucasbooks... please do not sue me)