 |
|
|
|
|
|
|
|
|
|
|
|
|
|
|
|
|
|
|
|
|
|
|
|
|
|
|
|
|
|
 |
|
|
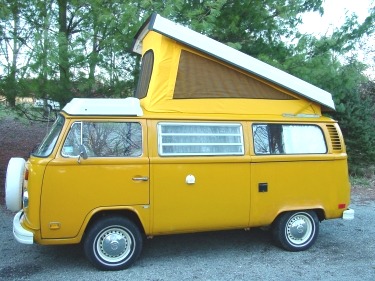
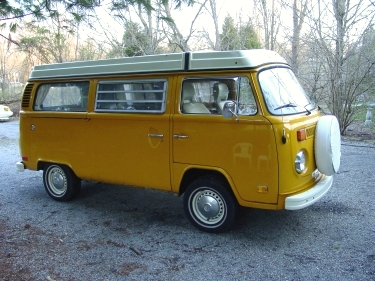
Here is the Camper after a few months of work; There has been minor rust repair (a job that will have to later be redone by a professional -- not me) in the driver's side cab floor and fender, the other fenders and passenger side rockers. A new top seal, poptop canvas, and front tire cover we also added to the exterior. |
|
|
|
|
|
 |
|
|
|
|
|
|
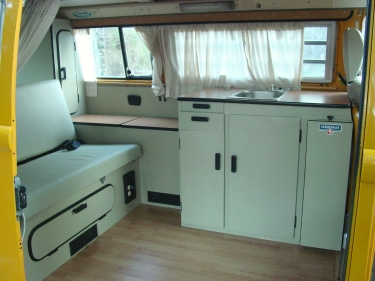
When I first started to work on it, I decided to get it running well first (what Greg did), then fix the rust for the time being, as I would presently rate the body a 7.5 out of 10 (the pictures make it look much better than reality). The worst was the interior, roughly a 3 out of 10. The interior is now a 9.5 out of 10, IMHO. |
|
|
|
|
|
 |
|
|
|
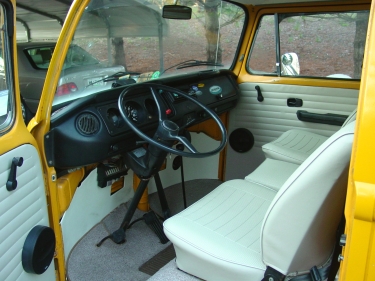
Here is the front cab area. I rebuilt and refinished the seats in an original VW off-white basketweave vinyl found in the late sixties vans. I thought it to be less busy and more durable that the original plaid camper cloth from 1976. It has new carpet from TMI with matching carpet that I found from a local carpet supplier, which I taylored for the pedestals. I hand built the stool for the middle because I though it would be useful and this camper did not come with it from the factory. It also has new door panels to replace the rotted green ones from before. |
|
|
|
|
 |
|
|
|
|
|
|
 |
|
|
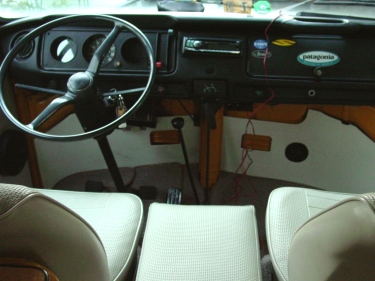
I have installed what is termed as a floating hardwood floor, as well as newly cut and painted wood panels for the interior sliding door, area behind and above the side cabinets as well as the rear hatch. Behind every panel and the side cabinets, new insulation was installed to replace the deteriorating old one. All of the cabinets have been sanded, with the nicks filled in with a rock hard cement putty. Then they were repainted with a heavy duty primer and covered with taupe furniture paint. |
|
|
|
|
|
|
Home |
|
|
|
|
 |
|
|
|
|
|
|
|
|
Before Pictures |
|
|
|
|
|
|
|
|
|
|
|
|
|
More After Pictures |
|
|
|
|
 |
|
|
|