|
1)
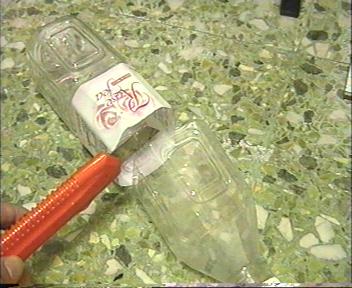
Find a mineral bottle (250ml or 1 litre) and Cut it into half using a pen
knife.
(Please
be careful with any sharp objects, wear a glove if need be)
Read
Safety Instructions HERE.
Read
the [Disclaimer]
|
|
|
|
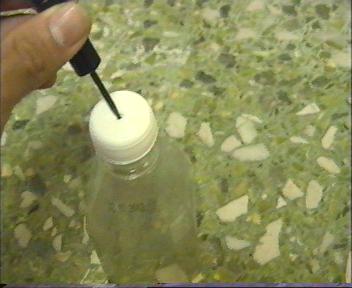
2)
Create a "tiny hole" on the BOTTLE
CAP using a sharp object.
-
diameter of hole must be slightly smaller than an air tube.
(Please
be careful with any sharp objects, wear a glove if need be)
Read
Safety Instructions HERE.
|
|
|
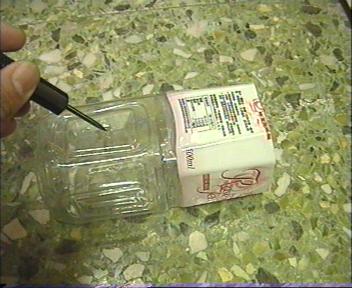
3)
Create a "bigger hole" at the SIDE
OF THE BOTTLE
using a sharp object.
(Please
be careful with any sharp objects, wear a glove if need be)
Read
Safety Instructions HERE.
|
|
|
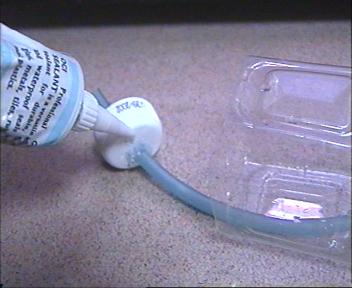
4)
Seal up the Bottle CAP
with Silicon Gel.
(Please
be careful with the silicon gel, keep it away from kids after using)
|
|
|
5)
The completed Brine Shrimp Hatchery. Quite Easily Done! (QED!)
(Less
than 10 minutes, try doing it yourself, it's fun & cheap!)

|
|
|
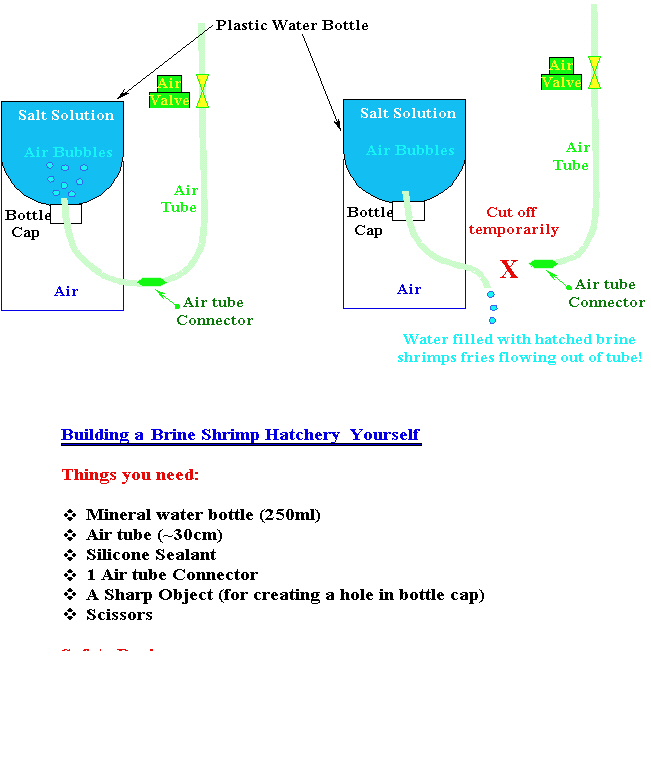
| Schematics of "DIY Brine
Shrimp Hatchery"
|
|
|
Things you
need:
 | Mineral water bottle (250ml) |
| Air tube (~30cm) |
| Silicone Sealant |
| 1 Air tube Connector |
| A Sharp Object (for creating a hole in bottle cap) |
| A pair of Scissors |
Back to TOP
|
|
|
Safety Devices Required:
| Goggles/Spectacles |
| Hand Gloves |
| Medical Kit |
Precautions:
| NEVER do this project when a child is around! |
| NEVER attempt this project if you are under 12 years old! |
| NEVER place the silicon gel near a child or fish/pets! |
| NEVER say you cannot do this project! If Alan can, so can you! ;) |
Back to TOP
Disclaimer:
The author of this website should not be held
responsible for any mishaps or losses as a result of following the
instructions here.
Back to TOP
|
|
|