| The whole set of materials needed:
(a)  A
Metal/Steel Ruler (For Alignment) A
Metal/Steel Ruler (For Alignment)
(b) A Ceramic
Tile (to protect your flooring)
(c) An
Acrylic Sheet (any thickness)
(d) An
Acrylic/Plastic Cutter (S$7.80 from Bookshops)
(*Safety Measures)
|
 |
|
|
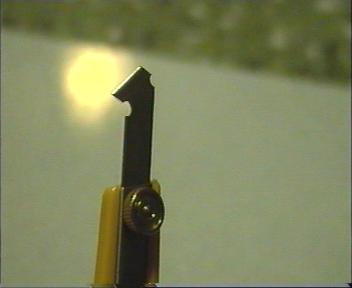
The 3 Blades of an Acrylic
Cutter:
Straight Blade
Upper Blade
Lower Blade
|
 |
|
|
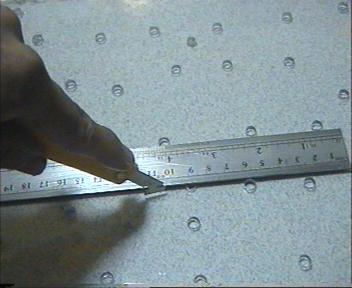
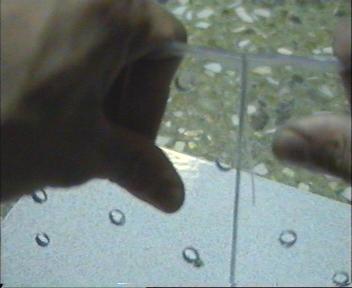
| 1st
Step:
Align
the acrylic cutter with a metal ruler and use the
straight blade to make a marking on the acrylic. |
 |
|
|
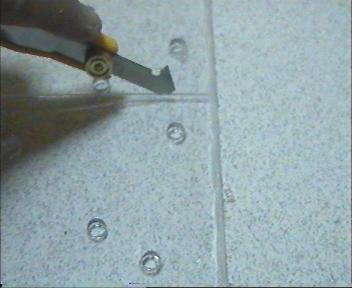
| 2nd
Step:
Next,
use the upper blade of the cutter and carefully
create a deeper marking on the acrylic. |
 |
|
|
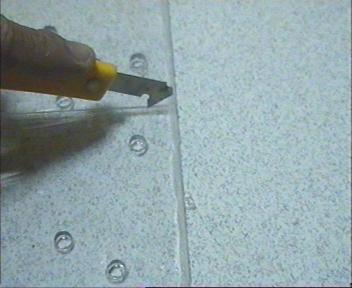
| 3rd
Step:
Next,
use the lower blade of the cutter to cut
6
times on the acrylic sheet to create a very deep marking. |
 |
|
|
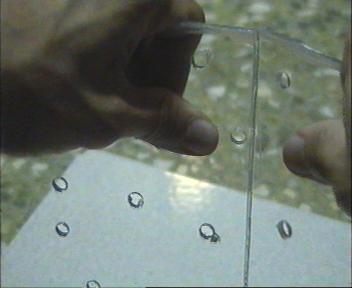
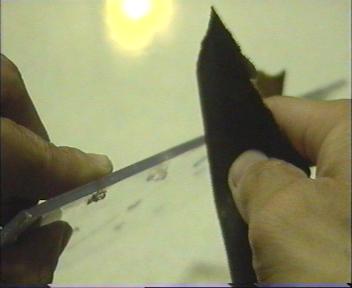
| 4th
Step:
Bend
the acrylic outward slightly, away from you! Slowly...
(Note: please wear safety goggles & gloves if need be) |
 |
|
|
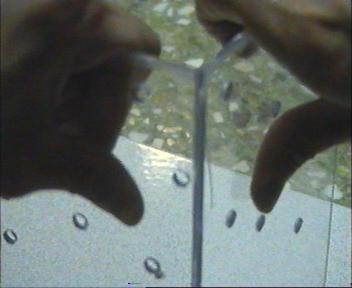
| 5th
Step:
Bend the acrylic inward, towards you. With a bit of force. |
 |
|
|
| 6th
Step:
Bend the acrylic outward again. This time, forcefully! |
 |
|
|
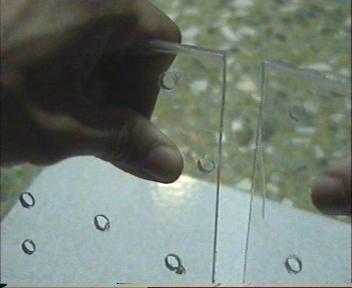
| 7th
Step:
Try to use your force to 'break' the acrylic apart.
(Don't destroy/break the whole piece, only break along the markings) |
 |
|
|
| 8th
Step:
"Sand
Paper" or "File" the rough surface of the acrylic sheet. |
 |
|
|
|
END
OF TASK!
Try
it yourself
It's
fun and easy to do it!
|
| *Safety Measures:
(1) Please use Gloves for extra protection!
(2) Do NOT point the cutter at anyone!
(3) Make sure NObody is near you when doing the cutting!
(4) Keep the cutter in a "safe place" after using!
(5) Smoothen the cut surface of acrylic using a file or sand paper, so
that it'll not cut your hands!
(6) Always get ready a medical kit near you!
Back To Top |