|
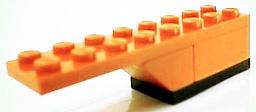
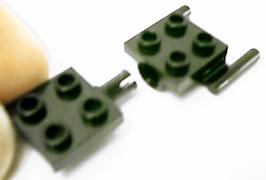
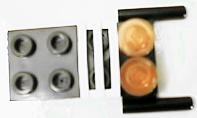
1. Start with
these
simple pieces.
|
|
|
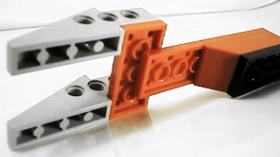
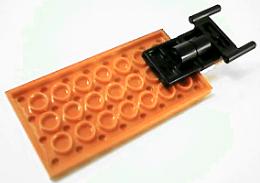
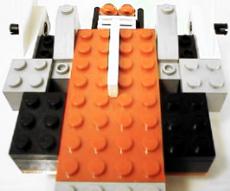
2. Add a 2x4
flat
piece and two
slanting girders.
|
|
|
3. Now a 1x2
brick,
and a slanted
2x2 brick.
|
|
|
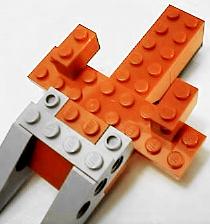
4. Add a 1x4
flat
piece to the
slanting
girders, a 2x8
flat
piece next to
them,
and two 1x2
bricks
as shown.
|
|
|
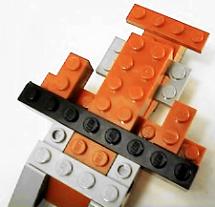
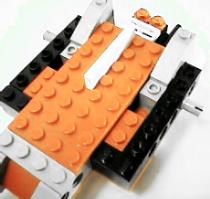
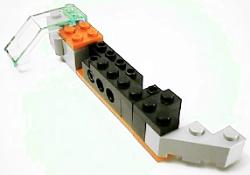
5. Add a 1x8
brick,
2x4 brick, and
a 1x4 flat piece
as shown.
|
|
|
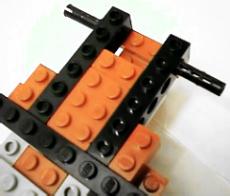
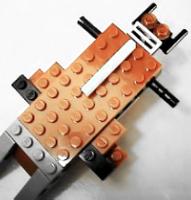
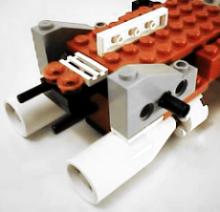
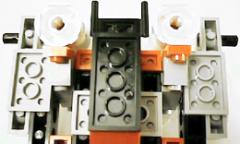
6. Place two
1x6
girders as shown,
and two extended
pegs in the
last
girder holes.
|
|
|
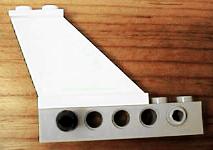
7. Set the body
aside for now
and
create the head.
|
|
|
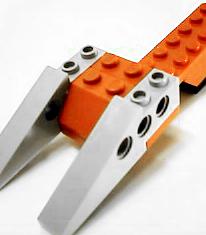
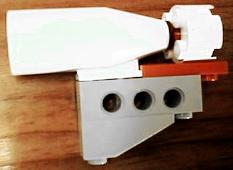
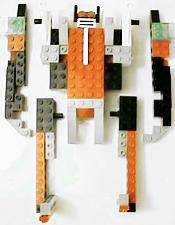
8. Attach the
head
to a 4x8 flat
piece like so.
|
|
|
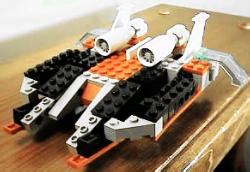
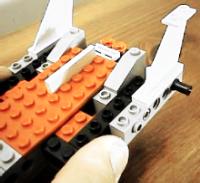
9. Place the
panel
onto the body.
|
|
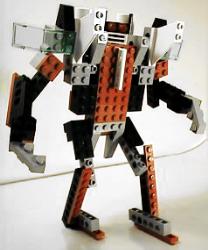
 Arms
Arms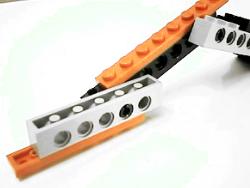 Legs
Legs