|
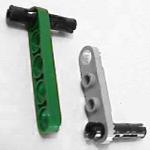
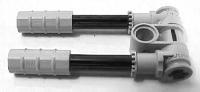
extended pegs, a 5-long holed piece and the 4-long piece shown here. |
  |
|
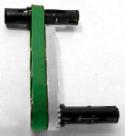
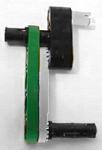
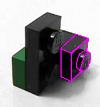
component with the parts shown here. |
  |
|
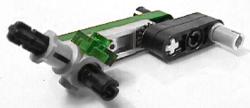
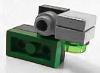
components like so. |
 |
|
pieces to the bottom extended peg. |
 |
|
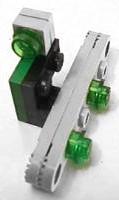
following component and set it aside. |
  |
|
next component... |
   |
|
to the first. |
 |
|
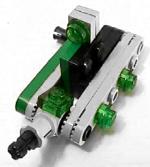
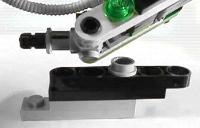
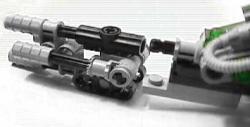
component with the one in step 4. They should fit together tightly. |
 |
|
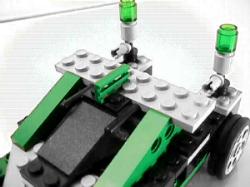
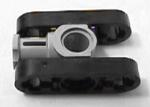
single brick with a light brick and a 1x1 round plate. |
 |
|
to the 4-way single brick. |
 |
|
component with 2 1x4 plates and a 1x3 plate. |
  |
|
piece and a 1x1 round piece. |
 |
|
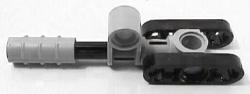
to the arm by inserting the nub on the arm into the second hole in the component. Clear as mud? Just look at the pictures. |
  |
|
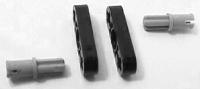
aside for now. Make this part with the shown pieces. |
 |
|
with a 3-long axle and the shown pieces. |
 |
|
4-long axles and the shown connectors. |
 |
|
entended peg, add the component from step 14. |
 |
|
part with the shown pieces... |
 |
|
4-long axle, and other shown pieces... |
 |
|
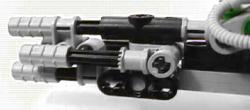
to the step 17 part via the extended peg. |
 |
|
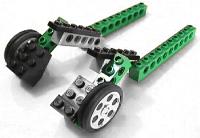
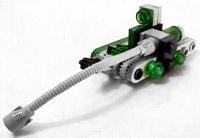
lower arm completed, add it to the upper arm's axle. |
 |
|
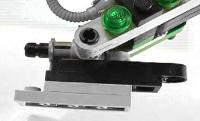
the connection is snug. |
 |
|
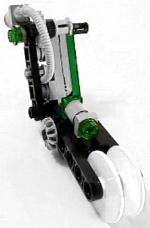
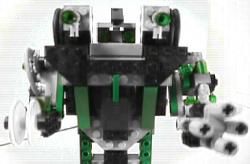
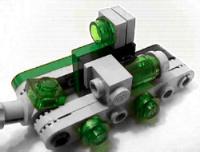
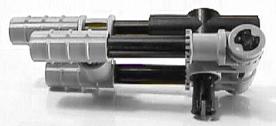
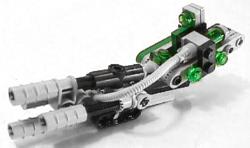
is to insert the upper arm's hose into the middle of the gun barrels. It doesn't attach, it's just stuffed in there. |
 |