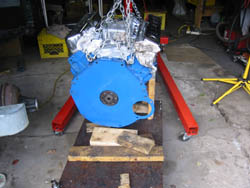
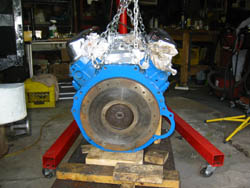
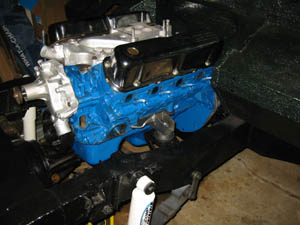
It was now the time to get the engine tidied up and ready for its final resting place! I cleaned and painted the backplate, then did a bit of wire-brushing and sanding on the flywheel itself. Did a few tests with straight edges, and it seems that it had been re-faced shortly before I bought it, because it was in great shape. On it went!

Next came the remanufactured clutch kit, which went on really easily (the alignment tool that came with the kit was a real help.) Then some other tightening and balancing with the chain and the hoist, and up she went! I learned my lesson the hard way last time - if you are going to put it in by yourself, make sure that it is perfectly balanced and level in the hoist. And take lots of pre-emptive motrin.
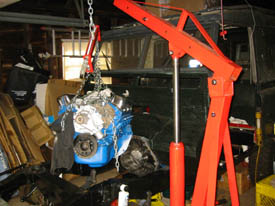
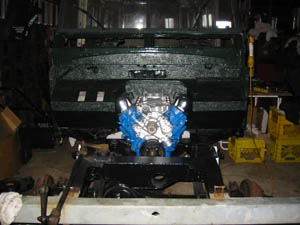
It actually didn't take too much wiggling to get the engine it...considering it was my third time hoisting it into the chassis, that is. It took a fair amount of coaxing to get her to slide onto the output shaft. But once it was in place, I did a little dance - it all fit in there! I placed a level on the intake mainfold plane, and it was bang on 5 degrees, so I went full on Michael Flatley as far as the dancing was concerned!
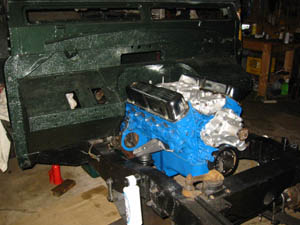
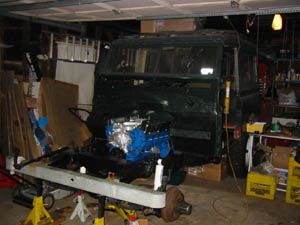
When all was said and done, it turns out the measuring and planning had really paid off. Now, my wife is quick to point out that it has taken me 18 months to get to this point, but I think that slow and cautious is the only way to do this kind of stuff. So, now that the engine is in there, I have to bust out the notebook and do some serious studying on what has to go in there next. I also need to get around to ordering all the ancillary bits that I am going to need, i.e. alternator, starter, headers, distributor, fan and pulley, carburetor...you get the picture. Let's hope that Santa is kind to me this year!