Animated Celestial Clock
For this tutorial you will need the following:
PSP 7-you can get a trial version of it here.
Sun~N~Moon font-you can get the zip here.
A tube of your choice or the one that I used-get it here.
The tube of the glass-get it here.
OK.. lets get started. Remember to save often. There are a lot of steps involved and I'd hate for you to get half way finished and your PSP freeze up!
Open a new image 500x500-transparent.
Flood fill it with black. This is so we can see what we're doing better.
Set your FG & BG to white and locate your Sun~N~Moons font.
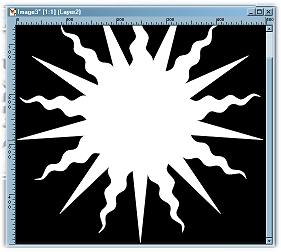
The ding that I used is Alt-109. Size 450. Make sure you have vector checked so you can stretch it to fit if necessary.
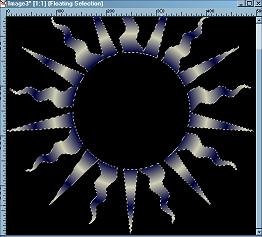
If you need to, stretch the star so that the points almost touch each side of your image, see below.
Now choose your selections tool set to circle, antialias checked and feather 0.
Start at coordinated 250,250 and go to coordinated 367,367.
Now click on
Edit<Clear. You should have this: 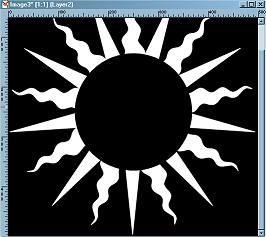
Keep selected & Go to Selections<Save to Alpha Channel and name it "Face".
Now hit Selections<Invert and then click any where on the rays to select them. You should now have the marching ants going around your rays of your sun.
Keep your frame selected.
Make your FG color #CRCFB1 and your BG color #000040.
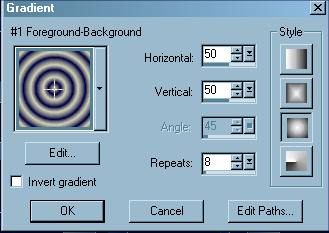
Change your FG to Gradient #1, forground/background, sunburst, H&V 50, repeats 8. Invert gradient Unchecked.
Now flood fill your frame.
Apply an inner bevel and use these settings:
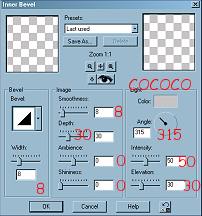
Deselect.
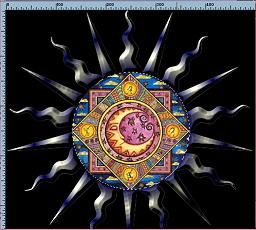
Add a new layer and go to Selections<load from Alpha Channel<and select your face selection.
Open your tube and select all<Copy.
Now go back to your clock image and paste into selection.
Effects<Sharpen<Sharpen. Deselect.
Add a new layer. Name it "Edge".
Load from Alpha Channel<Face.
Selections<Modify<Expand by 5.
Flood fill this with #CFCFB1.
Selections<Modify<Contract by 10.
Click on the scissors to delete.
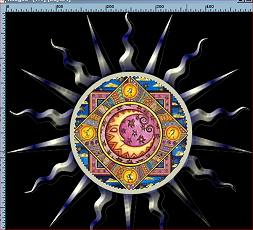
Deselect and add the same inner bevel as before.
Now add a drop shadow with these settings. (V&H 1-Opacity100-Blur 2).
Reapply the drop shadow but change your V&H to (-1).
Remember to save your work often!
OK... lets take a break and then go on the page 2. Don't worry, we're almost finished. Just a little more to do and then we'll take it to the animation shop.
This tutorial was created by Tina of ©KreationzByTina (2000,2002)
All misspellings are my own.