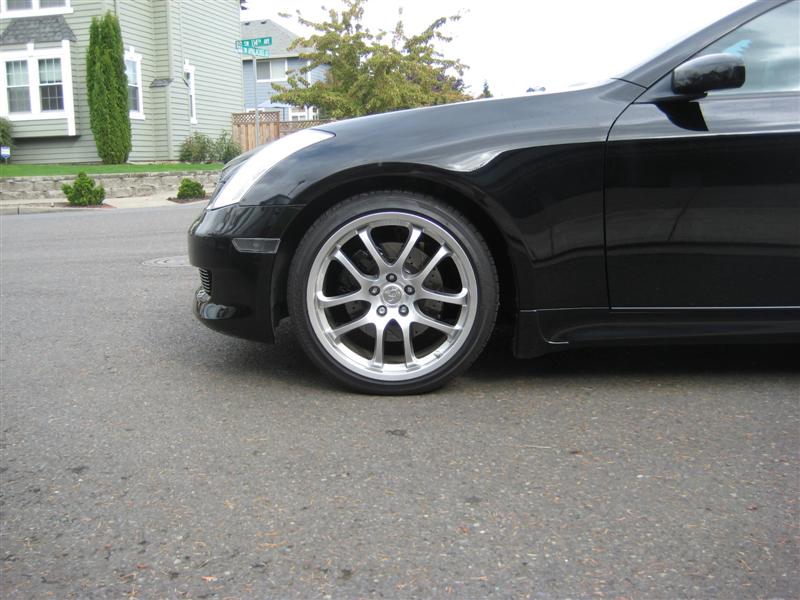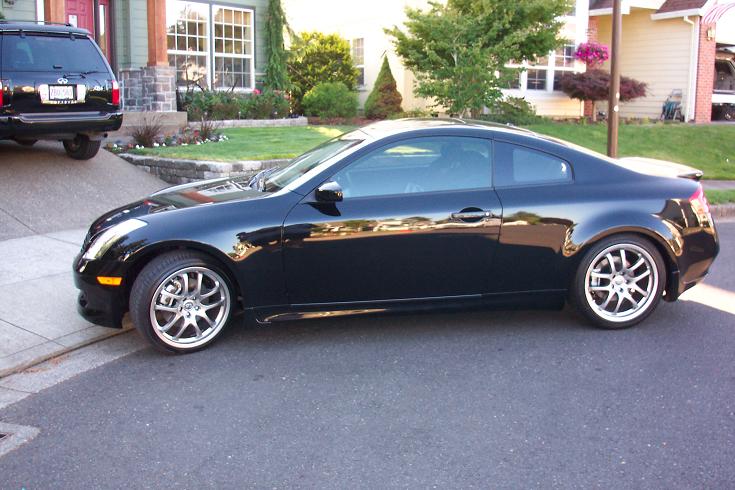
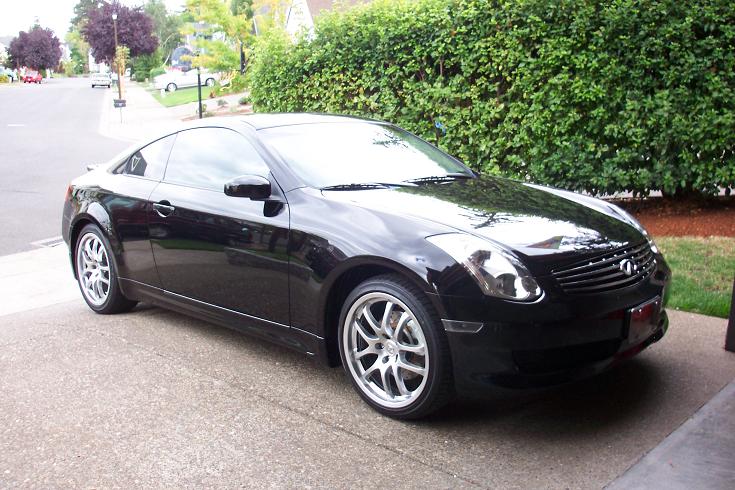
Before buying this ride I had looked at the Nissan 350Z since both that and the G35 are basically the same under the skin... or so they say. The Nissan to me just seemed like a lower quality car and seemed to be a more "in your face sports car". The G35 on the other hand felt more refined and sleeker, a little less assuming; until you drive it!
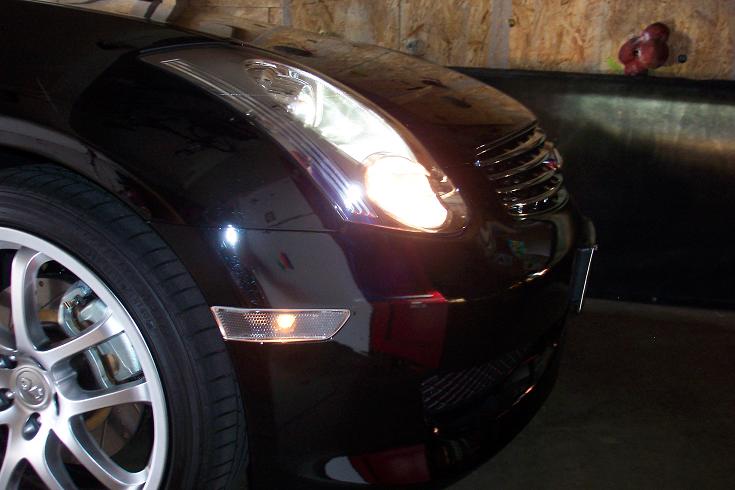
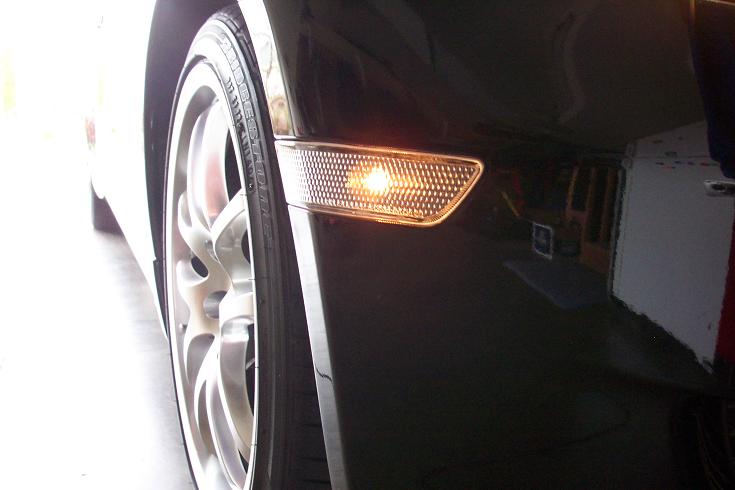
I really love the all black look of the car... tinting the windows and installing black turn signals (OEM came with silly, bright, safety orange reflectors) just makes it all the better in my book. It's quite the head turner and I've gotten lots of comments and looks when I roll up.
Side Marker Lens
Side Markers as Turn Indicators
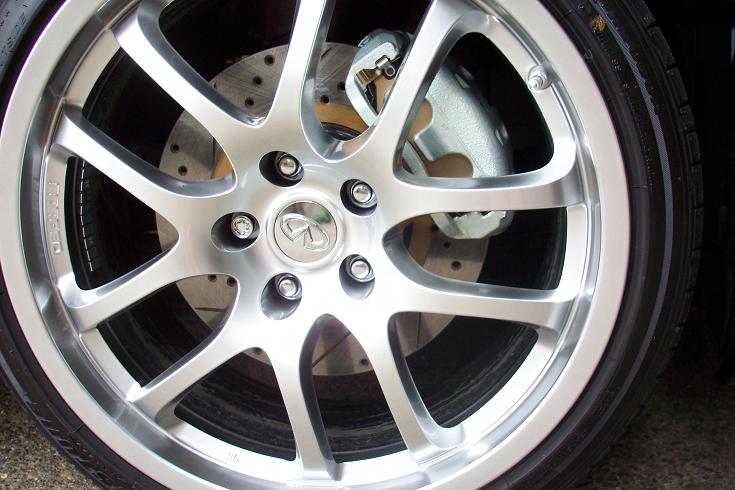
Cross Drilled Rotors
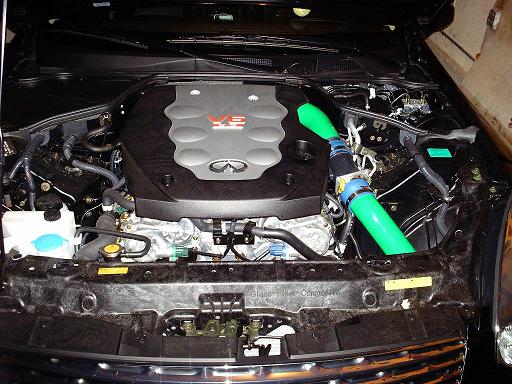
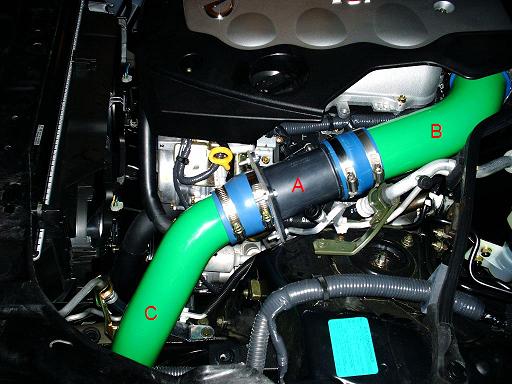
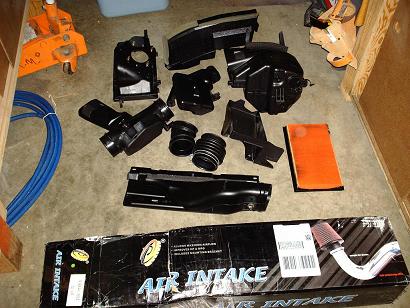
Cold Air Intake
Brand/Logo Debadging
Billet Grill
Cat-back Exhaust
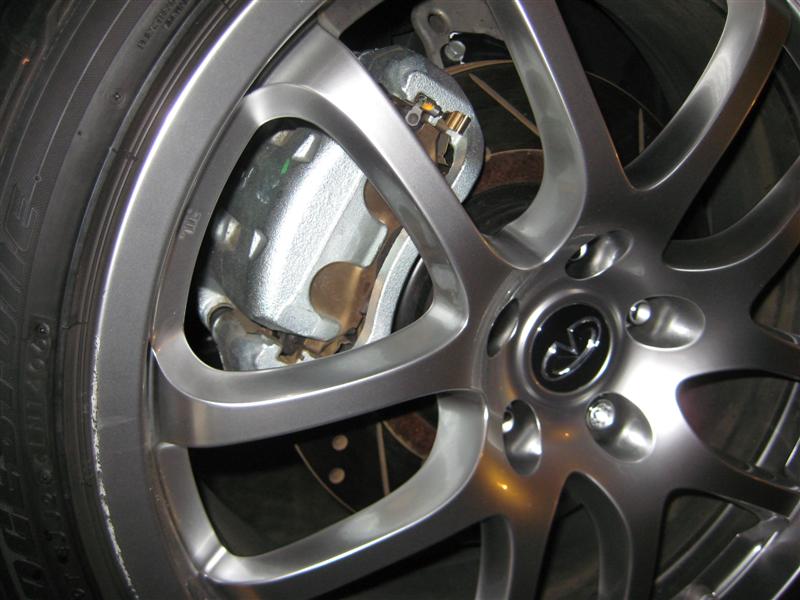
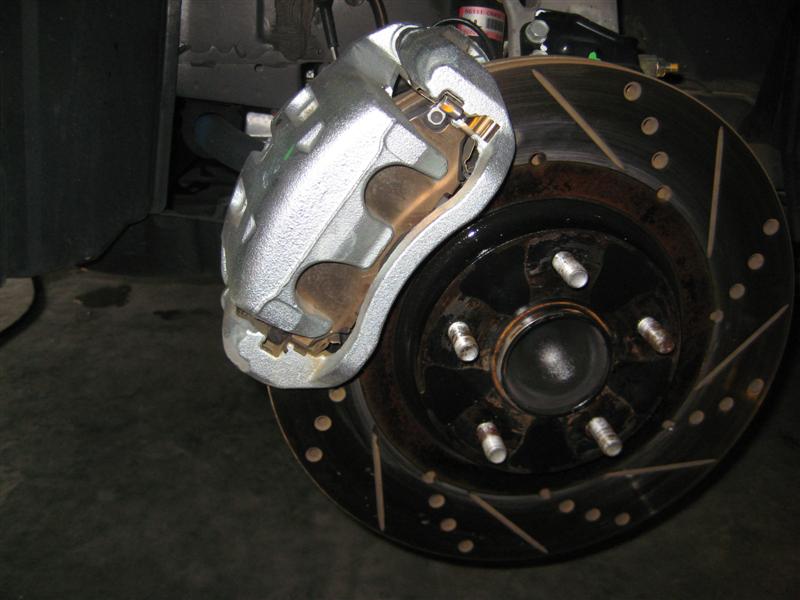
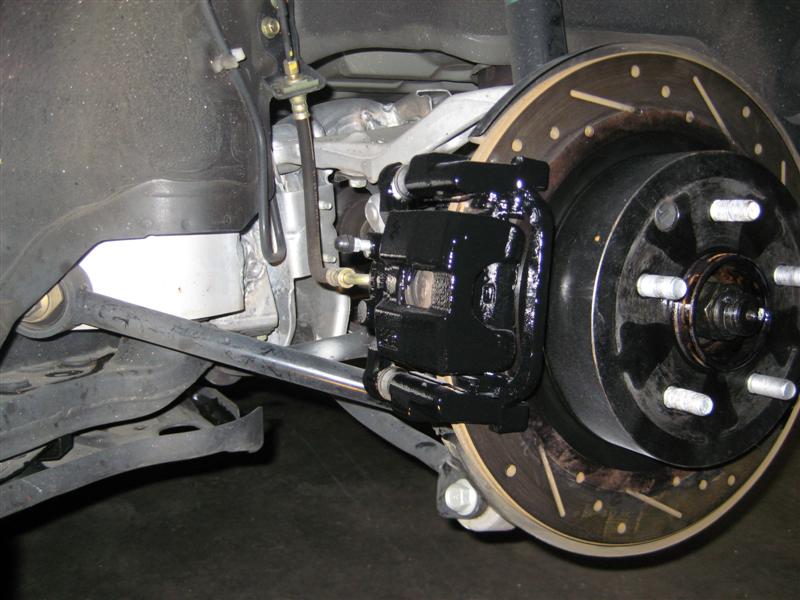
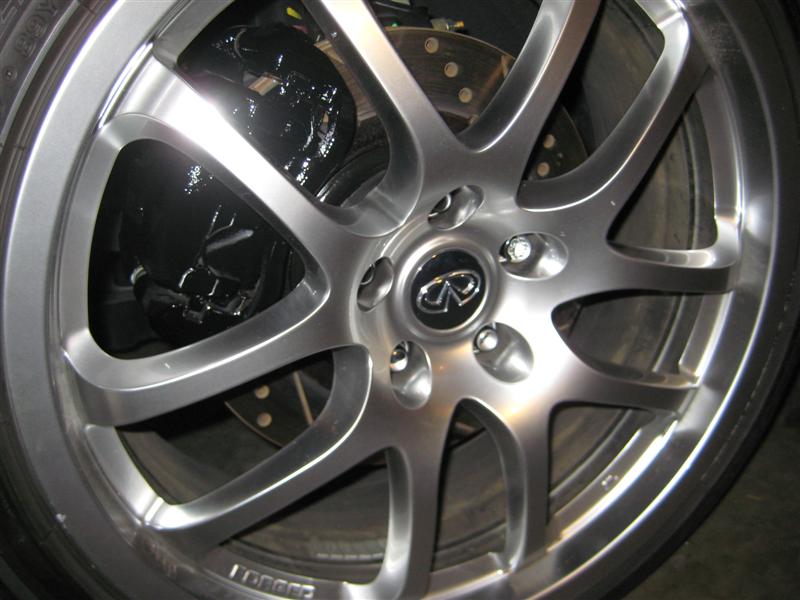
Painted Brake Calipers
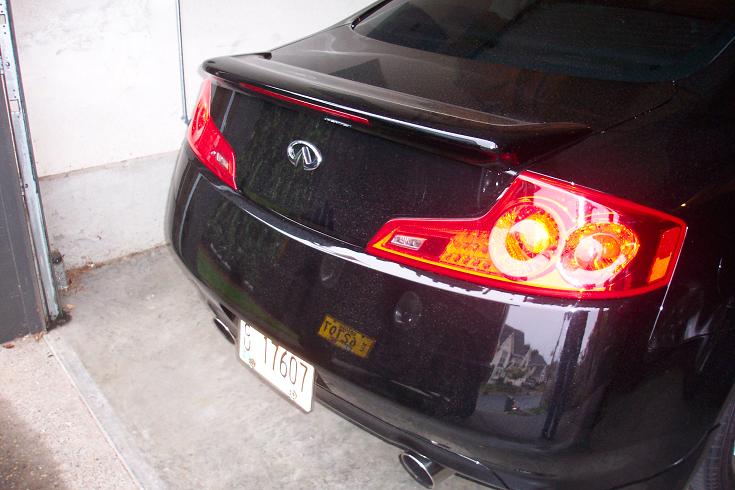
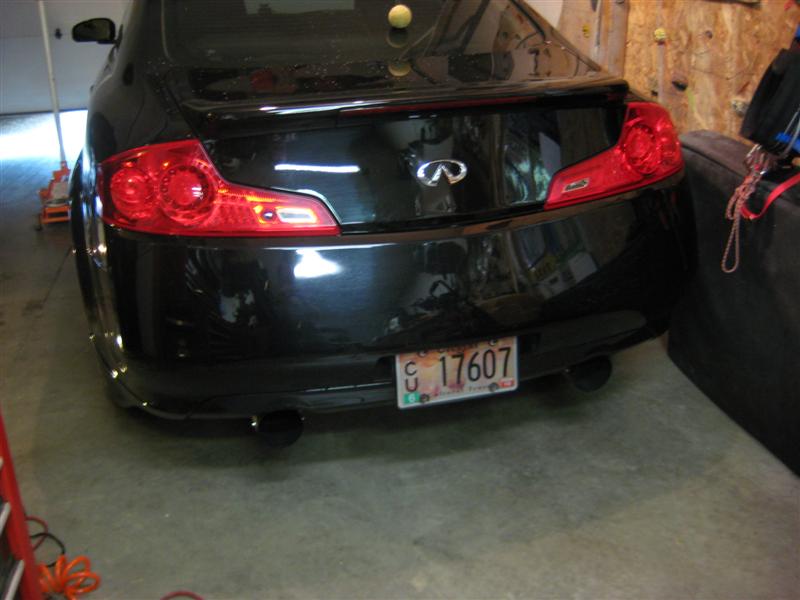
This wasn't a hard project to do but you must work slowly and patiently. I just used the old trick of zapping a letter with a hair dryer for about 30 seconds and then while the adhesive is still warm "floss" off the letter using dental floss (I've also read someone using fishing line, but I have not tried this myself).
Time: 2 hours
Difficulty: Pretty easy to get the letters off but it takes some time to carefully remove the glue. Care must be taken to not scratch the paint... just take your time! This is not a project that you want to do if you are in a hurry.
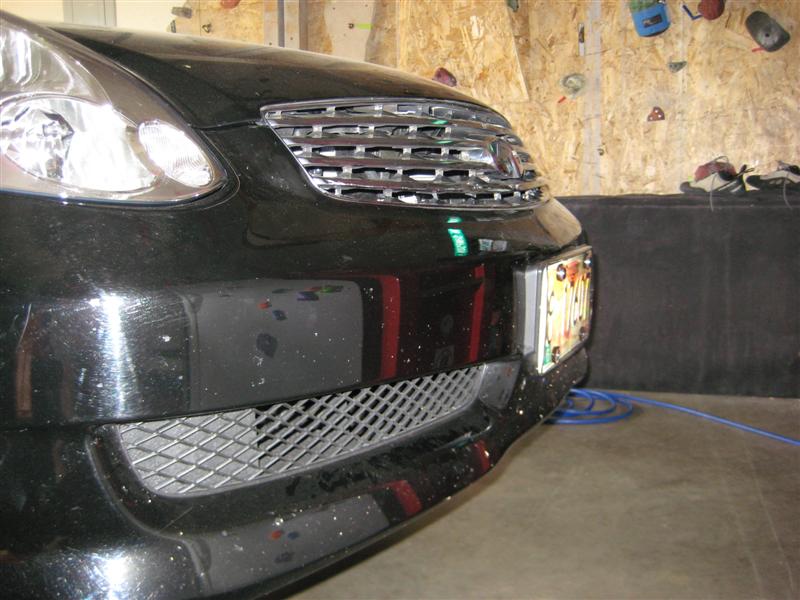
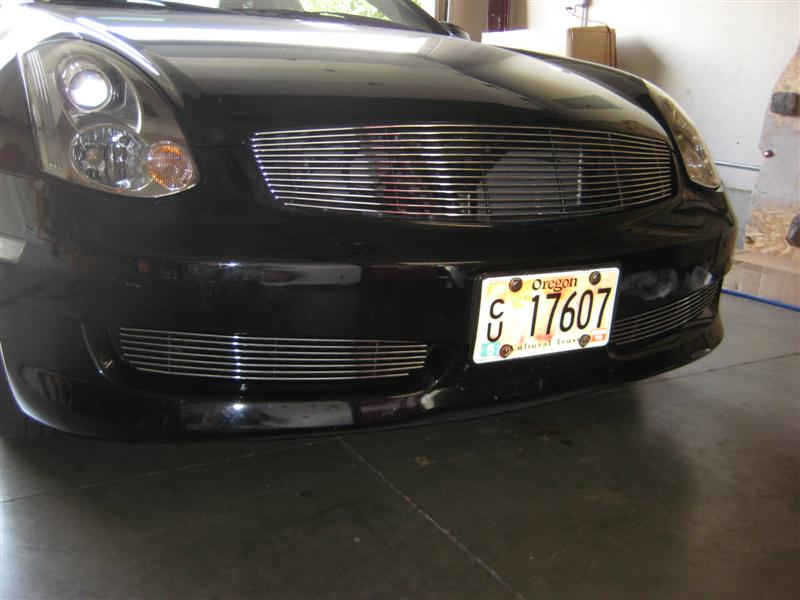
I ended up selecting a matching set of upper grill and the 2 lower grill covers. I figured the lower grills would tie the whole front end together since the single billet grill wasn't as "strong" as the factory grill. Besides, I thought the stock molded, plastic vents in the bumper of the G's look like crap. The billet bumper covers might just be the ticket. I paid only $50 for the entire set, but shipping cost another $50+ insurance, etc. Total out of pocket was $115... pretty silly for an item only costing 50 clams but the typical angle of selling cheap and over charging for shipping was very much in play with this item.
In the end, got the product, had a few minor flaws, but was ultimately impressed with the all-metal (albeit cheap) construction. Time will tell if the lower bumper grills stay in place since they are held on by tiny, non-locking nuts and bolts.
Time: 90 mins
Difficulty: Top grill was easy. Had to carefully bend the grill's mounting tabs (cracking one of the welds), but it lined up well. The bumper grills were more difficult. The inner bolts were easy to get to.... the outers were nearly impossible. Since I had already installed the cold air intake, there was a lot of room to work on the driver's side. The passenger's side however was not accessible so I just ran a black drywall screw into the foam block behind. Time will tell if this stays put.
Time for a rumble!
The stock exhaust on the G isn't bad. You get a reasonable sound, especially when you accelerate and the sound echos back off buildings. But, I wanted more; something a little louder that you didn't have to find a building to hear "what you sound like". Also didn't want something that was a rice-sounding resonator, but rather more of a deep-toned rumble.
After doing some research on the web I found lots of youtube videos of guys capturing their exhaust sounds.... HKS, Stillen, GReady, etc. They all roughly sounded the same over my computer speakers. I'm sure they have different qualities, but I wasn't getting enough of a difference to justify spending, in some cases, well over a grand. So, again off to eBay.
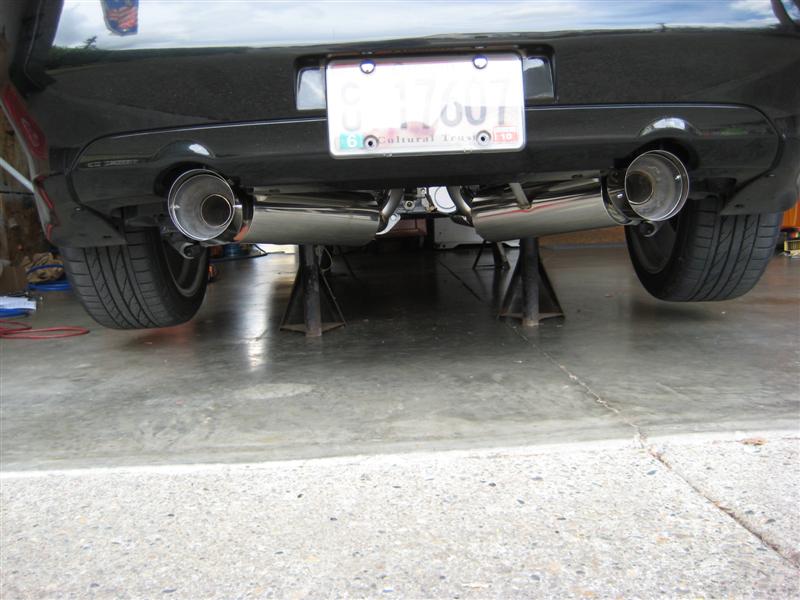
I ended up going with the stainless exhaust (from the catalytic converters, back [aka "cat-back"] ) from CX Racing out of El Monte, CA (www.cxracing.com / their eBay store). Their auction had a cool video of stock versus their exhaust. Sounded good to me! And after "or best offering" a measly 400 clams (with an additional $135 shipping + insurance) I feel like I got a great deal. Even at their suggested price this is a real bargain.
Received the 55lb box really quickly. Anxiously tore it open and found a lot of shiny stainless parts, including bolts and gaskets.
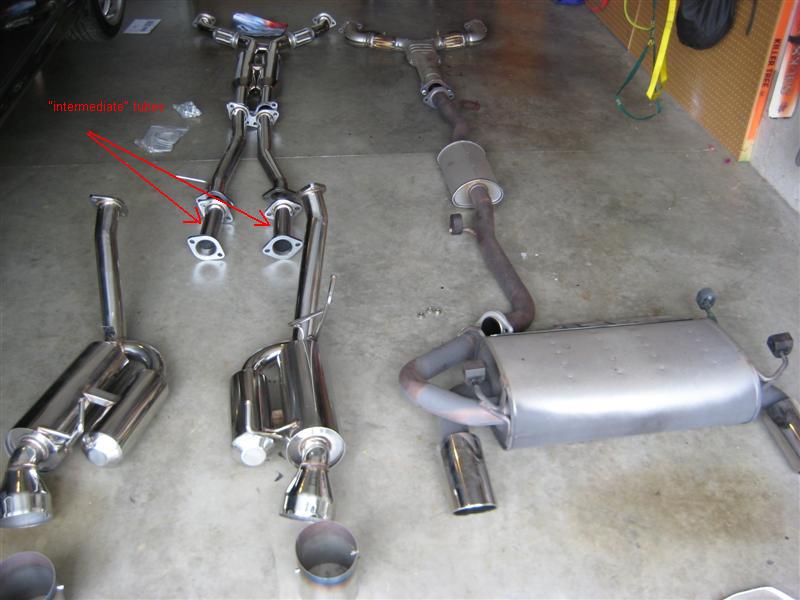
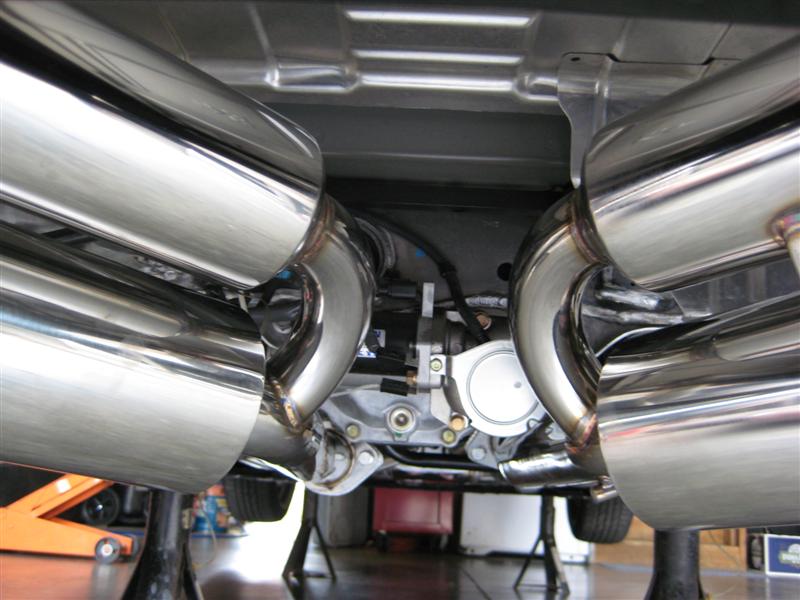
It all went in as advertised with only a slight hiccup due to the intermediate tubes requiring inverting. Not doing so caused the exhaust to rub on the driveline. Unfortunately I didn't know this until after the G was back on the ground and I tried to drive it but heard a speed-based "tick-tick-tick". After going back under the car for another couple hours (and a lot of struggling) I got everything in place nicely.
When I started the car for the first time I was surprised by the "excuse me.... this isn't your father's G anymore"-sound. It causes the car to have a happy vibration even at idle. Not obnoxious mind you, only more "serious" sounding. Time will tell if this will become annoying on long drives but for now this will be a blast buzzing around town and on the occasional all-out dash down the road.
Taking the car out for it's first test spin was great and the exhaust note reminded me of an old Porsche 904/906 (or what I imagine a 70's GT car) would sound like.
So far, I only have a couple of complaints: for $135 in shipping, I feel like they could have packed the items better. I got a huge box full of parts. Though individually bubble wrapped, they were all floating around loose in the box. This ended up scuffing one of the chrome exhaust tips. Would have been better if the parts were taped in place or maybe back-filled with peanuts.
Another issue is with seemingly inexpensive exhaust tips themselves. I haven't compared these with any other brands so maybe this is the norm, but these seem to yell "after thought and after market" to me. I also don't care much for the way you jam them on and hold them in place with 2 bolts each. I'd rather see these welded on, or perhaps the true ends be chrome tipped/finished.
Lastly, although everything lined up fine and installation wasn't overly complicated, instructions of any kind would have been helpful since my re-visit to correct the drive-line issue was a PITA. I don't know if flipping over a couple of extension tubes was a requirement, but it's the only way I was able to get everything clear. Maybe I have the entire thing upside down? With no instructions/diagrams I have no way to know. Furthermore flipping these over caused the tailpipes/chrome tips to be forced skyward right into the lower body plastic and the first time the exhaust was up to temperature it melted slightly into the body right where the stock exhaust cutouts are (guess the cut outs should have been larger for this exhaust)! I'm going to wait and let the pipes "settle" and meltout as much room as it needs which shouldn't be much, then I will take off the rear of the exhaust and sand/paint the cut-outs in the body to give it a finished look. Easy fix, but an unfortunate side affect.
Time: 5 or 6 hours
Difficulty: Probably one of the more time consuming projects on this car thus far. I've certainly had more difficult automotive projects to be sure but instructions would have helped. Likely one of the hardest steps was just getting the G up on all 4's. Not sure if this is ultimately a requirement, but I can't imagine removing the exhaust without full access in all different directions.
Hear what my G sounded like before the new exhaust...
...and then after.
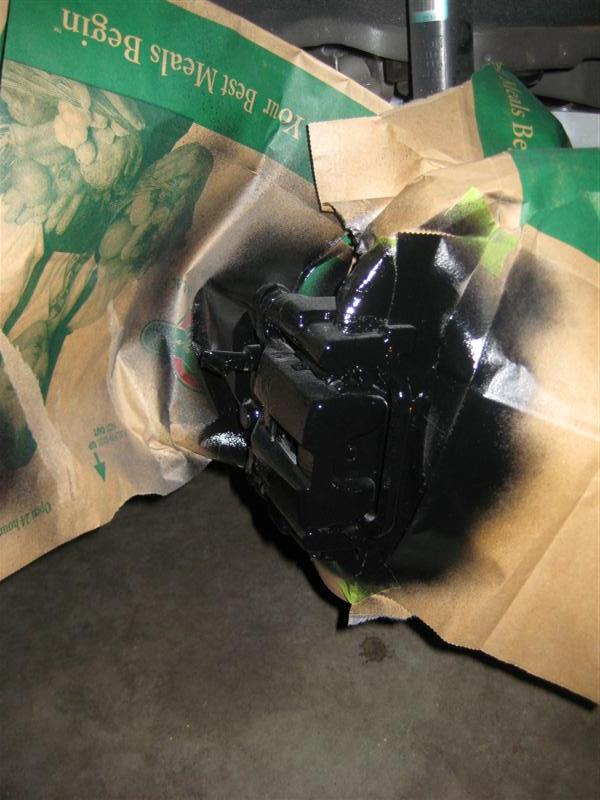
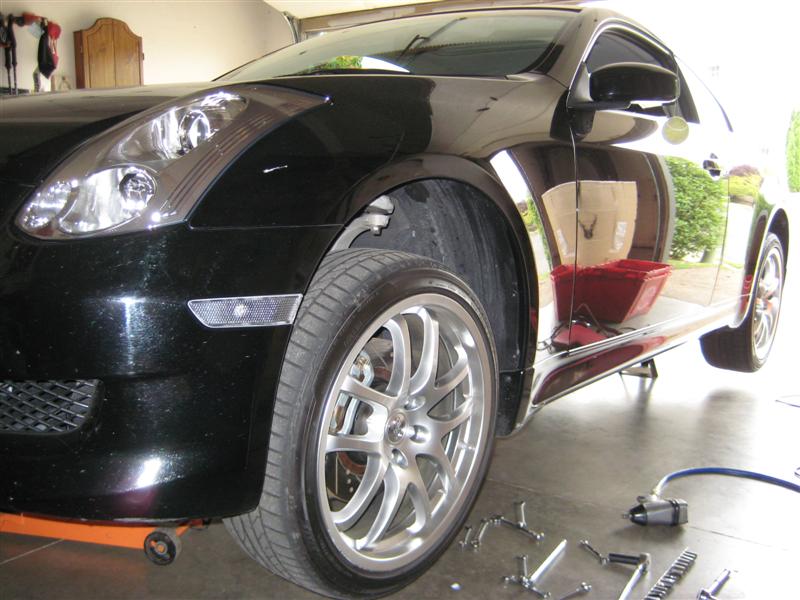
Time: about 4 to 6 hours total (including time to remove the wheels and mask everything)
Difficulty: Not much to say really as this is an obvious project. I did this one side at a time over the course of 2 evenings. No primer was used and my calipers were very clean in the first place (older, dirty, or pitted parts likely would need primered first). I applied 3 coats of "Dupli-Color Engine Enamel Gloss Black DE1613" which has a max temp of 500 degrees so I figured this was safe. After that, I applied 2 coats of clear using the same Dupli-Color product line. Before painting, be sure and mask everything off really well including the rotor, wheel well, pads, and the little rubber boots that allow the caliper halves to float.