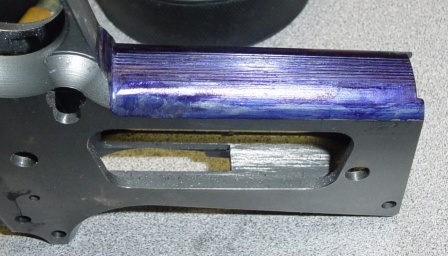
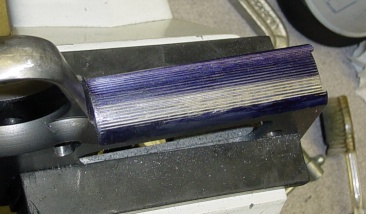
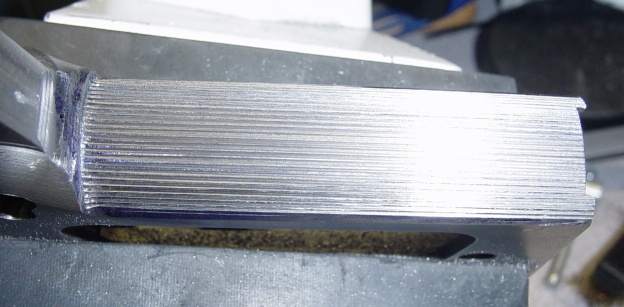
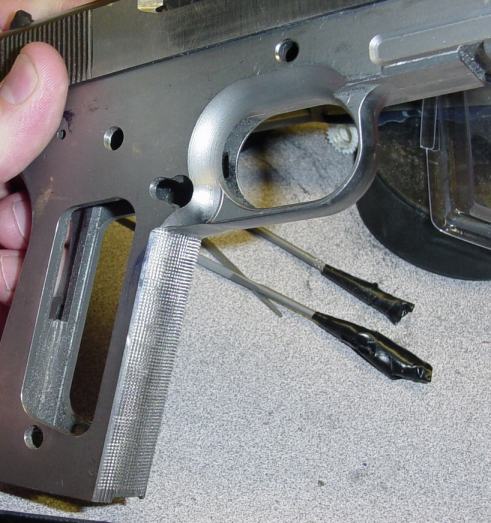
While I was waiting for the parts to arrive, I undercut the trigger guard and checkered the frontstrap at 30 lines per inch. I used a carbide 3/8" mill to hog out most of the cut and then finished it out with my files. The checkering only took about three or four hours of work. I did it the same way I did before, cutting the vertical serrations to full depth before doing the horizontals. This time I just used my vise jaw as a guide to lay out the verticals. Bringing them to full depth didn't take as long as 20 lpi checkering, because you don't have to remove as much metal. Cutting the horizontal lines proved more challenging, mostly because it is more difficult to keep the file in the grooves when you're cutting a new line. Still, I like the way it turned out, and I think 30 lpi provides a good secure surface to hang onto without hurting your fingers (though 20 lpi doesn't especially bother me as much as it bothers some people.)
I blasted the external parts such as slide, frame, hammer, beavertail, mainspring housing, mag catch, trigger, safety, etc. I did not blast the disconnector, sear, springs, pins, or barrel. For one thing, they are mostly hidden inside the gun, and I didn't much care if the moly resin might scrape off here or there. Also, blasting might change the critical tolerances of some surfaces (hammer & sear hooks), and it would have the unwelcome effect of imparting a gritty feel to everything. This time I blasted the checkering to help clean it up a little. Due to the reflections on the freshly checkered surface, it can be hard to see the exact shape of the checkering, but after blasting the whole area was easy to inspect.
I degreased the parts with a few blasts of brake cleaner and then followed up with a bath in water based degreaser and a rinse. Then everything went into the oven on a foil-covered cookie sheet to preheat. For this gun I wanted to try Norrell's semi-gloss black moly resin. Applying the finish was easy and occurred without incident. My $5.00 Harbor Freight airbrush is holding up well so far. I did notice that it is better to keep a continuous spray of paint going, and just move the parts around. Previously I'd tried to do quick squirts back and forth like I'm accustomed to doing with a spray paint can, but this would result in a few large drops coming out each time I opened the valve. As long as I was holding the button, the paint flowed smoothly.
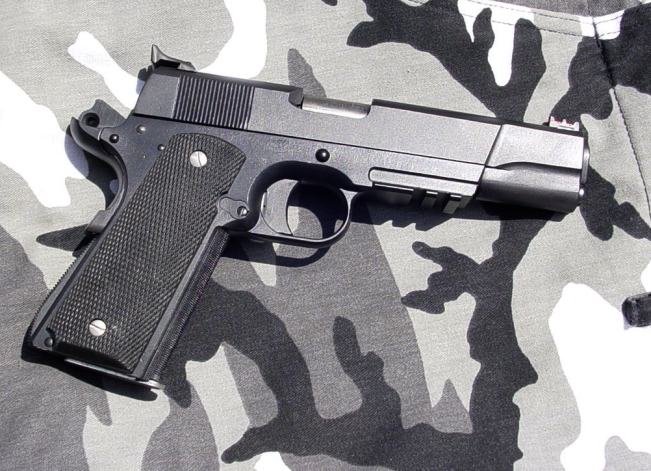
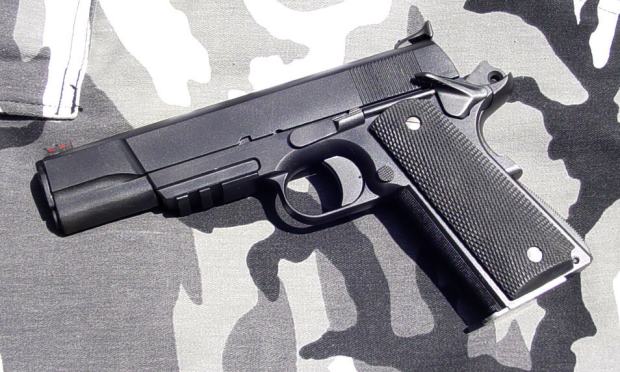
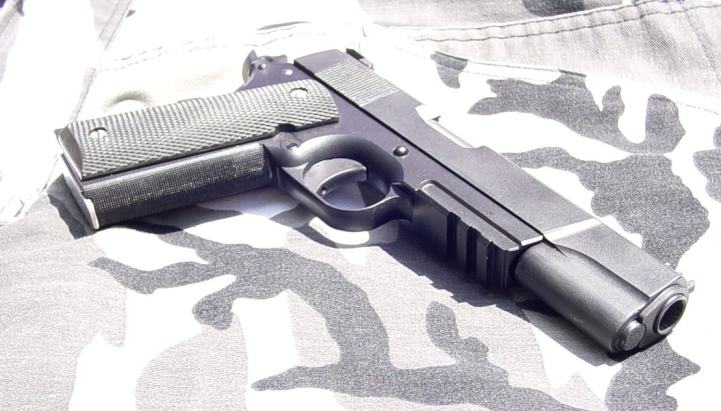
After baking, I assembled it and took some photos.
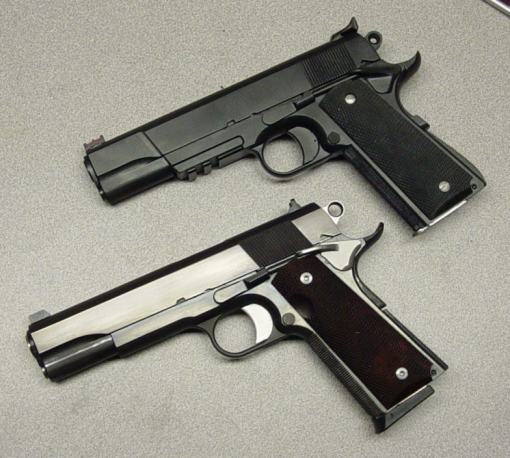
For comparison purposes, I took a photo with it next to my first 1911 build.
Total parts cost: $406
Also I had to buy one tool for this project, a front sight dovetail cutter, for $29. If anyone wants specific part numbers, email me and I'll provide them. Apart from the frame and parts kit, all the parts were purchased from Brownell's using my dealer discount.
Comments? Email me: [email protected]