<== Previous Page
Next Page ==>
Installing the Ejector
The ejector wouldn't fit into the holes without quite a bit of fitting on its legs. Once I used a needle file to reduce the diameter of
the legs, it would install with a tight press fit. I put a couple of drops of red Loctite on the legs and used a rubber hammer to
pound the ejector into place (actually I used a hockey puck, but same difference.) I'm not going to bother with the roll pin here, because I don't really feel like getting out in the
garage again and messing with the mill tonight. I have heard that red Loctite is perfectly sufficient to keep the ejector in place,
and since the slide keeps it from moving anyway, even Loctite isn't strictly necessary. With this gun -- a range gun only -- I decided to
test this theory out myself.
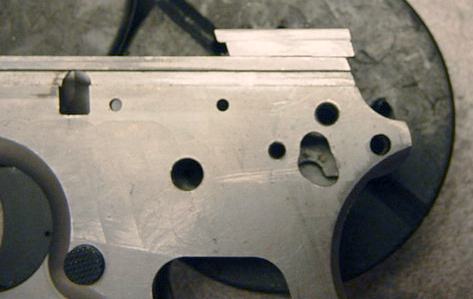
The photo above shows the ejector installed. You're probably noticing two things:
1) the ejector overhangs the rear of the frame by about 1/8", and
2) the side of the ejector facing the camera appears to have been filed on.
I fixed #1 by Dremeling off the excess material until it was flush with the frame. As for #2, the slide would not fit on the frame
with the ejector installed until I significantly dressed the left side of the ejector. The other KT frame was the same way, so I'm not
real surprised about having to do this. Anyway I removed metal until the slide could move freely.
Staking the Plunger Tube
This was a quick and painless job. First I prepared the area around the plunger tube by sanding it with emery paper backed with a
square stone. This is to remove the tooling marks on the frame in the general vicinity of the tube. That way if I decide to polish the
frame later this part will already be done and I won't have to worry about doing a lot of sanding around the tube.
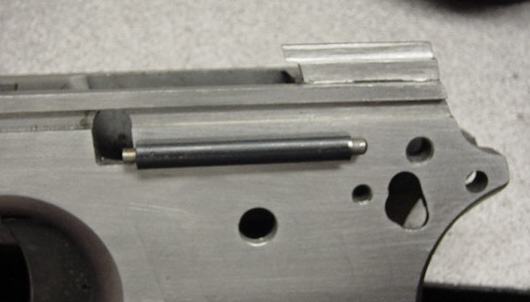
To stake the tube I used my homemade C-clamp and aluminum anvil. I left the plungers and spring in the tube while staking it, otherwise it
has a tendency to dent the tube. In the photo below you can also see the trimmed ejector.
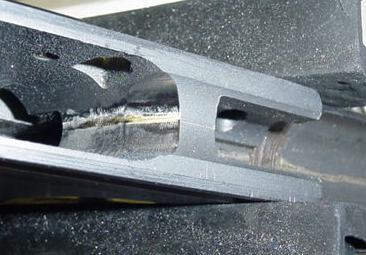
Polishing the Feed Ramp
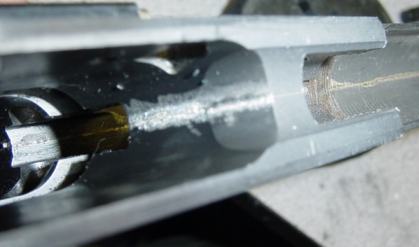
This job is going to be pretty important on the KT frame, because of the braze line that runs right down the middle of the feed ramp.
I ground the excess braze off with a Dremel and a diamond bit, which left the surface kind of rough.
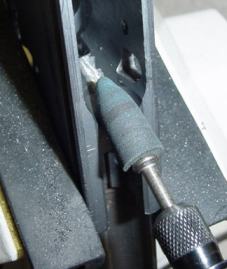
Here I'm using a fine Cratex bit to smooth out the rough spots.
This isn't the best photo but you should be able to tell the feed ramp is somewhat smoother. Actually it's pretty close to
mirror smooth.
Ready for the Range?
This should be ready to go to the range for a basic function test. I'm eager to try it out, so I'm going to leave most of the
custom work until I get the gun running correctly. Here is what it looks like at the moment:

Planned custom work remaining:
- Undercut frontstrap under trigger guard
- Checker frontstrap 30 lpi
- Dehorn the rest of the sharp edges - especially the accessory rail
- Polish metal to about 200 grit, then sandblast everything
- Paint the gun with black moly resin and bake
- Glue in the front sight's fiber optic rod
This is all I have planned, but I may do something else like trim an inch or so off the dust cover, and maybe do something else to the
slide to make it look a little more customized.
8/15/03 12:30 am
<== Previous Page
Next Page ==>