 |
|
|
|
|
|
|
|
|
|
|
|
|
|
|
|
|
|
Buffing and polishing first-time guitar builder... keith gregg |
|
|
|
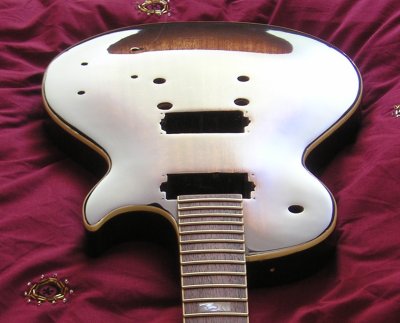
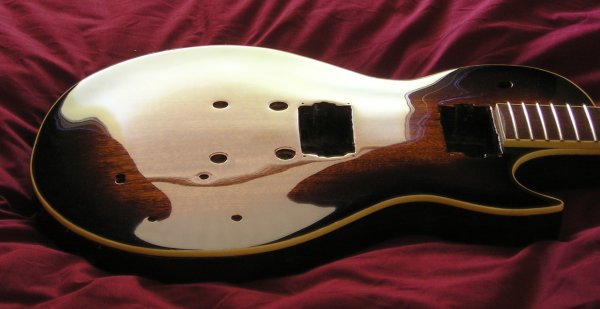
After three consecutive polishings with the cutting compound, the surface had a soft, even shine, rather like a satin-finish. However, three polishings with the cream polishing wax converted this to an amazing high-lustre shine. All polishing was done by hand, because I don't own a buffing wheel. But it took surprisingly little time to finish. And rather than write more words about this, the pictures tell the story much better.... |
|
|
|
 |
|
|
The only difficulty was in photographing such a shine, without interfering reflections.
In fact, the reflections are what define the shape of the surface, so I just tried to keep them to a minimum. |
|
|
|
|
|
|
 |
|
|
|
 |
|
|
|
Some things I learned about buffing and polishing:
1. A mechanical polisher is not essential, although the shine from hand-polishing is a soft shine, not the perfect mirror finish you might expect on a new factory-built guitar.
2. When polishing with automotive buffing agents, don't spend too long on one application. I got the best results from using a small amount of polish or cutting compound, rubbing it over a small area, and then quickly rubbing it off, before it dries.
3. Be very careful when handling the guitar. Shiny finishes show every abrasion or scratch. I had to re-cut and repolish a few spots. |
|
|
|
That leaves just the installation of the electronics and hardware. Page 17
INDEX |
|