 The
Boys
The
Boys
The
Boys
The boy's came about with much research and time spent. They are air powered and controlled by a 12 volt switch that I built. The supply list is long, and some of it may be hard to find. But the effect is incredible and will surely scare your halloween trick or treaters, or party goers.
One of the things that I found out in the testing of the pneumatics is that they must have some lubrication or the rubber stopper will ware quickly, the best that I found is glycerin, it can be found at any drugstore.
The list For the main body.
1. 10' x 1 1/2" x 1 1/2" schedule 40 pvc pipe.
1 1 1/2" x 1 1/2" x 1" schedule 40 Tee
1 1 1/2" schedule 40 Cap
1 1" x 1/2" schedule 40 pvc bushing
1 1/2" x 1/4" Galvanized Hex Head bushing.
1 2" x 1 1/2" schedule 40 flush bushing
1 2" schedule 40 Male Adaptor
1 2" schedule 40 Screw cap.
1 Bottle of PVC glue
1 1/4" Male NPT plug
All most 80% of the list goes on the bottom of the main body tube. If you take the time to really look at how this goes together, the only thing you will need to decide is how tall you want yours to be. When you have come up with a size the next thing you will need to do is cut a hole in the cap that goes on the top of the tube.
Now for what I call the inner body. The best way to think of this is to envision a big ball point pen. The outside is what I call the main body and the inside is the inner-body. The two put together makes up the animate part of one of the boy's.
The list For the inner-body
1 10' x 3/4" schedule 40 pipe
1 3/4" schedule 40 cap
 1 3/4" schedule 40 cross coupler
1 3/4" schedule 40 Tee
1 1 5/8 x 15/16" Rubber stopped Click to enlarge picture
When the bottom of the main body is put together cut a piece of the 3/4" pvc long enough to extend from the 2" screw cap to just above the 1" side branch of the tee. This will keep the inner-body tube from falling below the air inlet.
To assemble the inner-body determine the length of the shaft. Glue the cap on one end. I took the stopper and cut it in half, I did this to reduce the weight. I am not sure that it was necessary now, but seemed like a good idea at the time.
The stopper will have to be sanded after it is screwed to the cap, it will expand when it is compressed. Sand very carefully and check the fit as you go, you want a good fit not to lose and not to tight.
This is why the screw cap is important, if you need to replace the stopper all you will have to do is unscrew the cap and replace it.
Now you have a choice to make. Do you want to use a 45° or 90° elbow, for the shoulder and elbow joints. I recommend that you get some of each, that way you can try them out and see what you like.
The Electronics and Air Power
If you can find a good electronics supply house, this is a good place to start. I went Elliott's here in Tucson and soon found out that this little out of the way place was a stroke of luck. The expertise and willingness to help was all that I could ask for.
After a couple of trips to my local Grainger Industrial Supply and back to Elliott's. I decided on a 12 volt system. The biggest problem was how to control the air flow to one of my four boys, Yes I built four of them.
When you check out my switch you will see each of the buttons marked with a number and a color. I was not sure how to set up the buttons, so I used both. This way when I set up the boy's I would have a position as well as the color code from the wire's to control them.
The air was supplied by my air compressor to the manifold and than out to each one of the boy's. On the air line's that went to the boy's I taped a 22 gage wire to control the valve.
The Costumes
For the costumes I used muslin and dye. I have a few friends that do a lot of sewing and they are the best people to ask, how do I do this? One of the suggestions was to construct a poncho like cape and that is how I started to make the costumes.
I must have looked in every fabric store in Tucson before I found the material that I could work with and in a price range that was not overwhelming. Now what I found out was that muslin comes in a number of different size's any were from 36" to 120" wide.
How I made the first costume was to take the muslin and drape it along the arm's to get the length needed, to make the front panel make sure you have extra to cover the hands. I did basically the same for the back panel. On the front panel I folded over about six to eight inches to wrap over the arm's, I also cut the up to the fold in the center of the front panel to go around the neck.
To hold the panel in place I sewed on patches of Velcro, About three to four on each side of the neck opening. It is important to match up the Velcro on each side of the panel.
The next thing to constituter is how high your boy is going to go. What I did was to sew on an extension panel to the center of the front panel, that way when the boy was up, the extension panel covered the main body and stand.
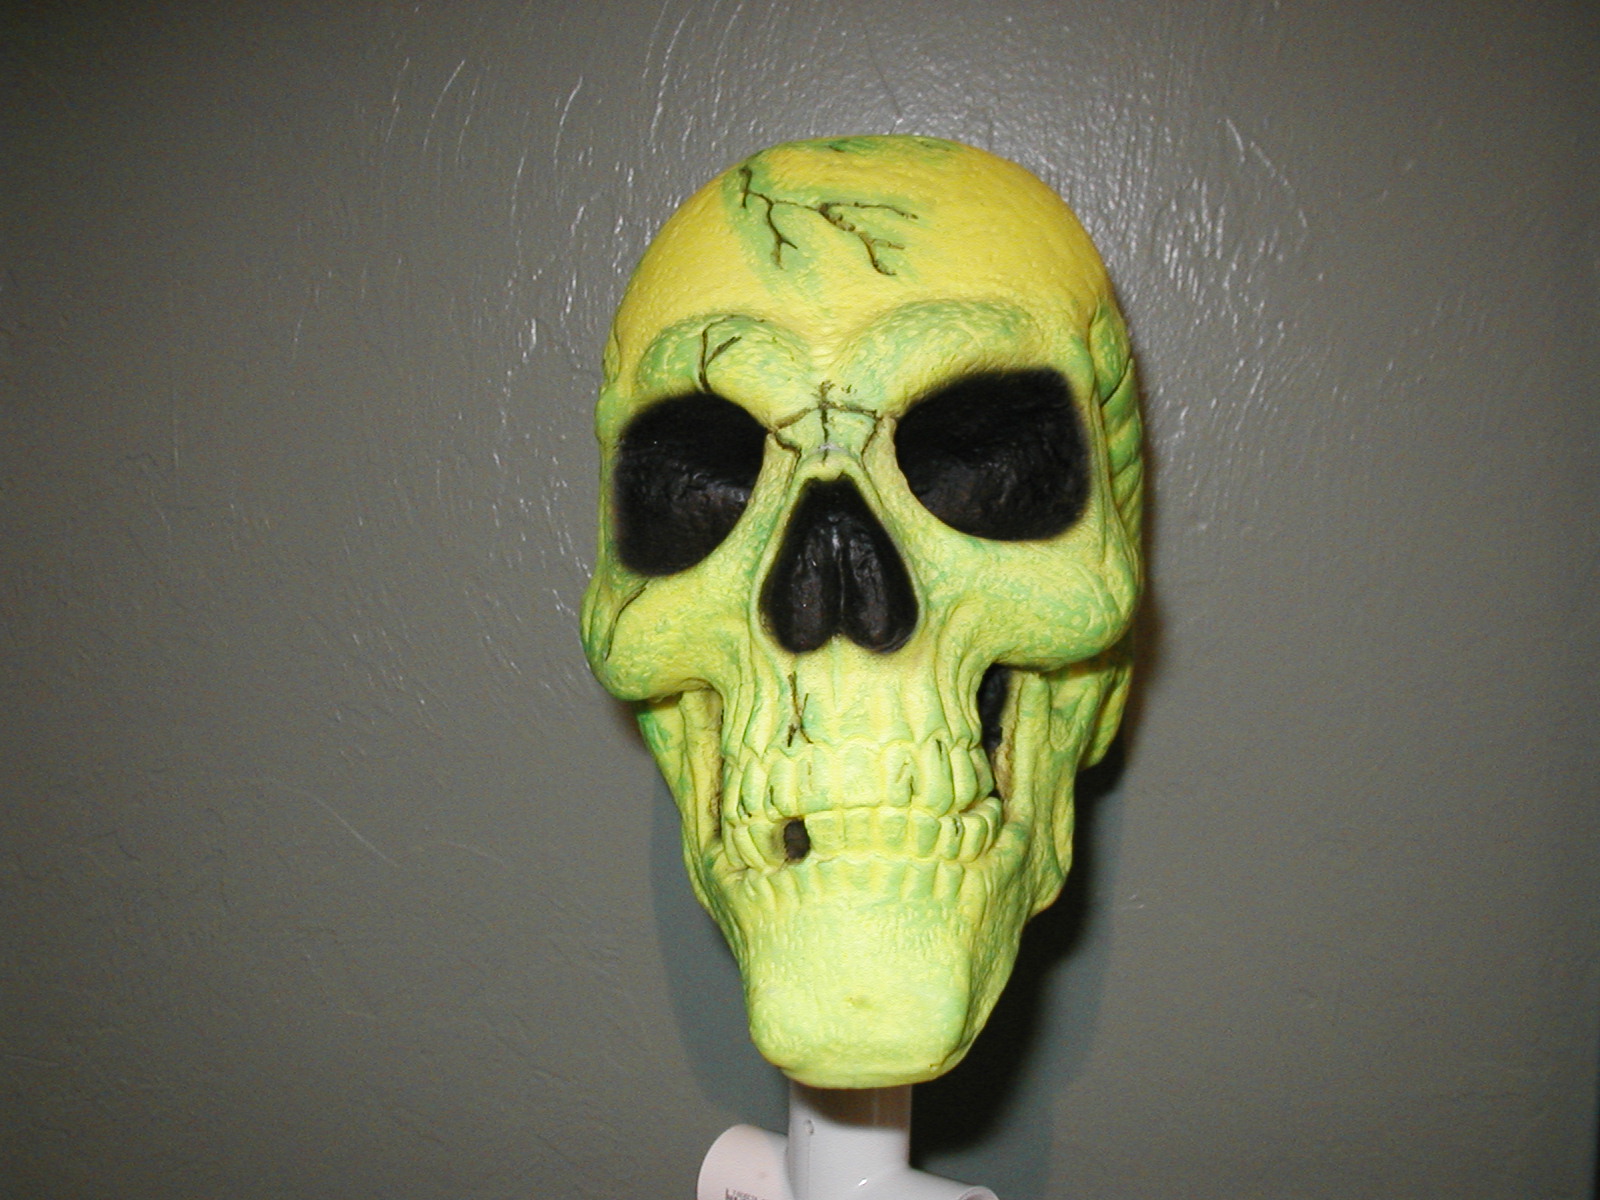
The Head
Now to hook the head to the inner body requires some time. First you have to cut a hole in the bottom of the skull so you can pass a 3/4" PVC Tee into the skull. But before you do that cut a section of pipe around four to five inches long for the neck, and glue it to the Tee so it looks like a big T.
Ok we have a hole in the skull large enough to pass the (glued up) Tee into. If you are going to make more that one. Get them all to this point at the same time, the reason is that when you open the can of Great Stuff you have to use all of it that you can, because it will harden in the can after a couple of hours.
Stick the Tee into the skull, set the angle that you want the head to be at. Squirt the stuff into the Tee, Use allot of it, you want it to flow into the head from each end of the Tee. When it hardens the Tee will be fixed into place.
You will more than likely see that some of the stuff has come out of the Tee and around the bottom of the head. Just cut away what you can with a razor blade. For any other cleanup you can use lacquer thinner, it will cut right though it.
What I would change.
The first thing I would change, would be to incorporate the channel in the inner body tube and some kind of guide mechanism on the main body tube. This would stabilize the inner body to do so that it would not be able to spin in the wind. even in a slight breeze the boys would spin.