|
Documentation
Menu |
| Contents |
| 1. Basic tips
for Master SMS 2 |
| 2. Install Master SMS 2
|
|
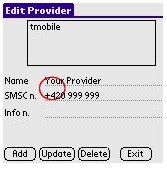
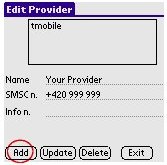
3. Setup the application before
first use |
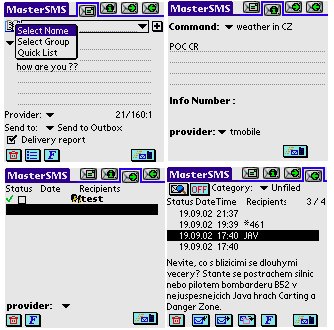
| 4. Message form |
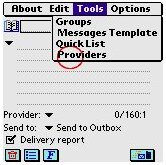
| 5. Tools forms
|
| 6. Info SMS form |
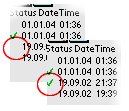
| 7. Outbox form
|
| 8. Inbox form
|
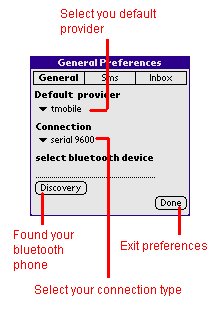
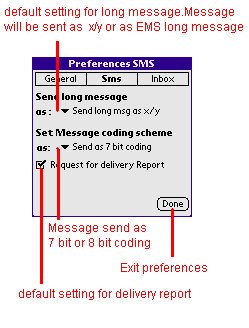
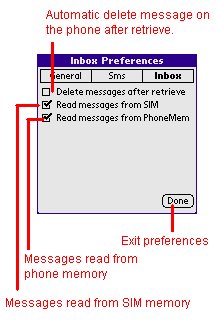
| 9. Preferences form
|
| Master SMS
have four basic form - Message form, Info SMS form, Outbox form and Inbox form. |