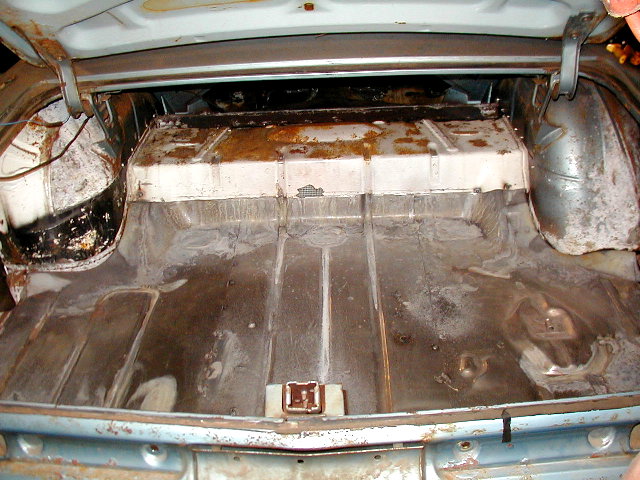
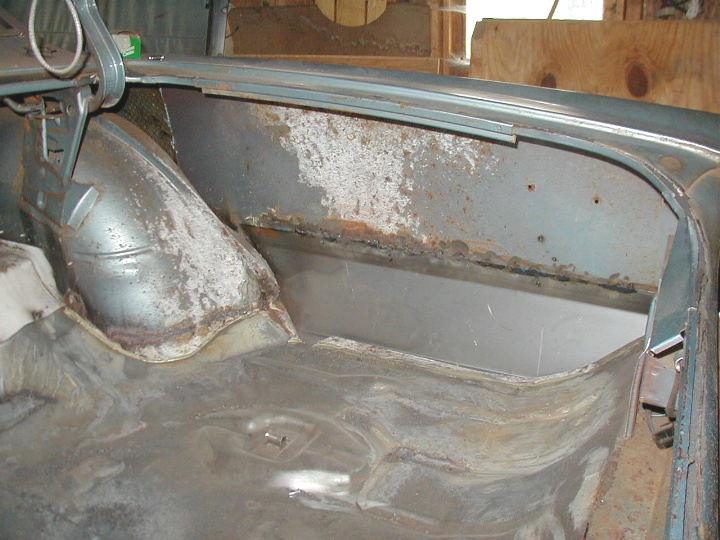
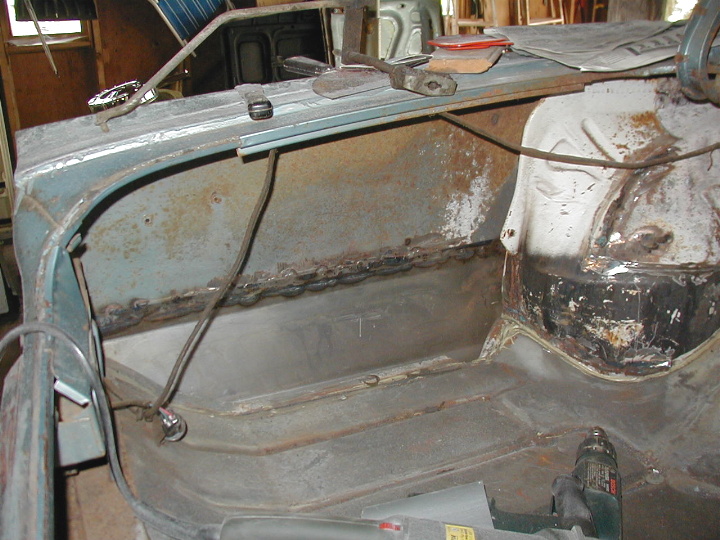
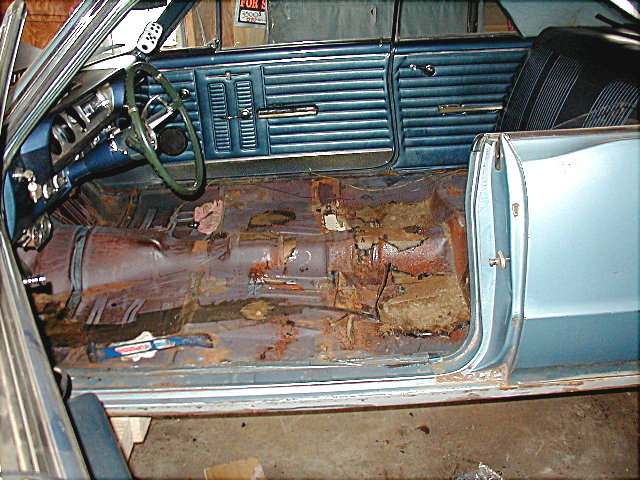
Once the cleaning was done, it allowed me to really see the areas of concern. I knew that the trunk was going to have to be cut out and replaced as well as the lower sections of the quarter panels. There were still the unknowns that I could not yet see. Like the engine and the frame.
The engine had not been started since 1975 and I had some concerns as to what to do with it. After it was all cleaded,I drained the oil and put in fresh oil. With the assistance of my brother in-law we primed the carburetor and with very little effort we had awaken the sleeping tiger. This was a good sign.
This is the original engine and I did not know what kind of wear the engine had on it, so I decided to tear the heads off to inspect the cylinders. What I had found was that the #6 cylinder had some concerning wear marks. The decision was made to give it a complete rebuilding. The engine was bored .030 over, line bored, deck blocked, and heads planed. New forged pistons, moly rings, valves, guides, springs, bearings, oil pump, timing gears, and a 284 duration/ 480 lift cam were installed. The engine was detailed to look just like it did out of the factory. The paints were from Eastwood and worked just fine.
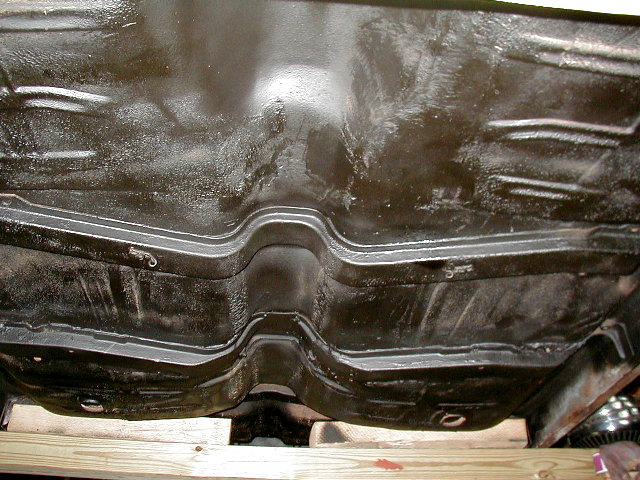
While I was waiting for the engine to be rebuilt I then decided to sand blast the under side of the car. As I stated before, I had no intention of doing a frame off restoration on the car. I jacked the car up on blocks to allow me to move around a little easier. It took me 2 days to complete the sand blasting and even longer to clean up after it. This was even after using a 15'X36' tarp that I draped over the car in hopes of minimizing the mess! Sand blasting allowed me to give the frame a good inspection. What I found was that the body mount were in really bad shape and there was a area under the driver's side firewall where the frame showed signs of being a little suspect.
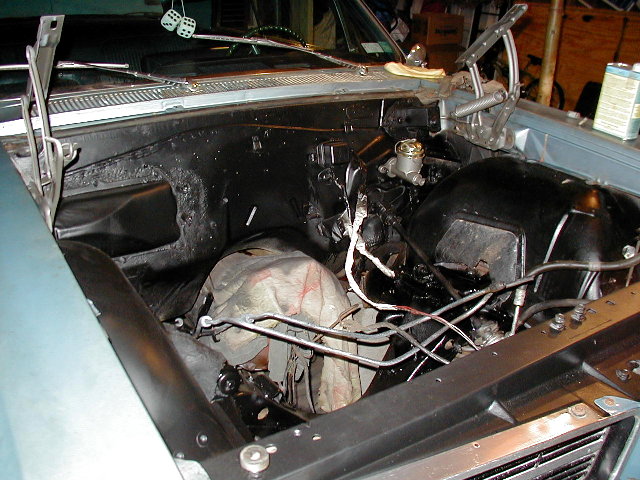
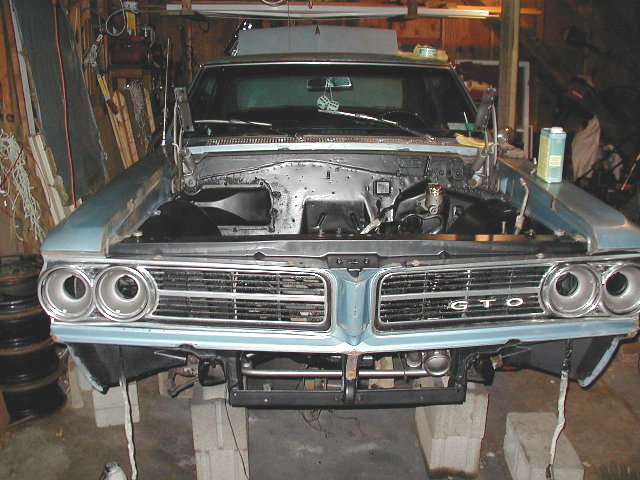
While I began to think about how to go about repairing the frame, I began to detail the engine compartment. I used Eastwood Under the Hood for the firewall and inner fenders and used a semi gloss for the radiator support. I coated the entire frame, except for the suspect area, with Eastwood Coreless. Coreless encapsulates the rust from growing, it is very similar to POR15 but a lot easier to apply and is easier on the wallet.
Once I finished spraying the engine compartment and rebuilding the master cylinder, I then replaced the springs, shocks, ball joints, brake cylinders, brake shoes, and brake lines. The brake lines are to OEM specifications and I got them from The Right Stuff. These brake lines fit perfect and took no time to install. Well worth the money.
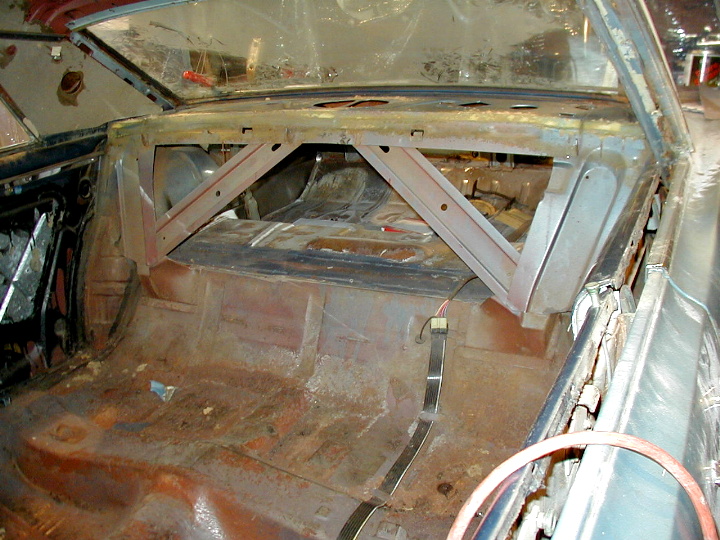
Once this was done I then began to cut out the trunk, this when I decide to do a frame off restoration.
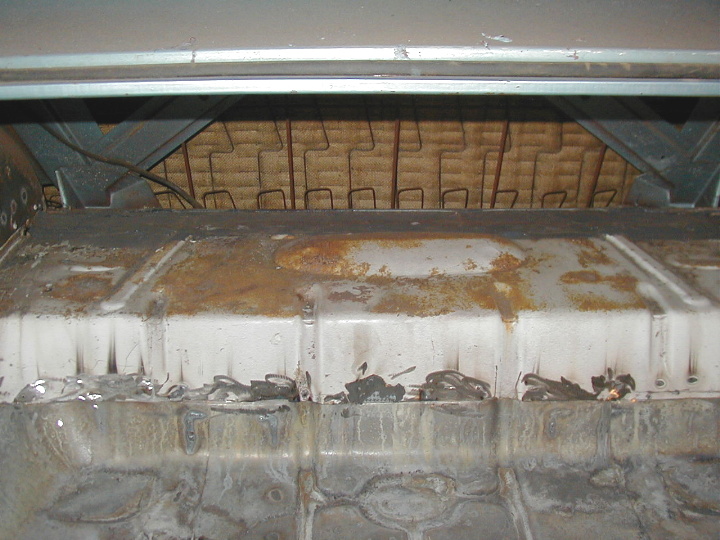
The body mounts were dried and cracked, so I decided to inspect the rest of the mounts. What I found was not as bad as the trunk mounts, but not that good either. I think that I got about 7 to come out, 4 that the nuts spun loose from the cages and 3 that broke.
I ordered the trunk kit from Ames Performance, they are a great source for Pontiac parts. Ames has a great customer service group and their prices are amoung the best. Their quality is great and they have just about everything that you will need to restore your Pontiac.
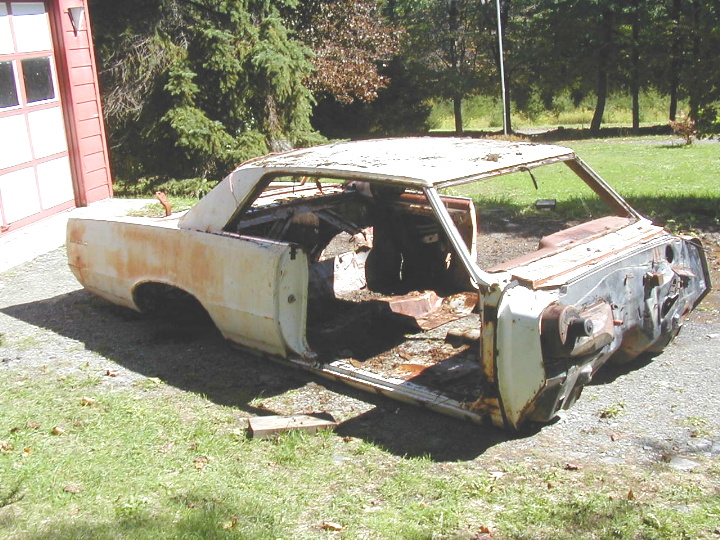
Once I got the kit fitted in place I found that I did not have enough of the old trunk left to properly install the kit. @#$%! Luckily I knew where there was a shell of a 64 GTO and picked it up for $125.00. I cut and removed the shelf area above the rear axle and the driver's side inner fender. I then fabricated these components into my trunk area. It was a lot of work to carefully fitt them into place, but I think it turned out quite nice.
I then used sheet metal screws to hold things in place and once I had all the pieces in place I then would remove a screw and weld the hole to look like it was spot welded. I used a MIG welder to do this using .030 gas shield wire. This took quite a bit of time, but it kept the panels from seeing too much heat and preventing them from warping.
I then cut out the rotten section of the rear quarters and welded in the replacement panels. Thes replacement panels came from Original Parts Group.
The panels fit great and with care being taken as to where to cut on the quarters the panels went in with no problem. Again I used the screws and welded the holes like I did in the trunk.
With the trunk and quarters done I went to the floor of the car. There were a couple of small spots where the center brace ran that needed to be patched and the brace had some areas I didn't like. The shell that I bought center brace was in good shape, so I drilled out all of the spot welds and welded in place on my car. All lot of time was needed to do this, but I figured why waste money for a virgin replacement part when I have one that would work just the same
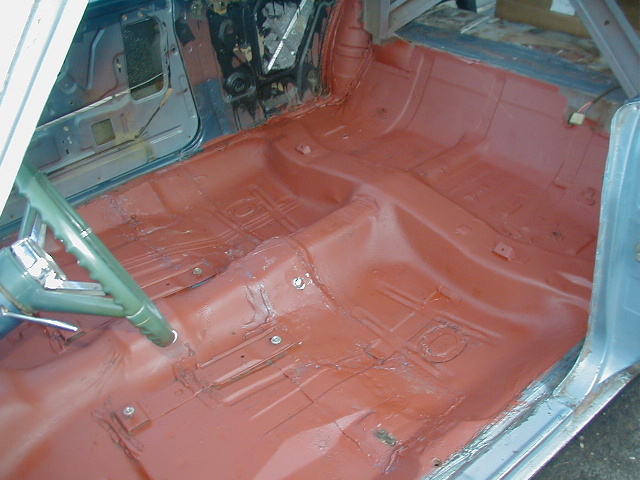
Once this was done, my son Andy coated the the floor with Coreless from Eastwoods.