WEBSITE AUTHORING - the creation of websites using HTML
Lesson 1 - Creating Your First Page
Lesson 2 - Understanding the Source Code
Lesson 3 - Understanding Tags and its Attributes
HTML General Reference
Introduction
What you will need:
- Notepad - for typing the HTML source of your webpage
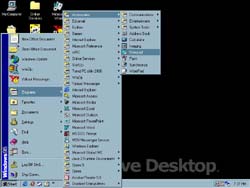
Here are steps in opening NOTEPAD:
- Click "Start". The start menu should pop-up.
- Click on "Programs". A sub-menu will pop-up.
- In the sub-menu clck "Accessories". Another will pop-up.
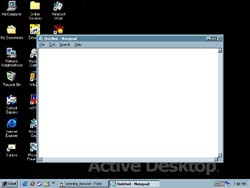
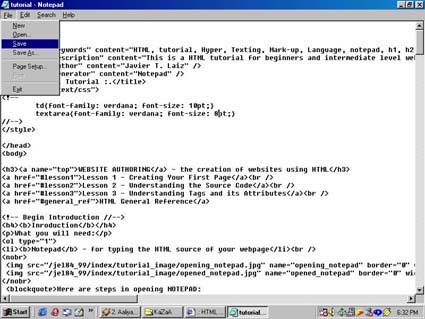
- Click "Notepad". Notepad should appear on top of your desk topscreen as illustrated
- Browser - for viewing the webpage done
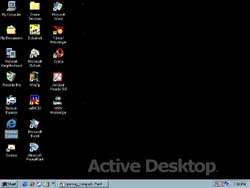
Here are steps in opening your Browser(Internet Explorer):
- Double-click the icon which says "Internet Explorer". If you
have a hard time looking for it because you have lots
of icons on your desktop, tet me give you a hint: it is the icon
with a blue letter "e". The Internet Explorer browser
should appear on top of your desktop as illustrated.
TOP
Lesson 1 - Creating Your First Page
Do the following in NOTEPAD:
Type the following:
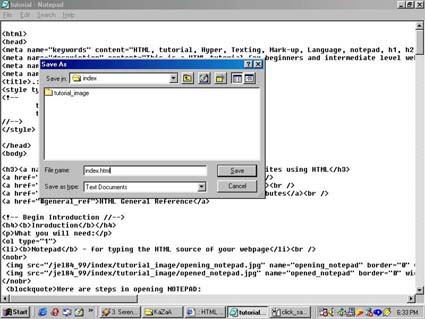
Click on "File", then "Save", a dialog box should appear.
In "File Name" type: index.html (kindly make sure you've located the file in your folder preferably "My Documents")
Open your browser. Click "File", then "Open", a dialog box will appear.
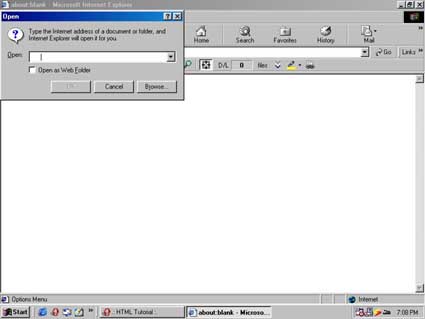
Click on "Browse", another dialog box should appear.
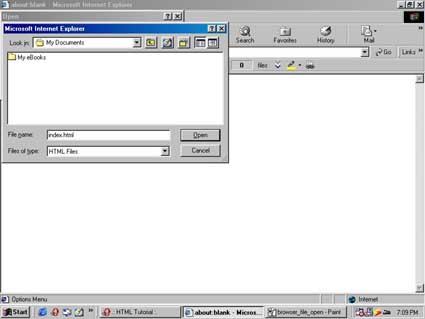
Go to the location of the index.html you've just created and click "Open". Click "OK".
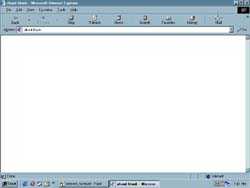
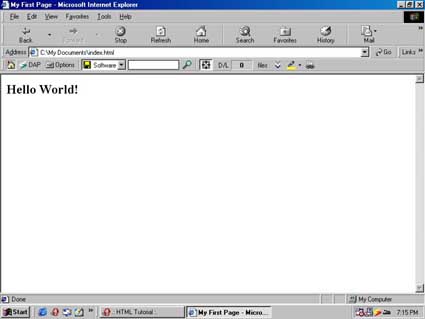
By now, what you should have in your screen is the output of the HTML source you just created. It should appear like this:
/\ TOP
Lesson 2 - Understanding the Source Code
What you have typed in NOTEPAD in Lesson 1 is the source code of My First Page. The language you have just used was the Hyper Texting Mark-up Language (HTML).
Let us now understand why the stucture of the source is like that:
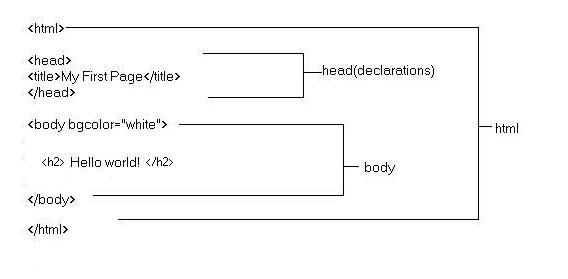
The Overall Structure
The statements within the "less than"(<) and "greater than"(>) signs are called tags. These are the syntaxes used to carry out desired output. There are 2 types of tags:
- Opening tags <html>
- Closing tags </html>
<html>
The <html> tags start the HTML document and notice at the very end the closing </html>. Every HTML source begins and ends with this tag.
<head>
Right after the <html> tag we go to the next portion, the <head>. The tags within <head> are <title>, <meta>, <style>, etc. The very basic is <title>.
Within <title> and </title>, the text you write between them will be the title of your webpage and will appear at the upper-left side of your browser window.
<head>
<title>My First Page</title>
</head>
/\
"My First Page" will appear at the upper left of your browser.
<body>
After closing <head> with </head>, we start the <body>. The you will type in here will be the output on the body of the browser. Tags you can you use are within body are <p>,
<font>, <center>, etc. Click here for the list of tags you can use within <body>.
<html>
<head>
<title>My First Page</title>
</head>
<body>
<h2>Hello World!</h2>
</body>
</html>
/\
"Hello world!" will appear at the body of the browser.
/\ TOP
Lesson 3 - Understanding Tags and Its Attributes.
In between the opening and closing tags we type desired text for output. Let's understand it from the tag to the attribute
<font color="purple" face="comic sans" size="2">
My First Page
</font>
In this example above, in green is the tag, in red are the attributes, in between the " are the attribute's description, and in purple is what will be the output in your screen.
Tag
The tags are the syntaxes in HTML which execute the general type of output. Almost all tags consist of an opening tag(<font>) and a closing tag(</font>). These affect the appearance of output.
Attributes
The attributes are added to the tags. These are syntaxes which execute details of the general output. In <font color="green">, the attribute here is color="green". By using this attribute the color within the <font> tag will become color green.
/\ TOP
|