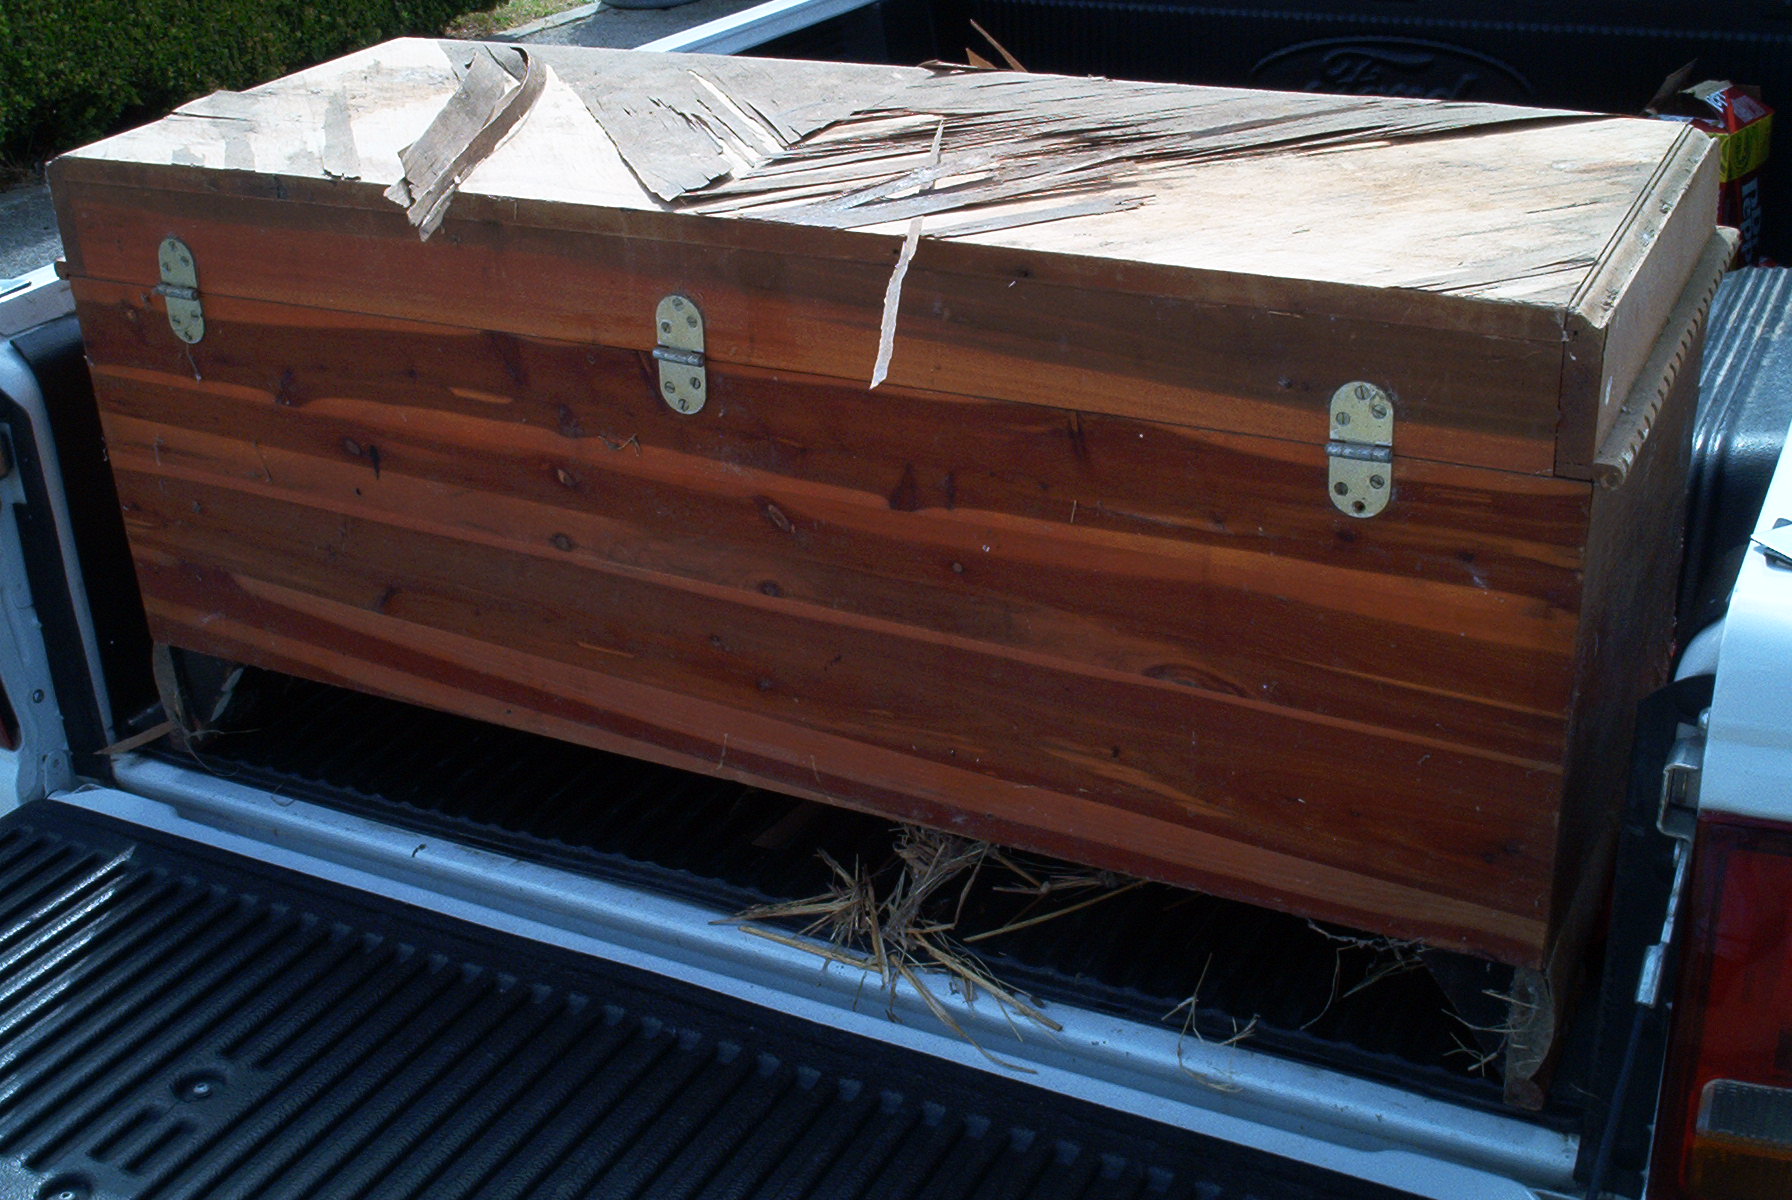
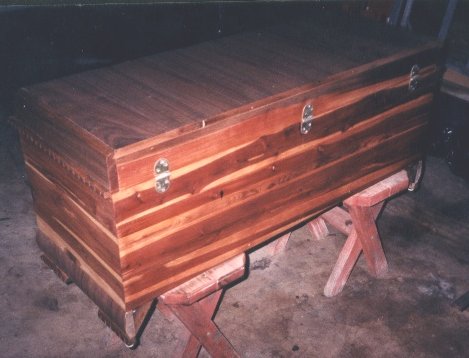
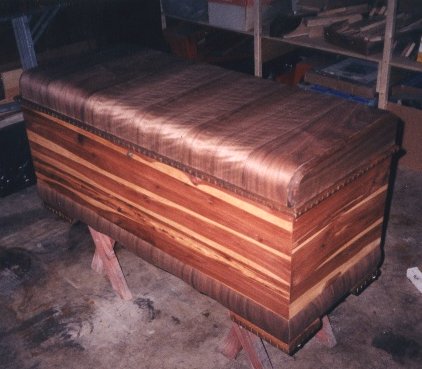
I reveneered this cedar chest for my girlfriend's mother's birthday. IT WASN'T EASY (but everybody likes a challenge, right?). You can click on an image to view the full-size file.
Top Left: the front of the chest, notice the veneer peeling off the top
Top Right: the rear of the chest, the rear is not veneered, so I had no problems there
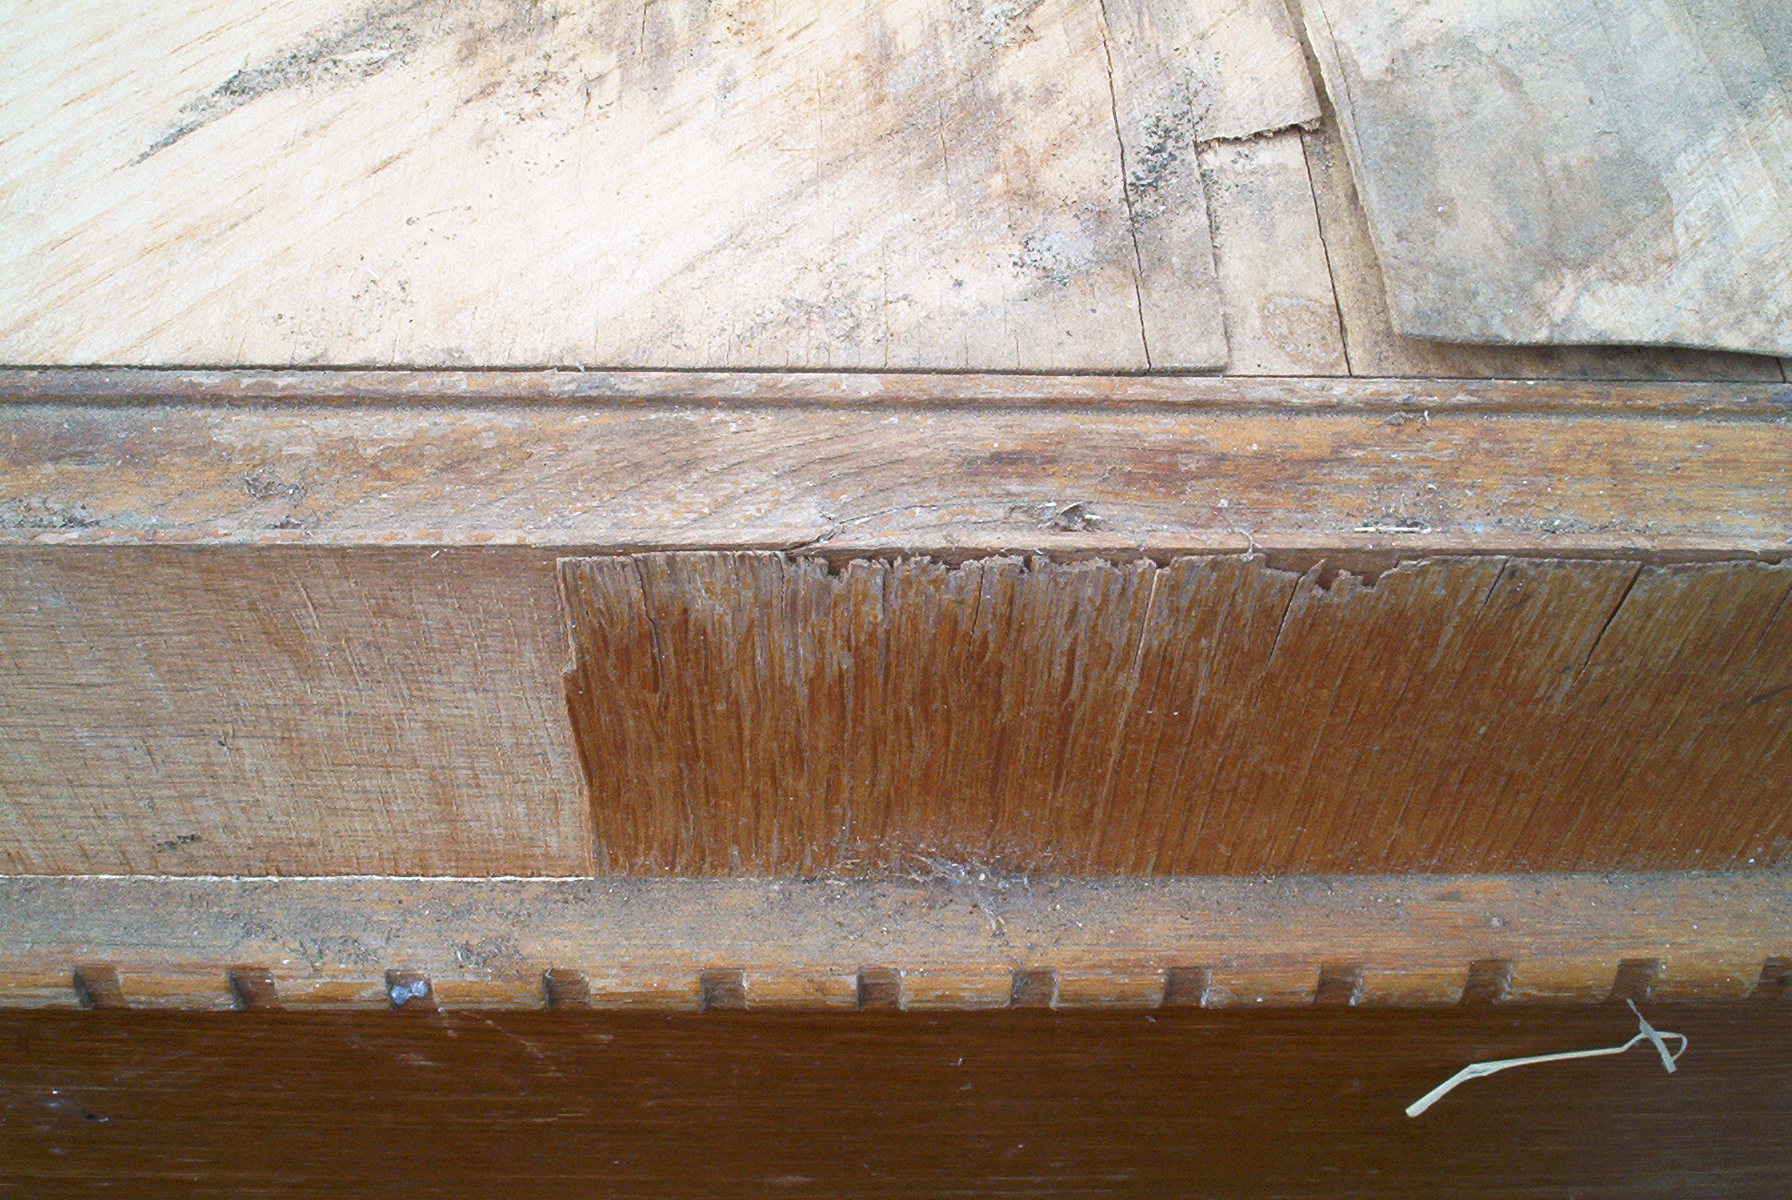
middle left: this is a close-up of the peeling veneer, if you notice that the veneer in this photo is actually the first layer of veneer, then the top layer was applied diagonally to the grain of the first. both were in bad shape, so i removed them both.
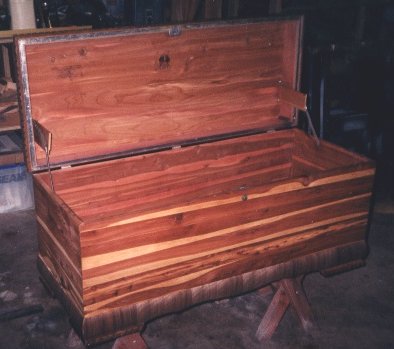
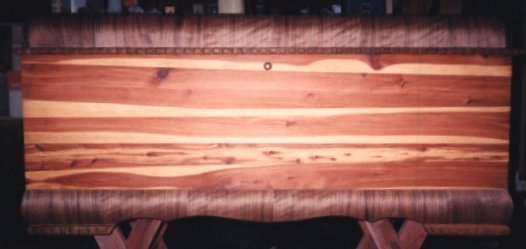
middle right: there is cedar veneer on the interior of the chest which i left. it is a visible layer underneath the curved lid. I pulled the side panel off the chest for this picture and it is shown to the left of the lid as I'm holding it for the picture.
bottom: this just shows the deterioration of the old veneer layers. |