Part 4: More brackets, hose protection, test run and finish work
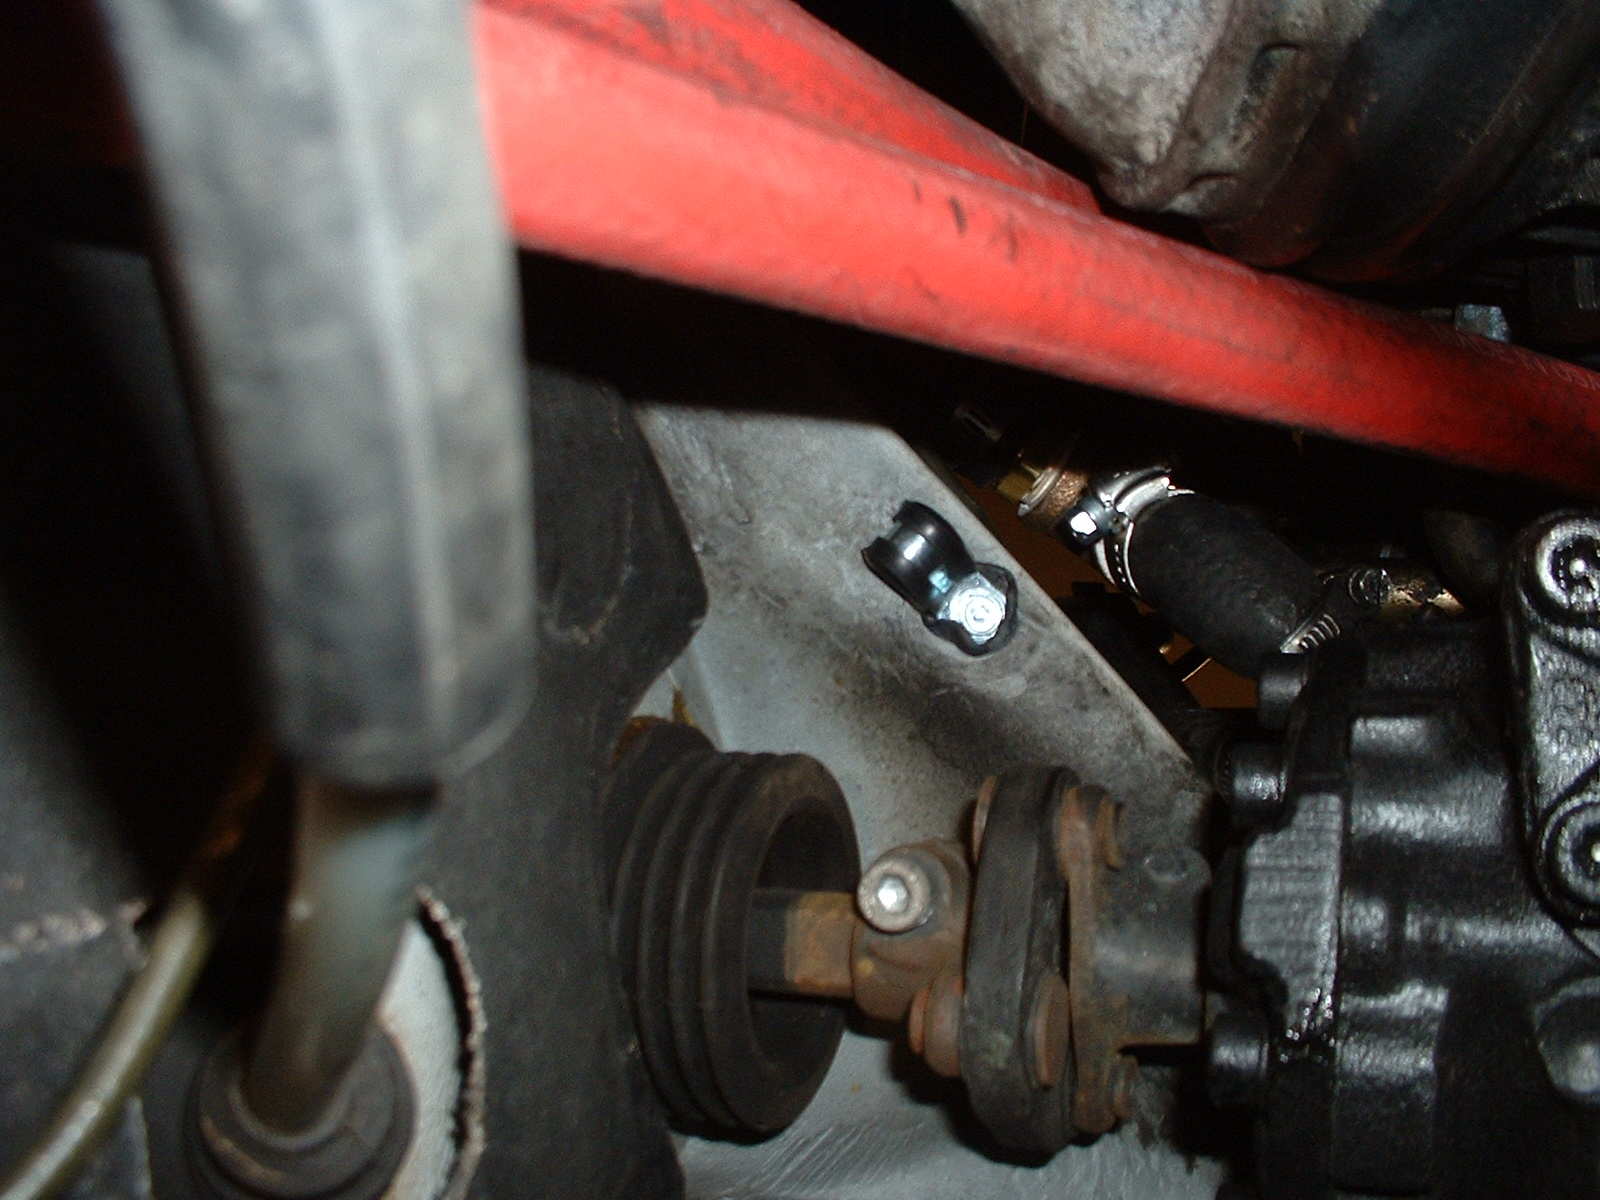
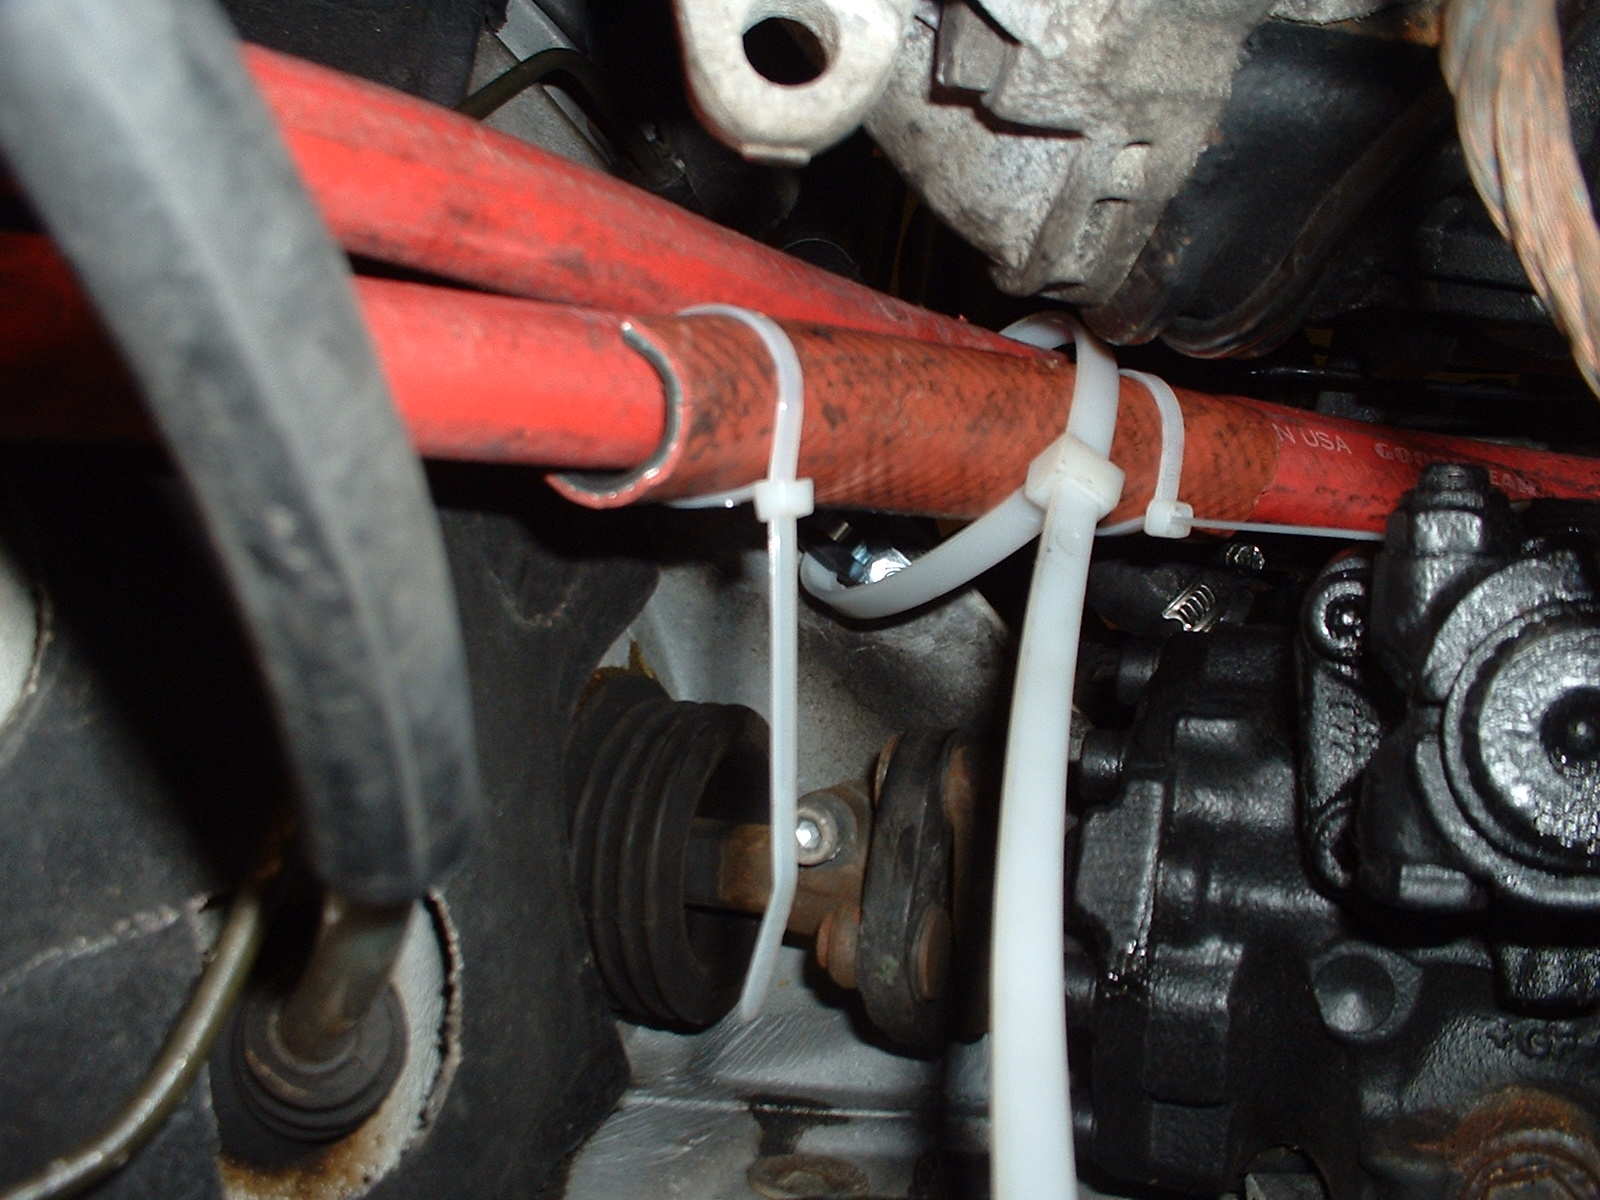
I used a wire clamp and a really big zip tie to help the hose routing as it enters the engine compartment from under the car. It's just after the front hose support bracket. It prevents the hoses from moving around a lot and touching different engine components.
1. Pre drill pilot hole under the fuse box compartment. See pictures below for a view of the location. Note: You may need and extension on your drill to reach from under the car.
2. Place self tapping screw through the hole in the wire clamp and screw into pre drilled hole.
3. Thread zip tie though wire holder and close zip tie around hoses.
Protect and Support Hose
Go through and zip tie hoses in place inside the engine compartment to prevent rubbing or sagging. Zip tie the hoses running to the tank to each other where ever it will help routing and minimize rubbing. Cut pieces of hose open lengthwise and zip tie around hoses for protection against rubbing which could eventually cause a leak. Pay particular attention to the routing of the hoses near the steering linkages. With the vehicle resting securely on jack stands, watch the motion of the steering mechanism as a helper turns the wheel from lock to lock to ensure sufficient hose clearance.
Testing the Coolant System and Test Run
1. Check all fittings and clamps for proper tightness.
2. Take car off the jack stands.
3. Add coolant until it reaches level in overflow tank.
4. Start the car and let idle for a short period of time (About 2 minutes) with the fluid reservoir cap off.
5. Let car cool and then add more coolant.
6. Repeat a couple times, keeping a close eye on the temperature gauge on the dash.
Notes: Stop the engine if the temp gets too high, wait for it to cool, and add more fluid.
Leave rear seat off for start up to aid in trouble shouting. Travel with extra coolant in case you have problems.
7. Drive car for several miles (or as much as you want) to test the coolant installation. After the car is up to temperature metal fitting should be almost too hot to touch. You should be able to reach behind you if the seat is still off to feel the hoses getting hot.
8. Stop and feel the coils inside the tank to see if they are hot. If the copper coils inside the tank are very hot you are getting good flow.
9. Check for any leaks especially inside the veggie tank.
Miscellaneous Finishing Touches
Install the brackets to the particle board in front of the diesel tank to hold the veggie tank. I cut slits in the carpet for the brackets to stick out.
If you collect and transport your veggie oil in the trunk, now might be a good time to pull out the carpet and replace it with some rubber floor mat. No matter how careful you are, a little oil will be spilled and a floor covering that can be wiped clean is desirable.
Cut the carpet in the trunk for the hoses to come through from the seat back.
Cut hole in the insulation behind/under the seat where the hoses are run to minimize pressure on the hoses.
Wrap both coolant lines with aluminum tape to protect from the heat of the muffler just prior to entering the car under the seat. This is the closest the hose comes to the exhaust.
Don�t reinstall seat and trunk covers until the wiring is complete