| Coolant Lines Installation Part 3: Running the hoses and mounting the brackets |
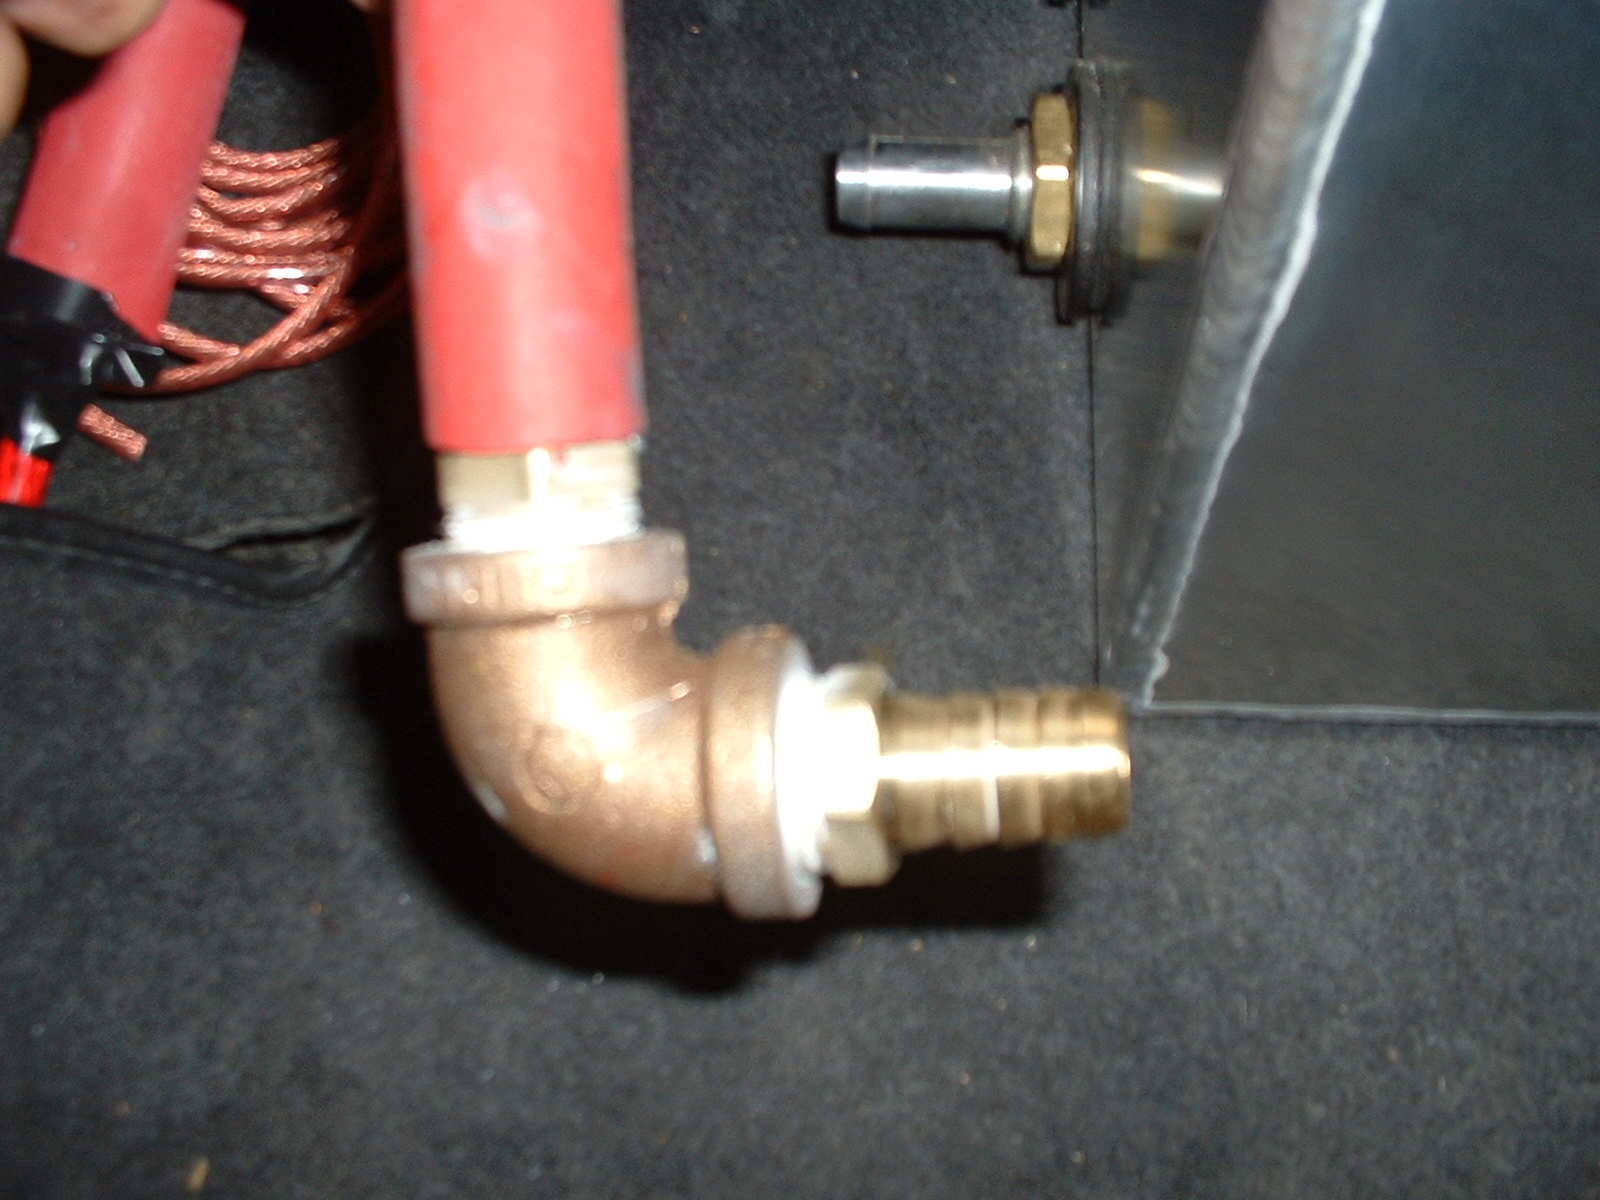
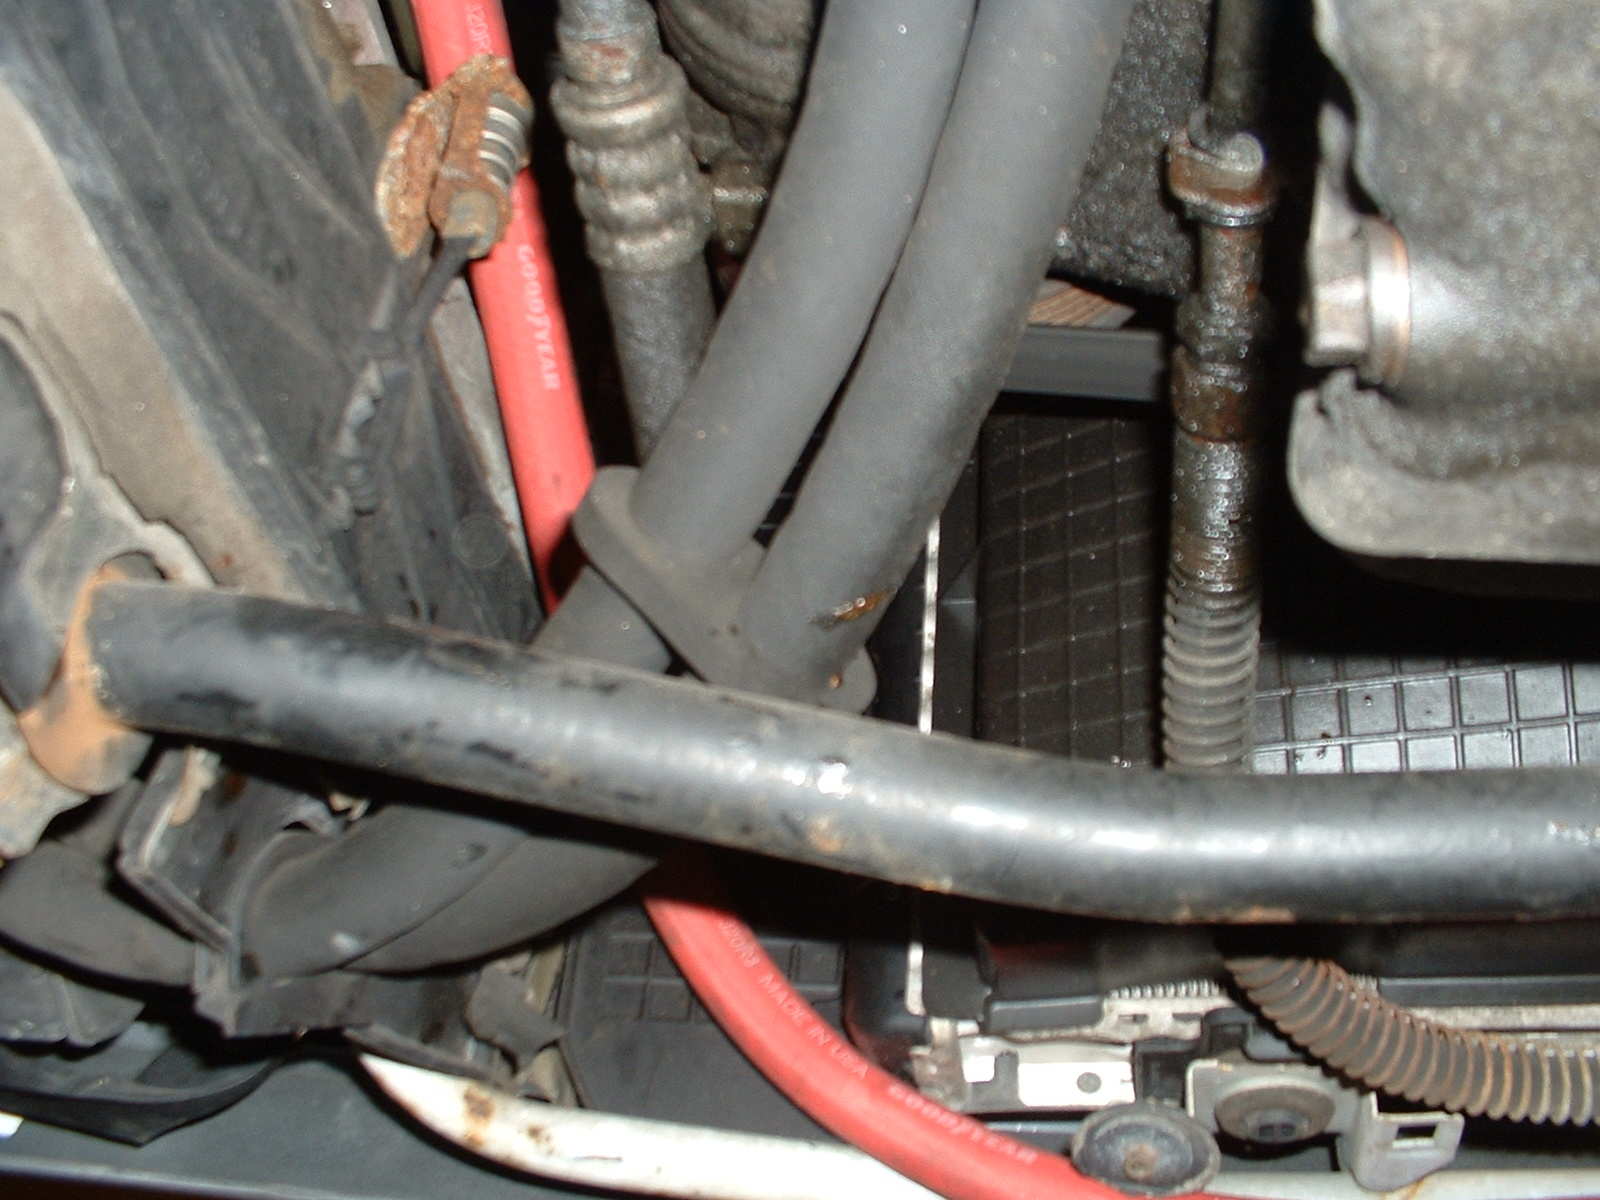
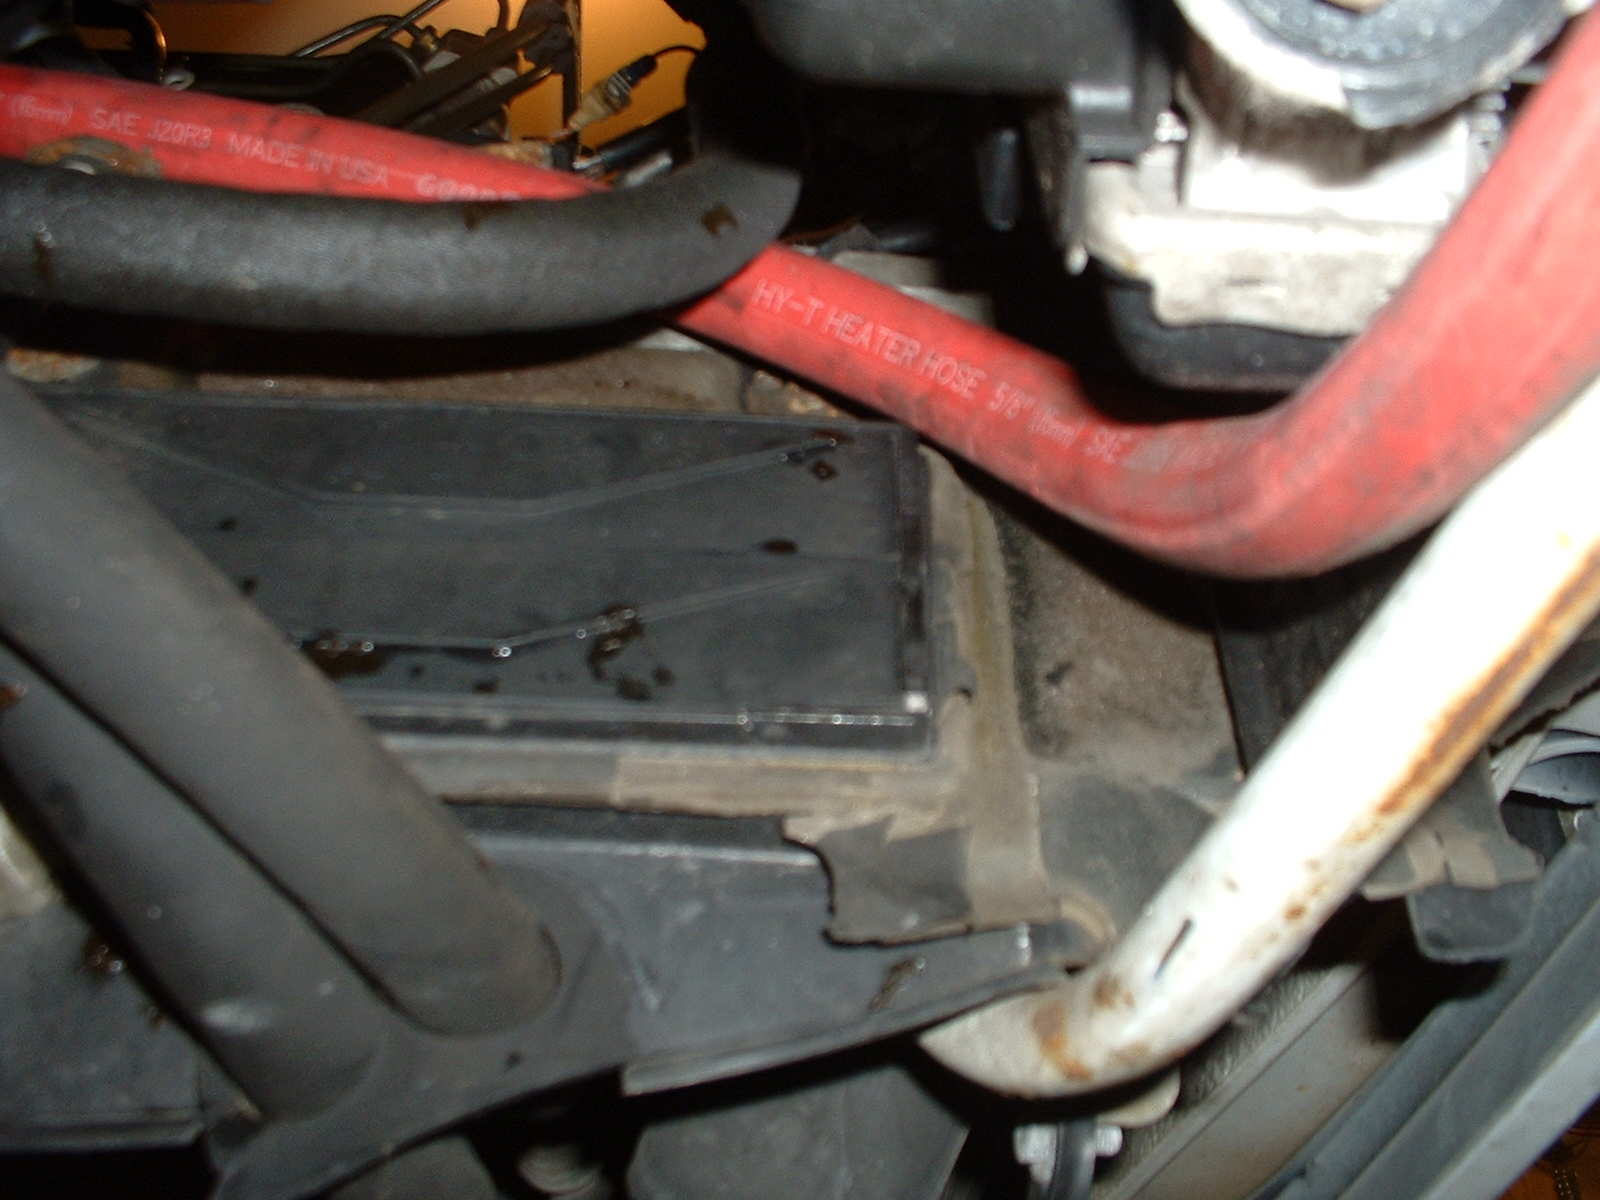
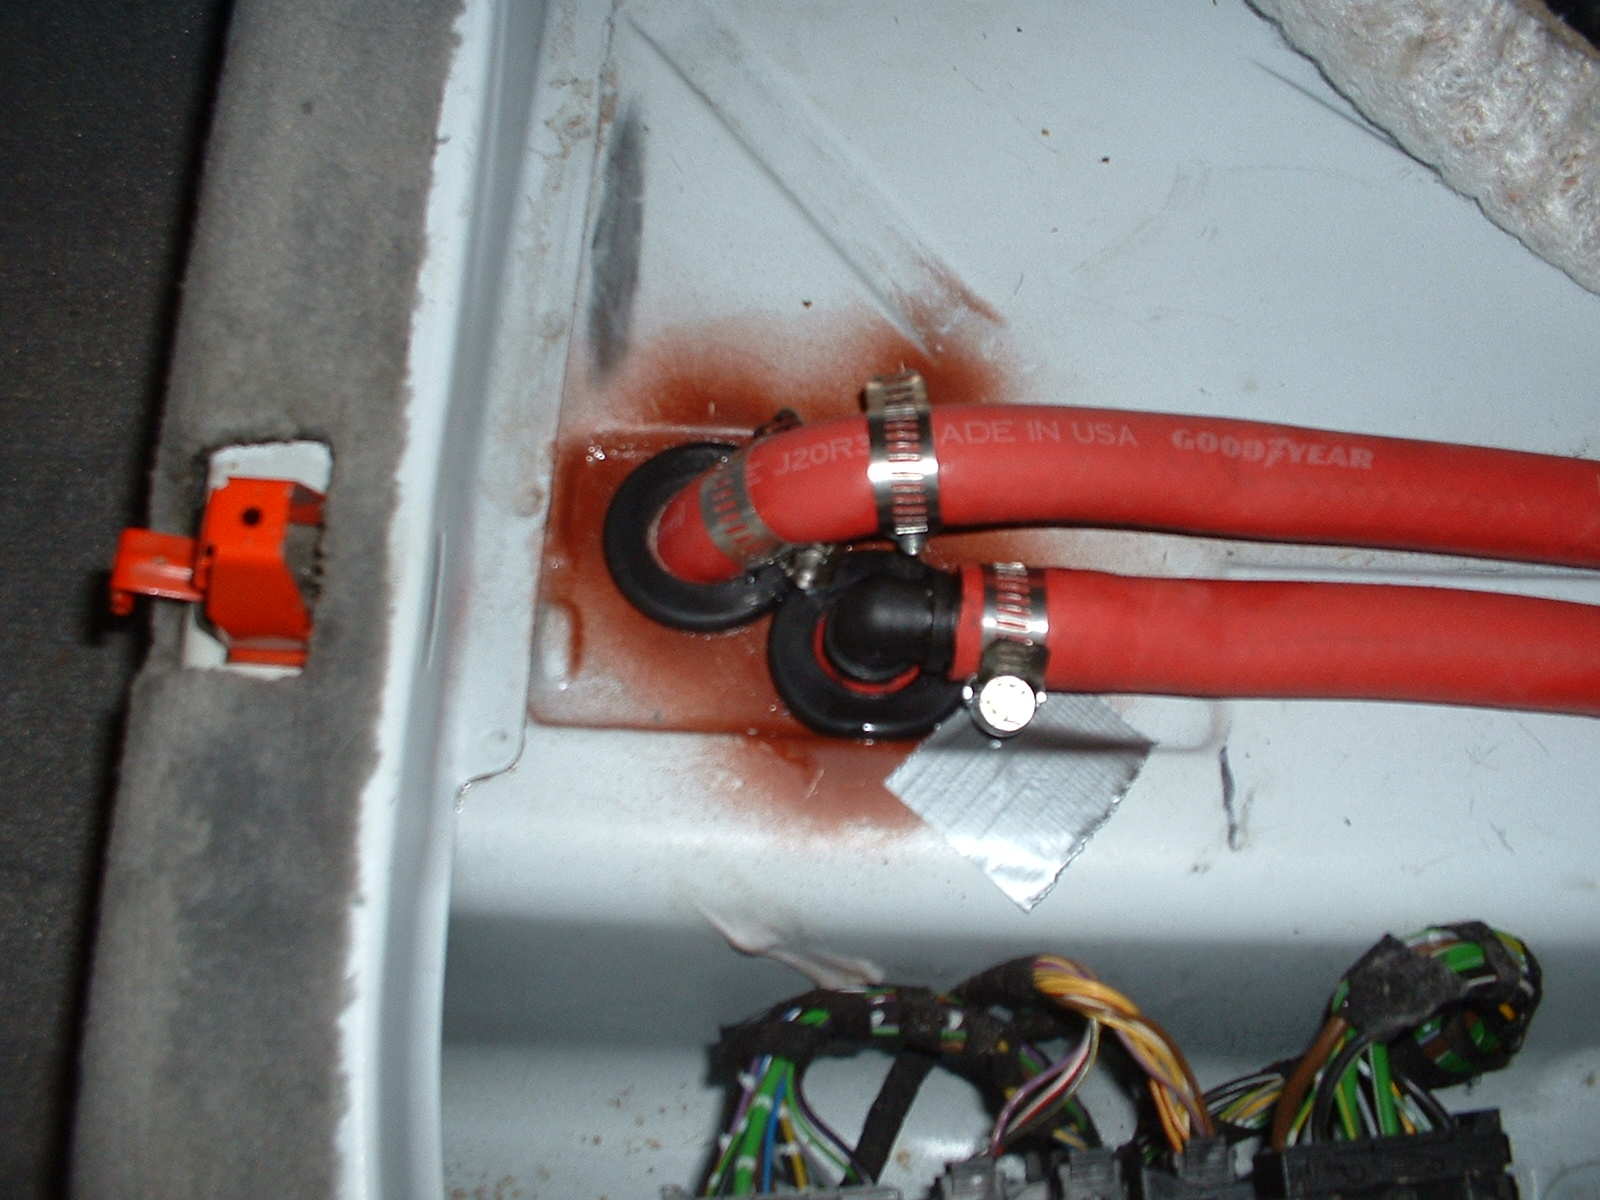
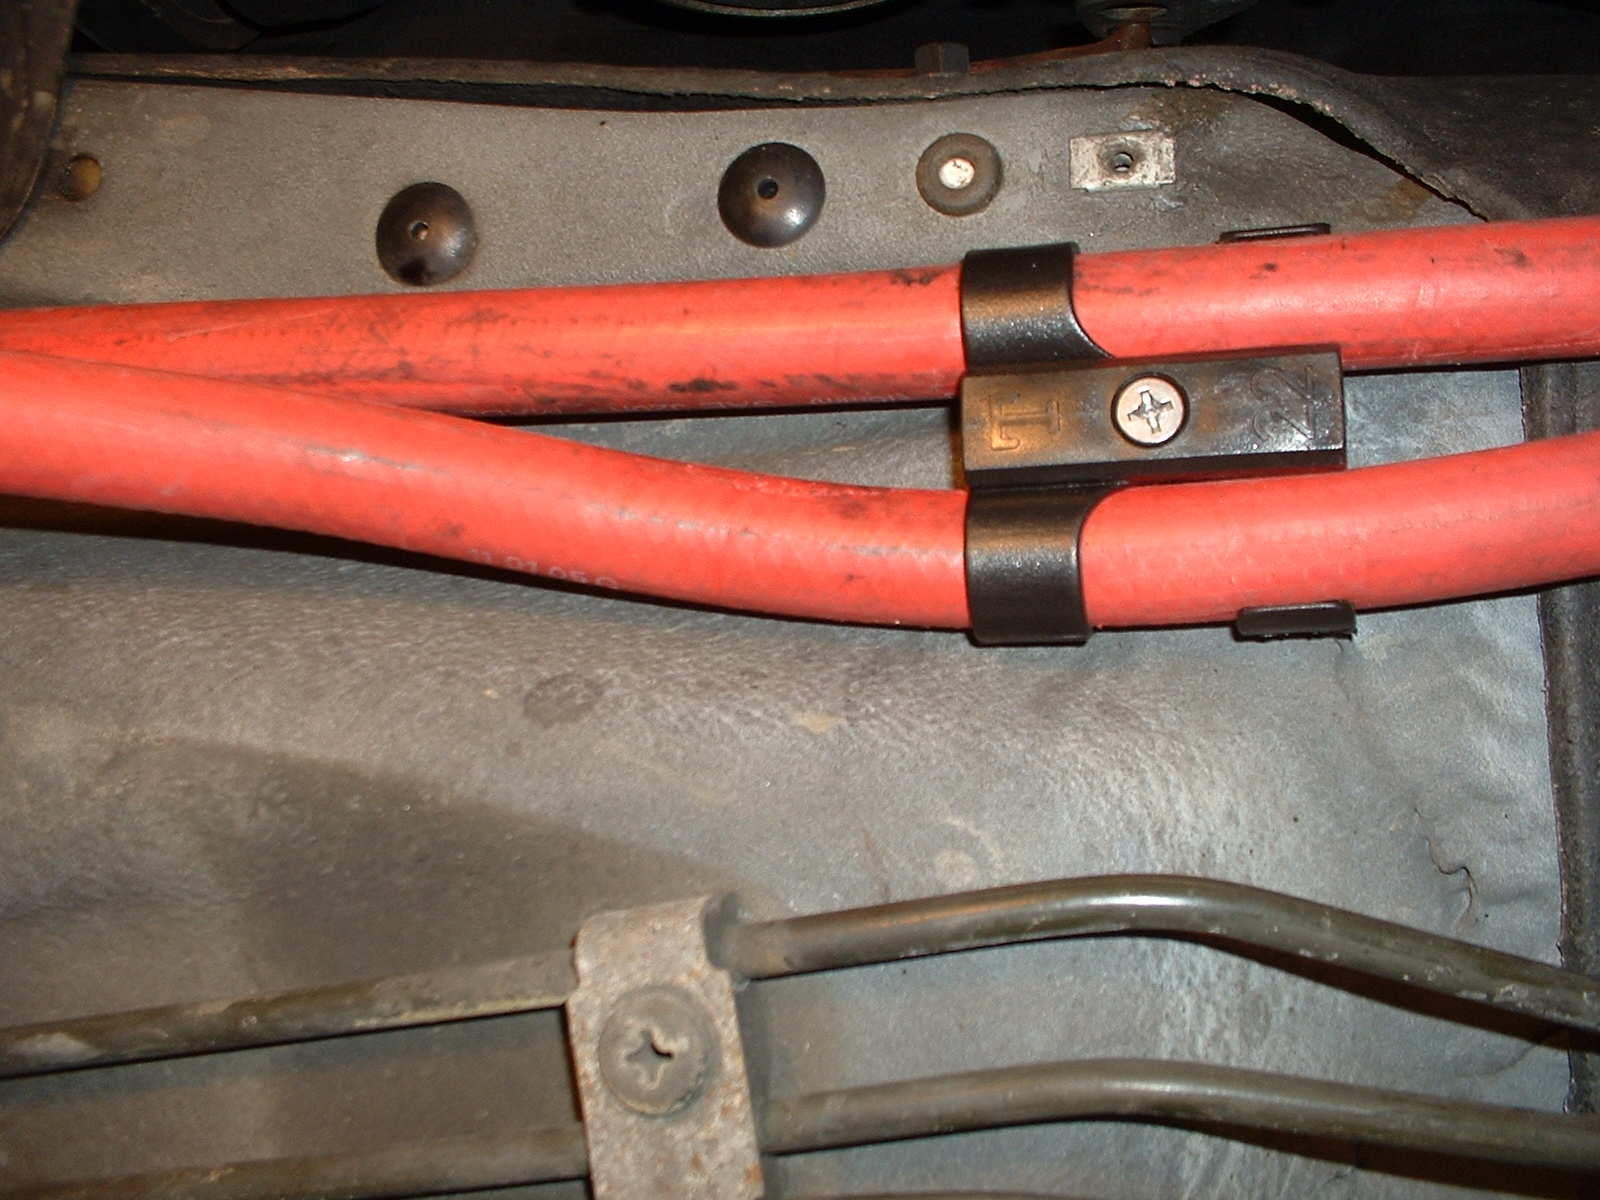
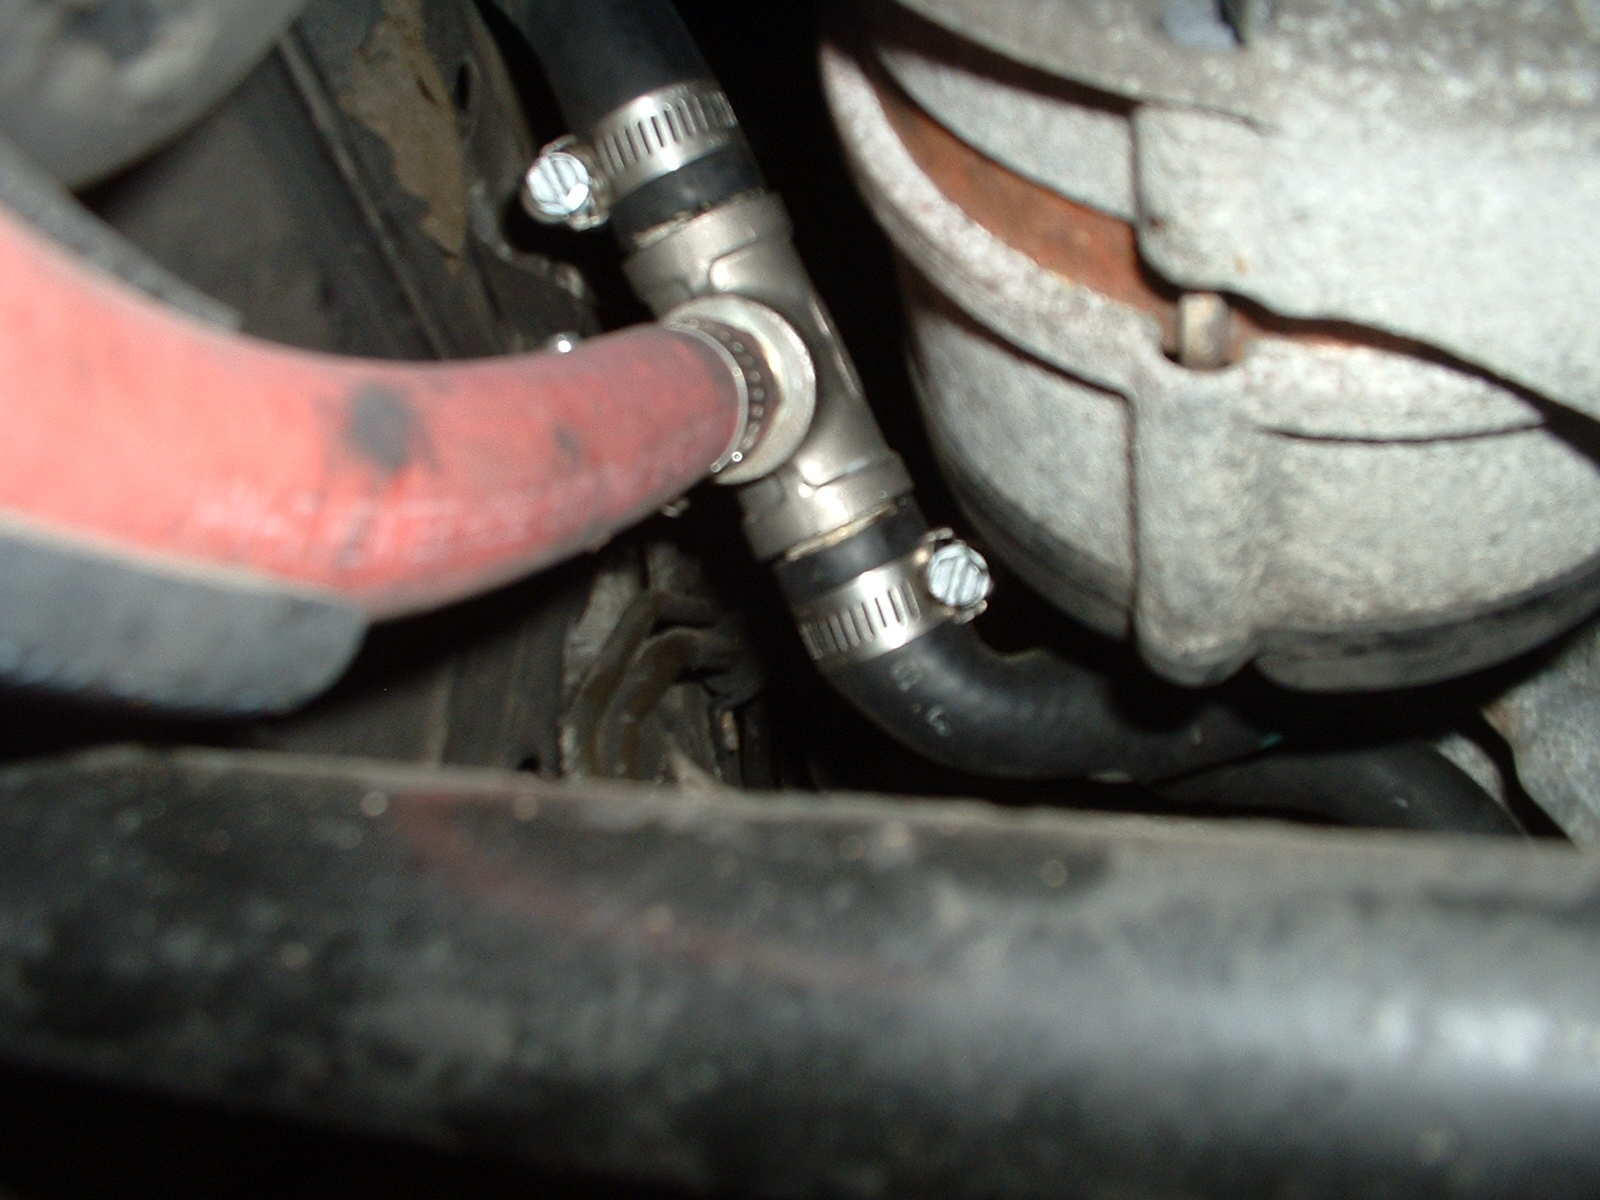
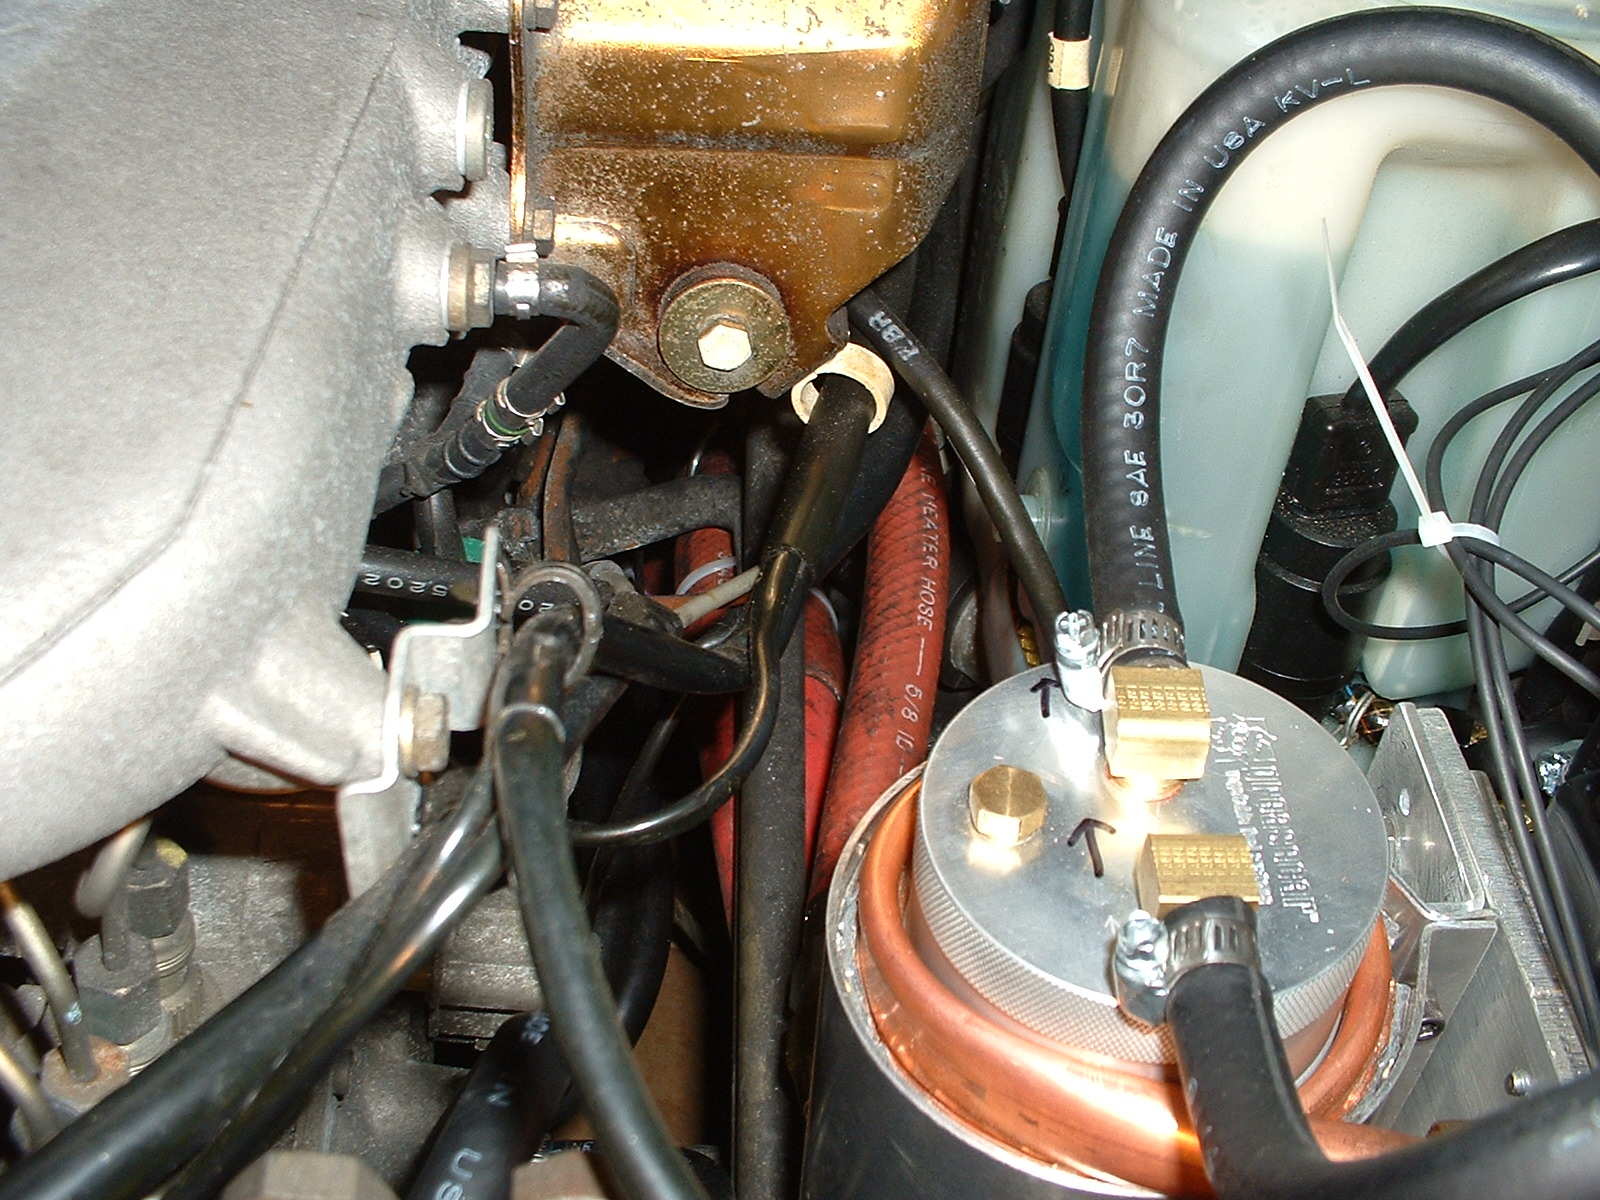
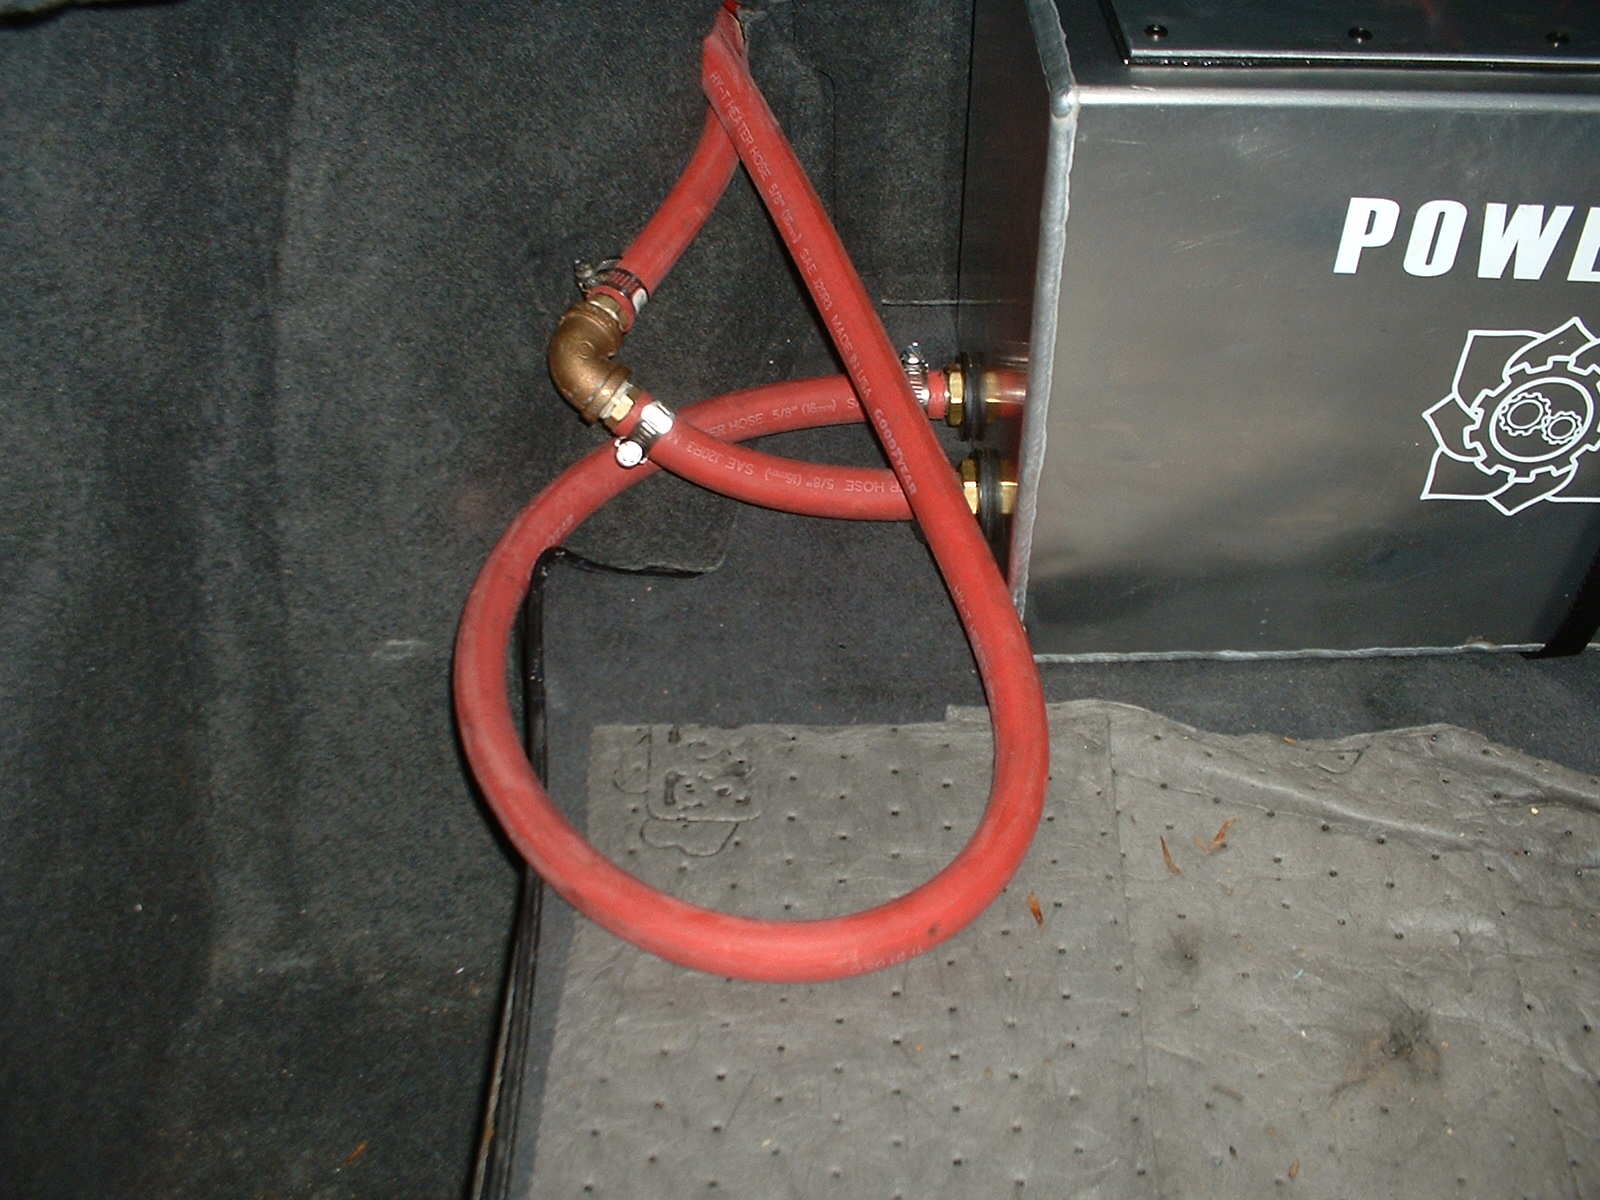
| Installing the Under Car Hose Support Brackets You can mount the brackets under the car before or after running the coolant lines. You may want to run the hoses as described below but not connect and clamp them on either end. This will help you find the best location for mounting the brackets and then remove the slack in the hose prior to connecting the hoses. I used three hose support brackets supplied by Greasecar.com. I installed one in the front just before the bend up into the engine compartment, one in the center and one 5 inches from back the edge where the coolant lines will bend up into the holes under the seat. See the Under Car Coolant Bracket picture below for a good view of the front coolant bracket. Note: The metal under the car is not that thick so be careful to not over tighten the screws provided. I did over tighten one screw and replaced it with new screw, a nut and some washers to hold it in place. If you plan your locations well you should have access to all of the holes you drill. Be careful not to hit anything important and or hit a thick spot that will be hard to drill. You may want to remove some carpet and plastic vents to check where the screw will be coming through the bottom of the car. Make sure you seal up holes and screws with the strip-caulk. Use the strip-caulk to seal any mistake holes. Run Coolant Hose From Veggie Filter to Veggie Tank (will have fuel line in it) Note This hose will go in the furthest forward hole under the seat. See Under Seat picture below. 1. Inside the trunk remove the carpet covering from the trunk on the antenna side. 2. Remove the back carpet and the board protecting the Diesel Tank. 3. Run coolant hose that will house the fuel line though the car to figure out the correct length. The hose will run from the veggie filter to the tank in the trunk. Leave an extra 4 feet in the trunk to allow for a loop. This will prevent kinks and make it easier to move tank for filling. See Tank View picture below. 4. Once you get the correct length, remove and thread the PEX fuel line through. Round the edges of the PEX to make it feed through easier. Note: Make sure to put all hose clamps on before putting the hose on the barb and to tighten all of the fittings and clamps. 5. Start at the veggie filter and thread the PEX through the filter fittings making sure to leave an extra 3" hanging out. 6. Tighten the coolant hose, the compression fitting of the copper and the PEX compression fitting. 7. Route coolant hose to the trunk make a loop in the trunk, remove hose slack under the car, add a clamp for the coolant hose and feed PEX through the fitting on the veggie tank. 8. Cut the PEX so it is 2 inches or more inside the tank. I think the copper coil that heats the tank limits the length. 9. Push the hose on to the hose barb. 10. Tighten the hose clamp on the coolant line and then the compression fitting on the PEX. The PEX intake tube inside the tank sits about an inch above the bottom. You might want to consider adding a 90 degree compression fitting onto the end of the PEX inside the tank to bring the inlet closer to the bottom, allowing you to use more of the veggie oil in your tank. If not you have to keep the tank about � full to prevent stalling on hills. Note: I added hose clamps around the hose under the seat where the hose comes into the car to prevent kinking from the seat pressing down on it. See Under Seat picture below. You can do this later if you have coolant flow problems when the seat is installed. Run Coolant from Tank to the Coolant Return 1. Start at the tank in the trunk and leave 20� in the trunk. 2. Find the best place to put the 90 degree elbow. Remember you can use brass or plastic fittings. See Trunk Elbow and Tank View pictures. This will prevent kinking. Clamp hose to the tank fitting. 3. Clamp the 90 degree fitting. 4. Run through the hole in the back of the seat to the hole under the seat. 5. Cut hose at that point and install a 90 degree fitting seen in the Under Seat picture. 6. Zip tie the hoses to the existing wiring to hold in place. 7. Place the other end of the 90 degree barb fitting in the hole. 8. Push hose on the 90 degree barb from under the car and clamp. 9. Run hose through the three hose supports and along side of the other hose. 10. Continue running the hose to the front of the car. Route hose so it travels across the front bumper of the car and then bends back towards the 5/8� fitting of the return coolant tee. Review "Coolant Return" pictures below. 11. Cut to length and install hose with clamp. 12. Zip tie where needed. There are plenty of holes, tubes and brackets to attach to with zip ties. Note: I do not have the plastic splash shield(s) that mount below the engine, so I do not know if those will get in your way if you have one. Run Hot Coolant Supply to Filter The hose should run almost perfectly straight from the supply coolant tee to the barb fitting on the bottom of the veggie filter if you have the fittings oriented correctly. You should be able to measure the length with a tape measure and cut the length you need. See Hot Coolant Supply to Filter picture below. |
 |
 |
 |
 |
 |
 |
 |
 |
 |
| Under Car Coolant Bracket |
| Hot Coolant Supply to Filter |
| Coolant Return Fitting |
| Coolant Return 1 View from behind driver side headlight. |
| Coolant Return Top View looking down from driver side headlight |
| Trunk Elbow |
| Under Seat |
| Tank View |
| Coolant Return 2 View from behind passenger side headlight. |