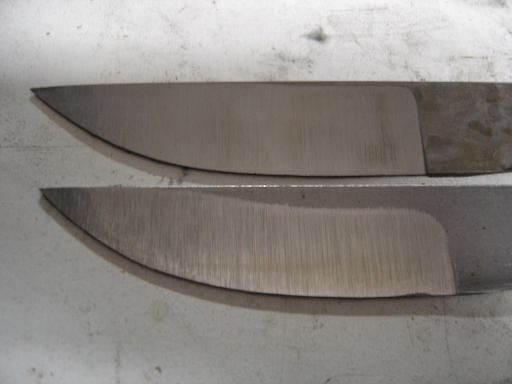
Using the same belt I then
knock off the 90degree edge. I
prefer doing this with a used
belt because the steel edge
really digs into the belt
causing a lot of the sanding
grit to fly off. Doing this work
with a used belt will lengthen
the life of the fresh belt that is
needed for grinding the blade
bevels in.
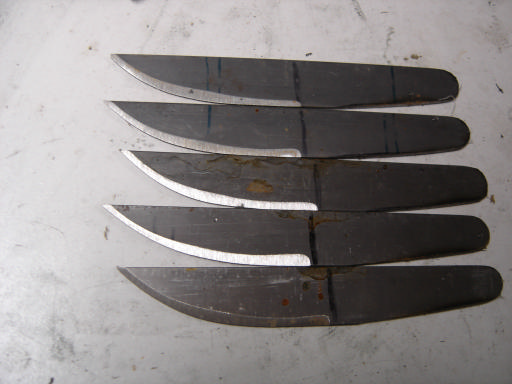
I then place a fresh 60grit belt
on the sander and start
grinding the blade bevels.
These knives will be flat
ground to the spine. I work
one side at a time, once the
bevel is 1/3" the way up i
switch to the other side and
grind it 1/3 the way up to.
Then I grind each side 2/3 the
way up, and finally finish with
the bevels ground about 7/8
the way up. The reason I keep
switching sides is to relieve
stress in the steel...if you grind
only one side of the blade
before starting the other the
blade can warp on you. I dont
take the bevel quite to the
spine because the steel will
move around during heat
treating and i want a little
excess steel there to cover
myself in case I have to grind it
straight.
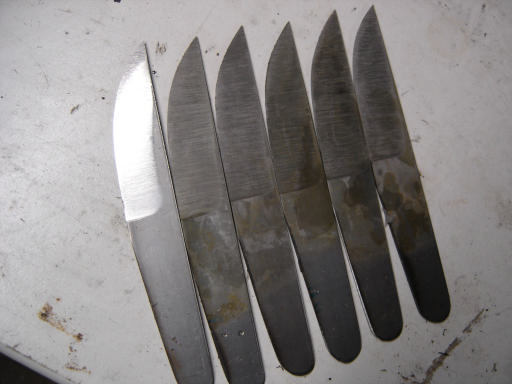
After the blades are fully
ground to 60grit I dip them in
acid(ferric chloride) to turn
them grey. The reason for
doing this is because we will
now be grinding the knives to
120grit and we want ALL of
the 60grit scratches gone.
Etching the steel grey will help
show you remaining 60 grit
scratches while sanding to
120. The blade on the far left
hasn't been etched, the others
have...notice the difference?