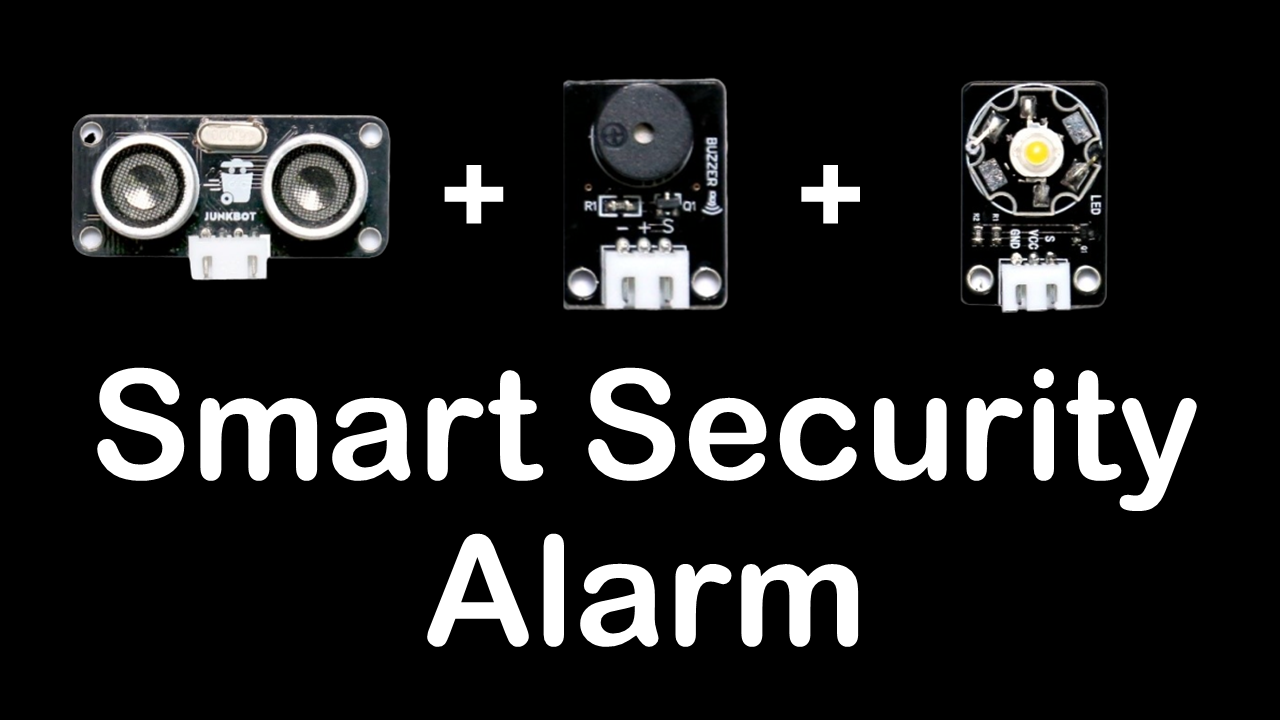
Smart Security Alarm
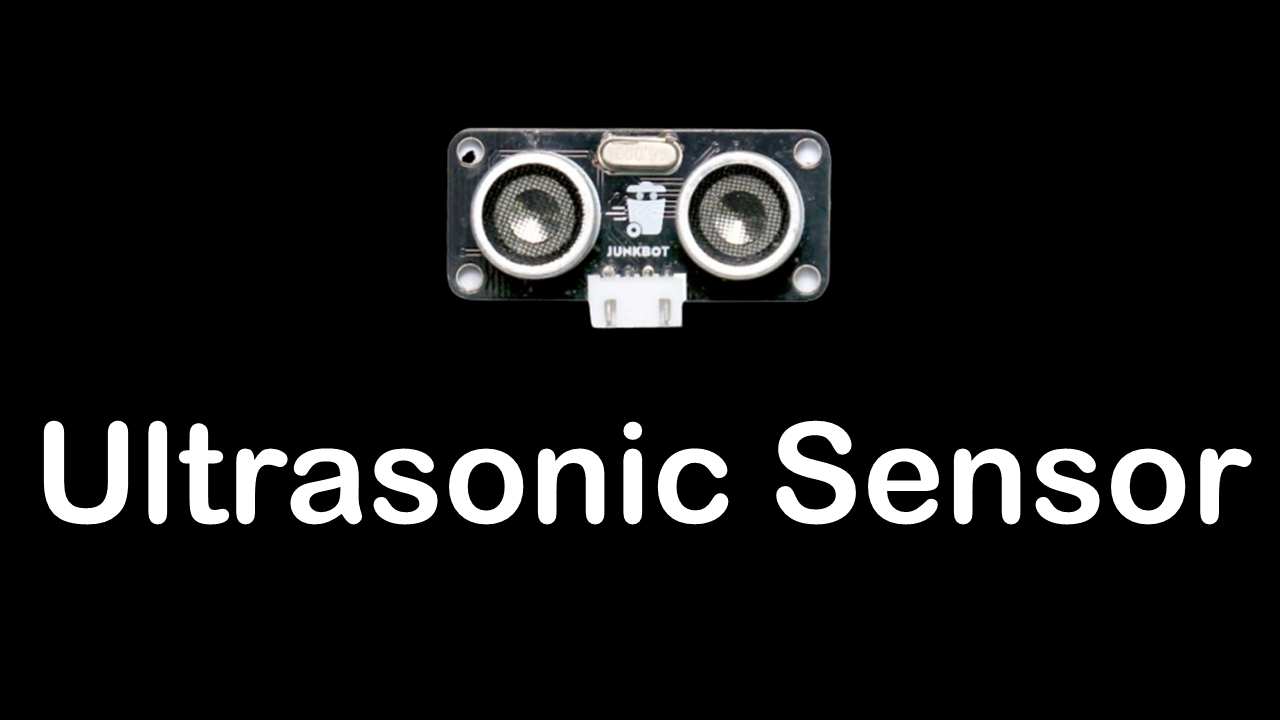
Ultrasonic Sensor
If you haven't checked out my Case Study for the Ultrasonic Sensor, check it out! You'll need to at least understand its code or see it in action. Either press the image above or the button below.

Disco Box
So you just finished your Smart Security Alarm and you're itching to make another one. First things first, take a shower. You should not be itching. Second, prepare your buzzer and RGB LED because we're going to party, in a small box.
Materials
• Junkbot Core
• USB Cable
• Buzzer
• PIR Sensor, but I used an Ultrasonic Sensor
• Three-pin Connector (3pin)
• I used an LED
Code
Because of the circumstances at the time of which these projects were made, I do not possess the PIR Sensor. Sad, really. Nevertheless, this is part of the Robotics Subject and the STEM Field - innovation! Although, to describe what I did as an "innovation" would be farfetched indeed. What I basically did is make use of an Ultrasonic Sensor instead of a PIR Sensor. You can see my code directly below, and it differs from the one in the manual. I also added an LED to the alarm to personalize my code further. You don't have to use the LED but you surely can if you like lights! Furthermore, you might have also noticed I have two versions, the one that I programmed to activate with the press of the spacebar and one that is directly programmed onto the board. Either's fine! I just did mine with the spacebar option because I didn't want to program it onto the board just yet as I'm still using the board for other programs.
On another note, I am really sorry for the quality of this image. This is the image provided by the manual and unfortunately, just like with the PIR Sensor, I have to make do with what I have. But, as you can see, you still make out what it says. The Event Blocks "forever" and "if-else" are still here, along with the "play tone" script blocks. What differs is the Ultrasonic Sensor's code and my addition of an LED.
Video
Junkbot Core
(Arduino Board)
You'll need the the main board to do these case studies. It is based on the Arduino NANO. Check their site out for more details.
Sensors &
Components
You'll need many different sensors and components to put your board to use. Again, check their site out for more details.
A
Computer
You'll need a computer to program the codes that your board will perform along with the sensor and components attached. The programming tool made for the Junkbot Kit is also on their site.