Paint Shop Pro
Advanced
Week Three - Part 2
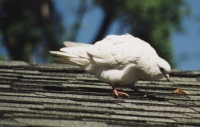
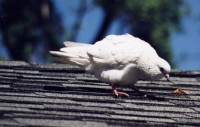
In this case the original image has a yellow cast. I know this roof is supposed to be gray, but it appears tan here.
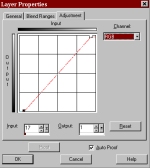
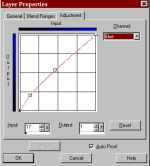
I created a curves adjustment layer and made the settings illustrated. This made the roof gray and also made the dove snow white.
I used the RGB curve to sharpen the contrast. Then I used the Blue curve to get rid of the yellow cast.
Original Image
RGB curve
Corrected Image
Blue Curve
Please note:
I usually always use adjustment layers if at all possible. You can always go back and make changes to your settings no matter how many more steps you have done. Also, each time you make a change to the actual pixels in an image, you degrade the image. An adjustment layer is a layer that does NOT have pixels in it; the adjustment layer stores the instructions for what you want done to the pixels once you either merge the layer with another layer or flatten the image. I also use curves, and to a lesser degree levels, for tonal and color corrections. I find that I have better control of what I am doing using curves and levels than to use some of the commands under the Colors menu.
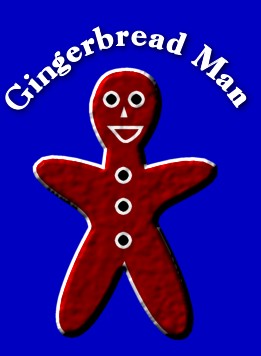
Here is my gingerbread man. I did him just like in the book. I also created text on a curve. I am much more comfortable making tonal and color corrections on an image than to create artwork!

In this example I created curves from vector text. I made each letter its own vector object. I then went into Node Edit mode and changed the letter "M"
Here are some transparent and animaged GIF's I created this week and last for my other class.