Click on photos for larger view. This page and all photos are Copyrighted by Jason Hill 2004 unless otherwise noted
Prototypes from kits
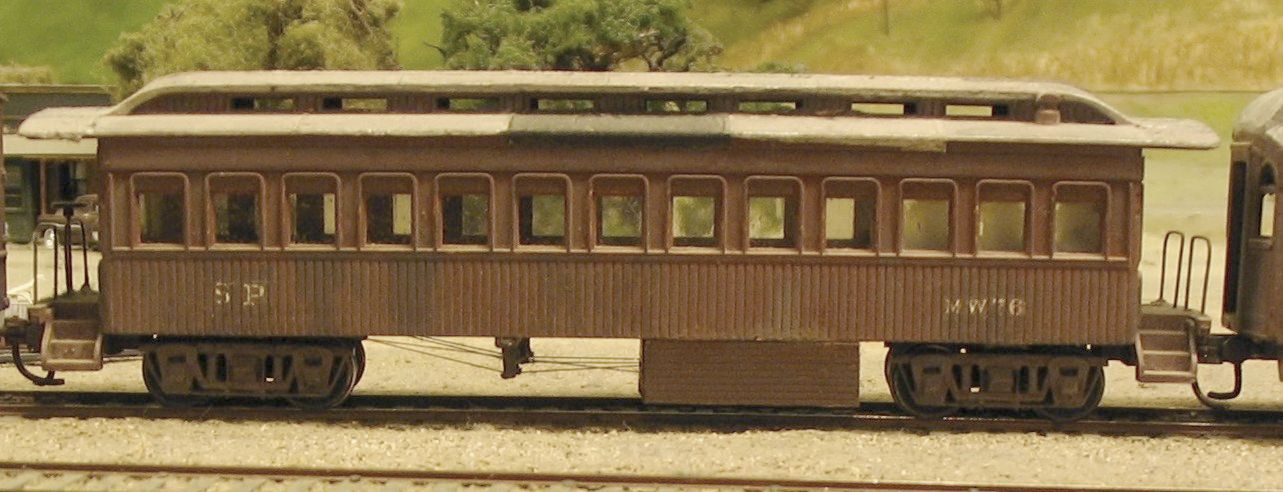
Based on photo in Southern Pacific Lines Maintenance of Way Equipment by Bruce R. Petty top of pg34.
This Kitbash took about 1-2 hours, another 1 or 2 to paint and add the tarpaper roof.
Kitbash started as a Bachmann "old time" coach. Carbody was the only original part retained. A new underframe was built from a MDC/Roundhouse caboose underframe that was cut and lengthened to fit. A 0.060" sheet lead weight was added inside to bring the car upto 4.0oz. The trucks are MDC "old time" passenger/caboose trucks. The large tool box was scratchbuilt out of styrene. The queenposts are from MDC as well. 10lb mono-filament fishing line is used for the trussrods. Brake rigging and hand rails were formed out of 0.020" wire.
The car was painted with Polly-S Oxide and ATSF Silver on the roof to reflect the sun. The tarpaper patches on the roof are made from a single-ply of Kleenex tissue cut under size and "doped" onto the roof with the same Polly-S paint, usually Grimy or Engine Black. Note that normal Kleenex brand tissues have two plies. Decals are Micro-Scale Alphabet Railroad Roman White. Window glazing is clear styrene.
Based on photo in Southern Pacific Lines Maintenance of Way Equipment by Bruce R. Petty top of pg36.
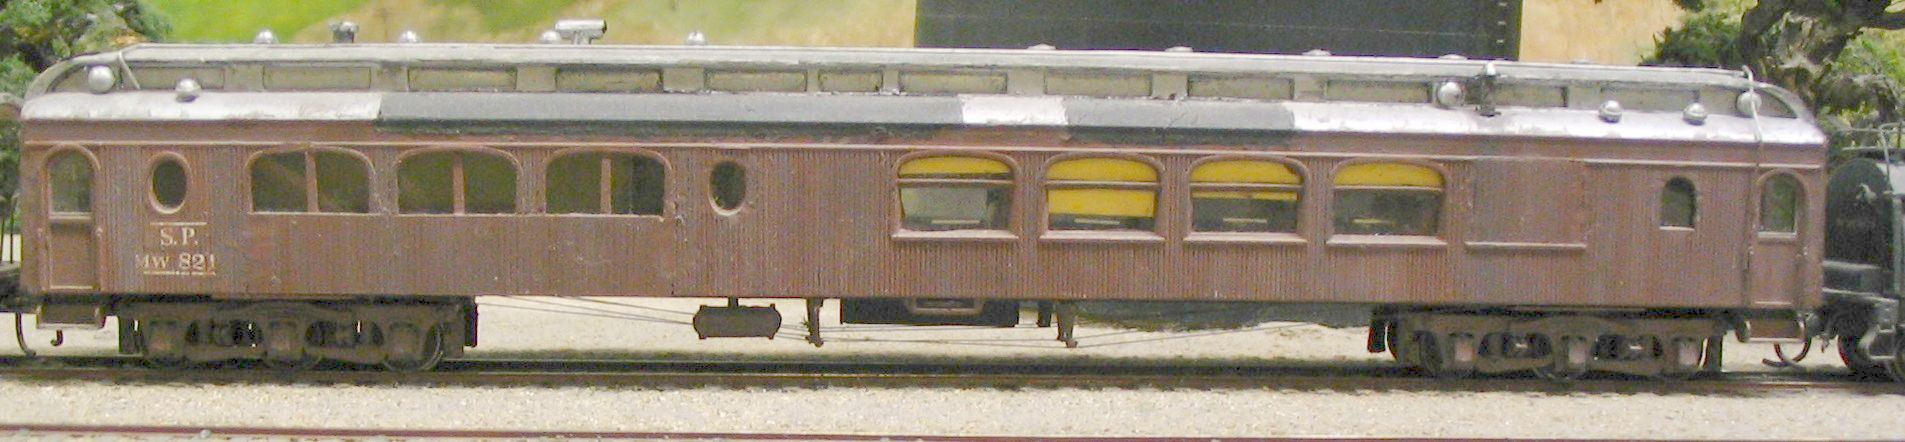
This kitbash started as a MDC Pullman Palace
80ft Diner. Standard modifications included replacing the trucks
with Rivarossi 6-wheel HW trucks, I would use Branchline's new trucks
if I were to build this car now, JayBee 36" metal wheels were
installed. Body mounted Kadee #5 couplers, and 0.060" sheet lead
weight added inside to the floor.
The customization of the shell included filling the end windows,
cutting away and replacing the carside below the kitchen windows and
modifing several of the windows. Electrical conduits running
along the roof are made from 0.020" styene rod bent and cut to fit.
The paint and detailing are done with the same techinque as SPMW76.
Based on photo in Southern Pacific Lines Maintenance of Way Equipment by Bruce R. Petty top of pg36.
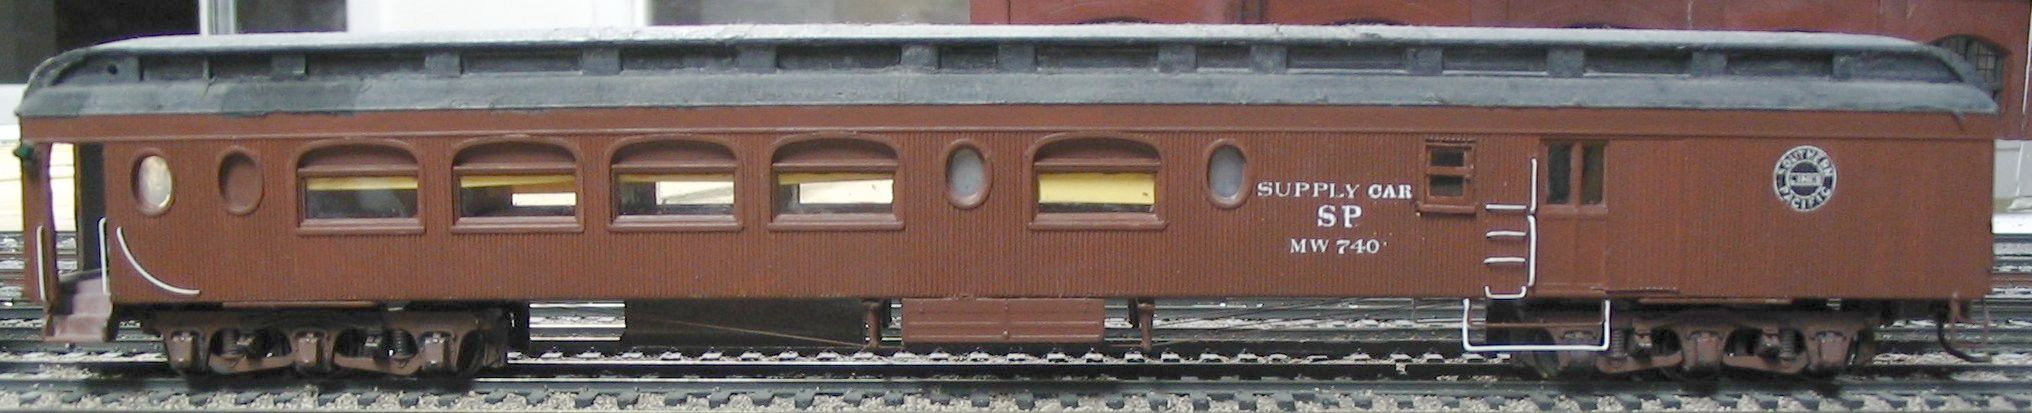
Car's mechanicals are the same as SPMW821. Kitbashing includes
blanking over half of the sidedoor towards the end of the car.
Adding the grabiron ladder and steps around and under the
sidedoor. Cutting away the vestibule door and adding curved
caboose type handrails at the vestibule end of the car. A window
was added between the sidedoor and the reporting marks.
Paint and detailing same as SPMW821 and SPMW76, decals are from
Micro-Scale Alphabet Railroad Roman White and Sourthern Pacific MOW
decal sets.

I fabricated two long running boards for the sidedoor from staples and wood strips. Using a Dremal at 5000rpm and a #76 drill bit I routed out the holes for the T-50 rebent staple. Next drill mounting holes for the four corner sturup steps. Last touches are going to be giving the car a coat of Poly-S Flat Finish to knock down the sheen, inserting some clear styrene into the windows. Some light weathering, some soot around the stack, and colored
pencel aging to some of the boards will finish the job.
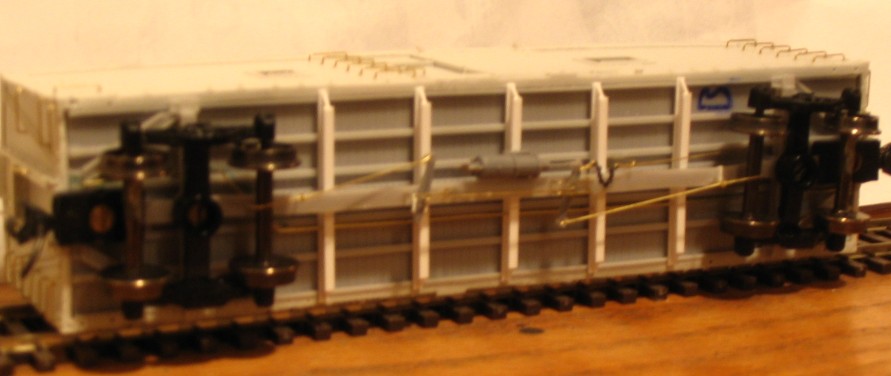
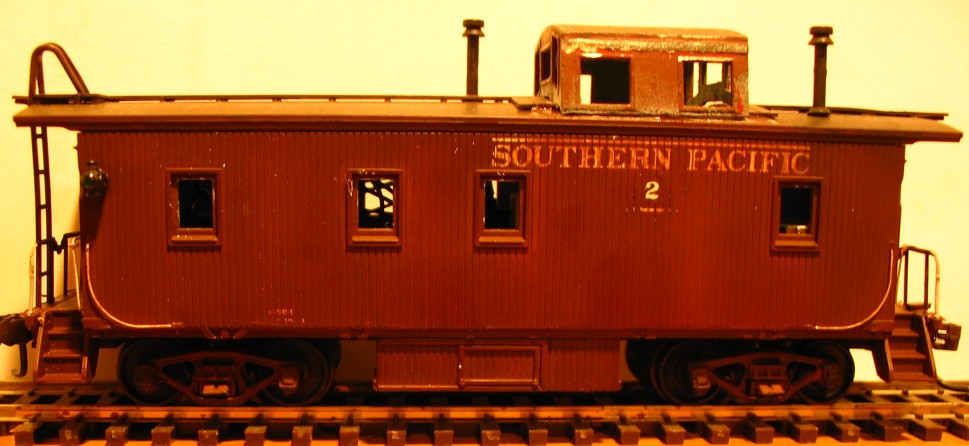
Starting from Walthers C-30-1 caboose
Based on photo in Southern Pacific Freight Cars Volume 2: Cabooses by Anthony W. Thompson, pg 155
 3/4 Photo of SP#2 Caboose.
There are two main differences between a C-30-1 and a C-30-2. C-30-1s have full side sheathing and built with small angle-sided cupolas. C-30-2s have the lower 6" of the sidesill exposed and wide angle-sided cupolas, such as the car modeled here. The C-30-3s have full sheathing and wide angle-sided cupolas.
The kitbashing involved here is mostly filing the side sheathing away and griding down the old Silver-Streak cupola to fit the roof of the Walthers caboose.
I decided to model SP 2 as it appeared in Alturus, CA circa June1, 1947 per the photo on page 155 of Tony Thompson's book. To do this I needed two smokejacks, a Silver-Streak Cupola, a mill file, some 0.015"X0.040" styrene strips, and a few fragments of Micro-Scale Decals for the number change.
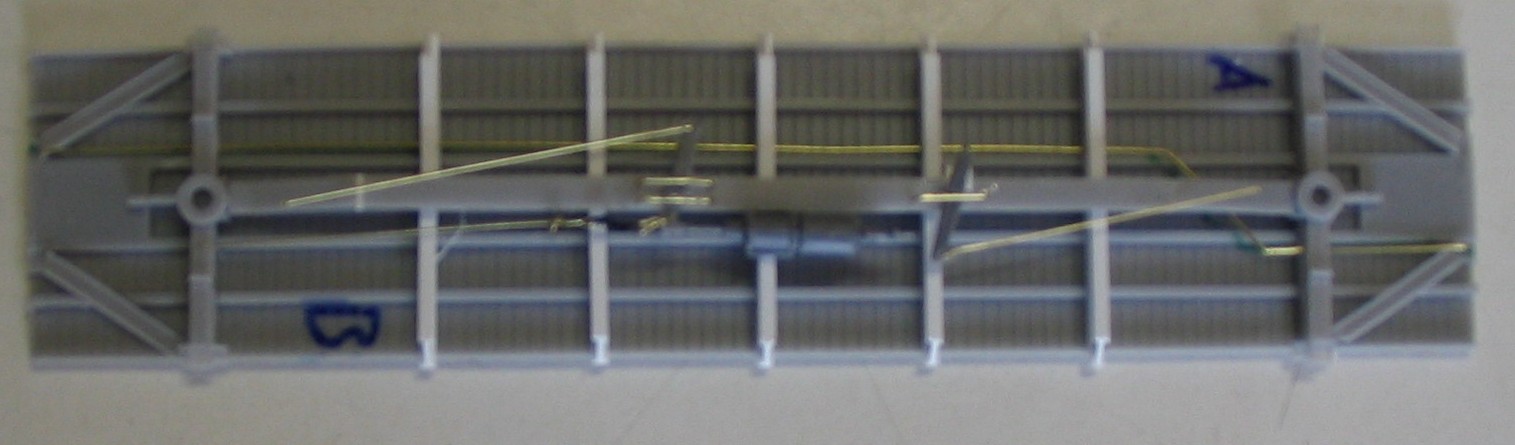
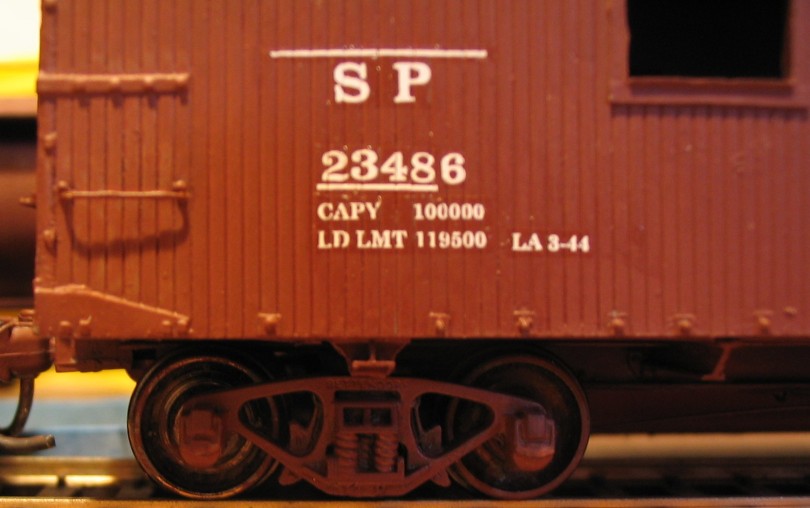
I started off by filing down the side sheathing to a depth of about 0.030"-0.040". This becomes the exposed framesill. Be careful not to hit the steps with the file. Next comes the internal framing of the caboose. The prototype has Z-bar framing, but it is only about 1-2" deep. I used the strips of styrene. Cut the strips to fit below the sheathing. A pair of the vertical members are located just outside of the center window. Another set just toward the center of the two outer-side windows, above the bolsters. The window opposite the blank area below the cupola has a vertical member to the outside and one set equal distance from the center set under the cupola. On each end of the car are vertical members located just inside the ends of the side about a scale 8" in. The diagonal members are on each side of the bolster vertical, and inside of the undercupola pair of verticals. This is harder to explain than to see in the photos.

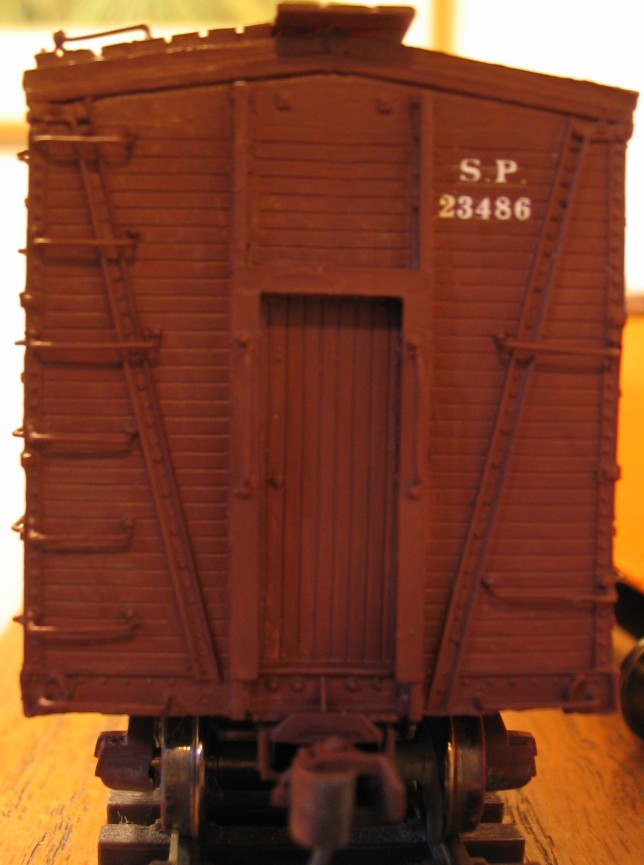
B-end Photo of SP#2 Caboose showing detail, and bracing arrangements.

A-end Photo of SP#2 Caboose showing detail, and bracing arrangements.
The cupola modifications involve either a mill file and some smaller curved files, or a Dremal with a teardrop bit. I used the latter, it took a sharpy to mark the area I wanted to remove and about 5 minutes griding. While I was at it, I ground off the metal sunshade "canvas". That will be replaced later with paper shades.
The smokejacks are both Walthers. I bought a twin-pack and used the second cars smokejack to complete #2. For those of you keeping track, I have an extra resin smokejack from the SP 23486 boxcar caboose for the other C-30!
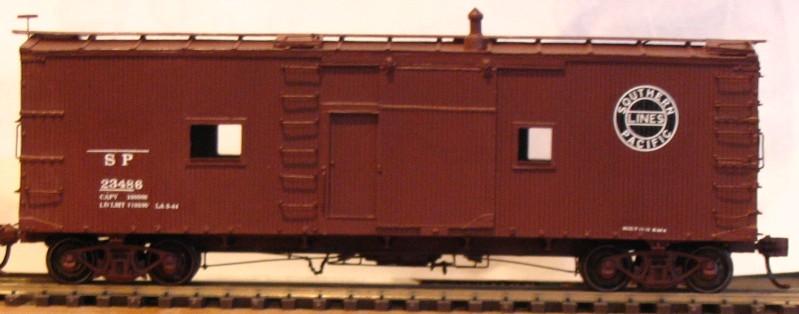
Overall photo of SP#2 Caboose.
Other modifications include cutting the ladders just below the roofline and replacing the upper curved portion with flat brass strips bent to shape. I did this so I don't have to worry about breaking the plastic ones every time I open the car to work on the lite markers from Tomar. New holes will need to be drilled in the Silver-Streak cupola for the handrails that incompass most of the cupola roof.
Built from MDC/Roundhouse Harriman Coach.

Conversion consisted of repainting car and decaling as SP CABOOSE 998. Plastic glass has been installed, and paper window shades. The car has been fitted with lite marker lights on one end.
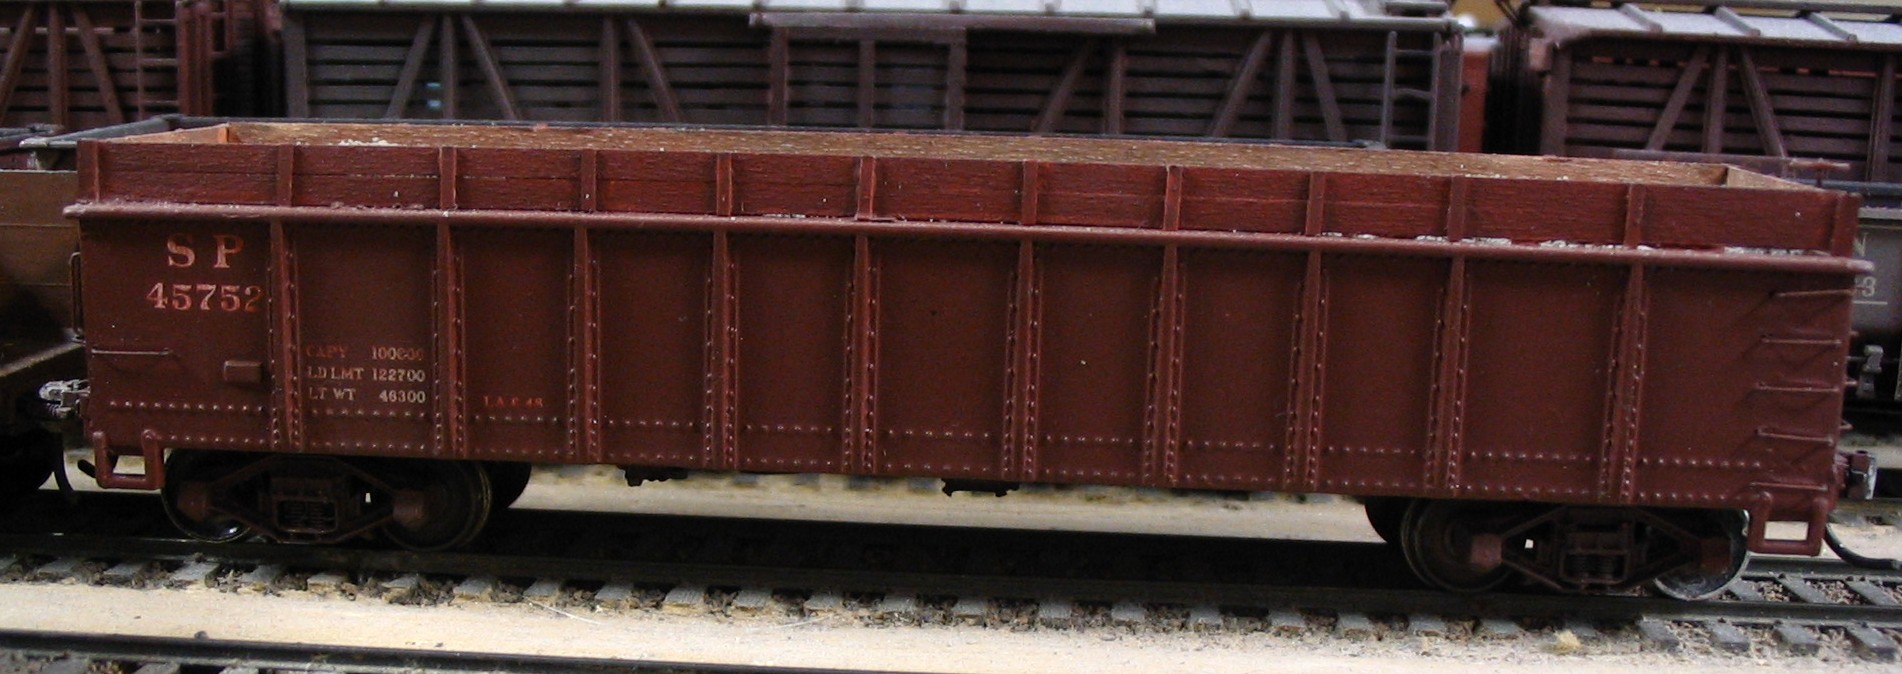
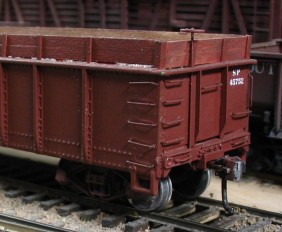
Built from photo of SP94248 in the Micro-Scale Decal instuctions from the SP decal set 87-1, I believe. Supplementary information from Southern Pacific Freight Cars Volume 1: Gondolas and Stockcars by Anthony W. Thompson. Starting point is a Proto2000 53'6" Gon.

Side view of Gond, look closely, at the center stakepockets they are closer together.
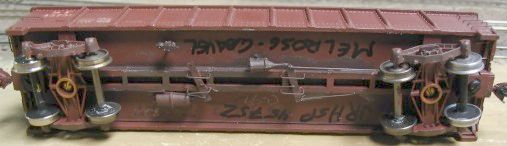
The main modification that needs to be made is the removal of 12" in the center of the car between the wider spaced ribs. Replacing the centersill with a "fish-belly" design, Athearn part, and the car was equiped with a vertical staff brake wheel.
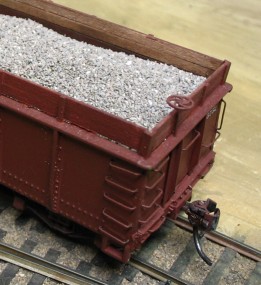
Built from Mantua 40ft Gondola.
Kitbash inculded the following; new ends fabricated from sheet and angle styrene, indiviual grabirons installed, sheet lead underfloor weight and Athearn 40ft steel boxcar underframe added.
One of the most interesting characteristics of this car is the two-board extention to the top of the car. This car was assigned to ballast service. These cars only had 8 drop doors and were simi-selfclearing.
Built from Bachmann, Mantua, Life-Like, et al 40ft Gondola.
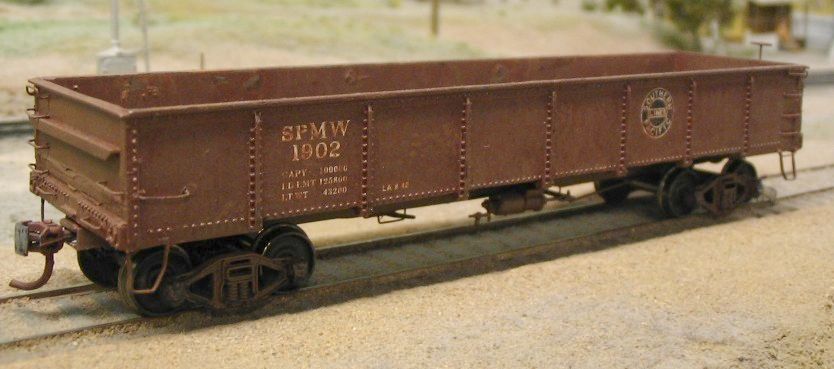
Car fitted with new ends, trucks, and underframe. Painted with Polly-S Oxide Red and Microscale decals.
Built from Bachmann, Mantua, Life-Like, et al 40ft Gondola.
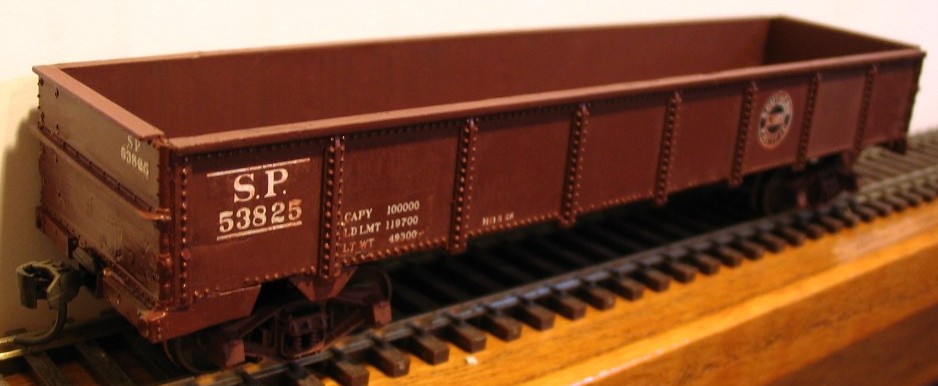
SP 53825 in Trona service between Trona, CA on the SP's Jawbone Branch and the harbor on LA.
Car fitted with new ends, trucks, and underframe. Four drop-bottom doors installed between trucks. Rib extentions need tobe fabricated, and deeper centersill constructed. Painted with Polly-S Oxide Red and Microscale decals.
Built from Accurail 40' wood boxcar
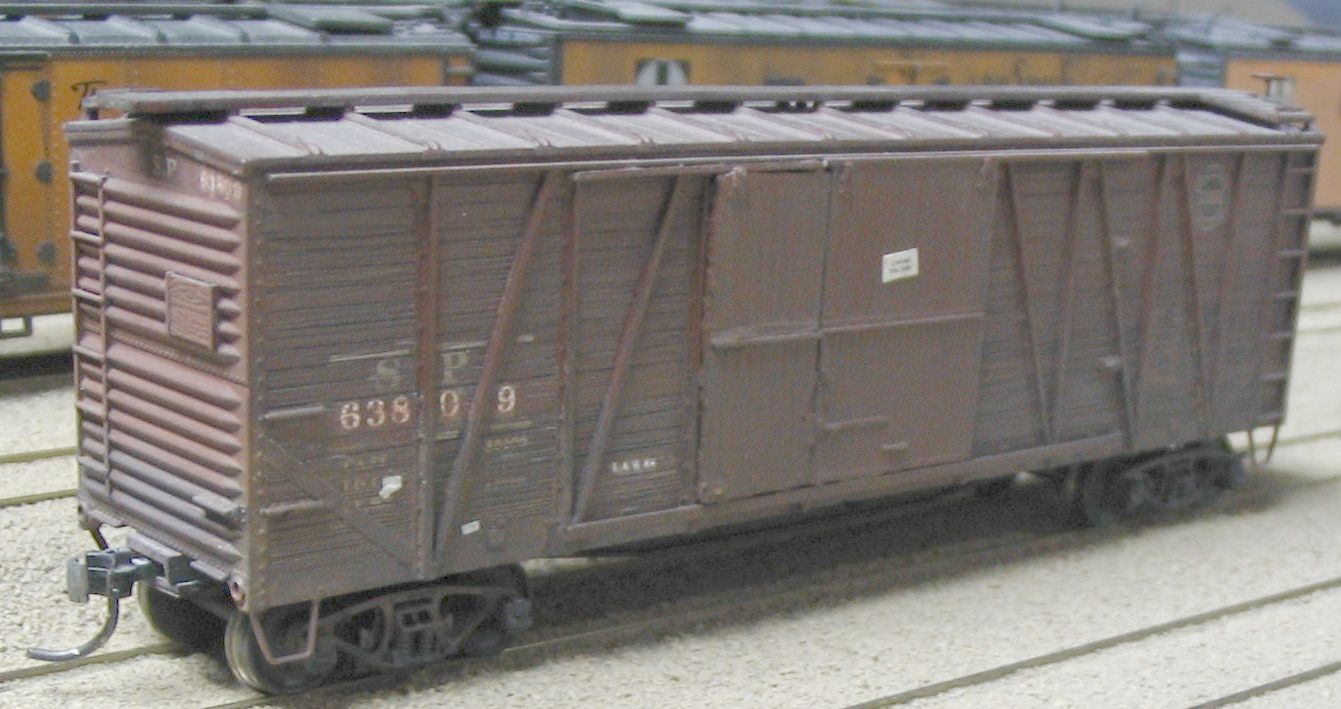
Built stock except for change of number and addition of extra 1/2 door the the left of the full 6ft door. I did this conversion before the new conversion kit was released. The SP only shows nine of these cars left in 1953. I only converted three cars.
Spliced from two Tichy 40ft Flat cars

Before gluing car together lenghened sides and deck with parts from second car. Add "Fish-belly" Athearn or lenghened Tichy underframe to car. Last add extra lead weight to the car under the deck and in the centersill.
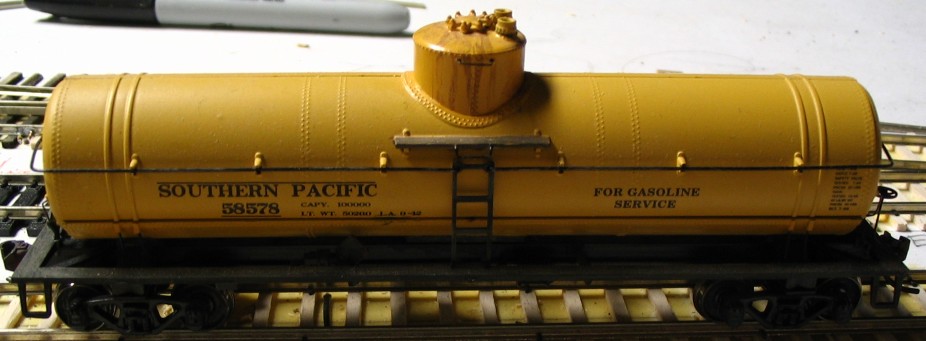
Stock Athearn tank car with dome cut down to tank profile and Tichy 56" dome added. Vertical brake wheel installed instead of power brake.
End of Page