 |
|
|
|
|
|
|
|
|
|
|
|
|
|
|
|
|
|
|
|
|
|
|
|
|
|
|
|
|
|
|
|
|
|
TJ Rear Flare Install (Left Side) |
|
|
|
A more detailed description of my flare install process. See TJ Flare Install (Right side) for the ADD version, as well as the history and reasoning behind the mod. |
|
|
|
 |
|
|
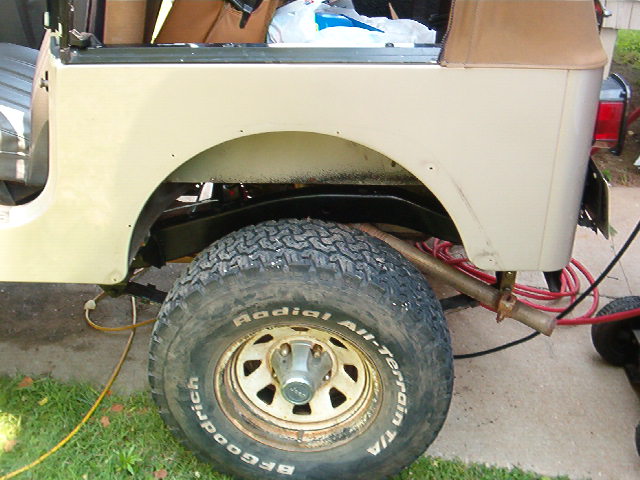
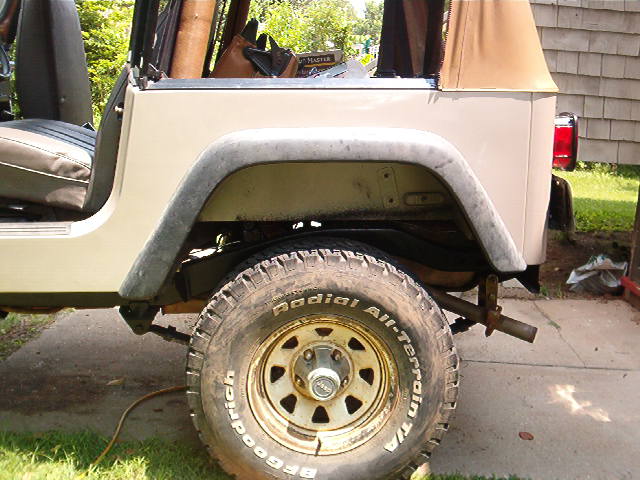
The 3" spring and shackle lift was plenty to clear these 31" BFG ATs beneath the YJ tub, but to fit my new 33x12.50xR15 Interco TrXus MTs, I was going to need something more. |
|
|
|
|
|
|
 |
|
|
|
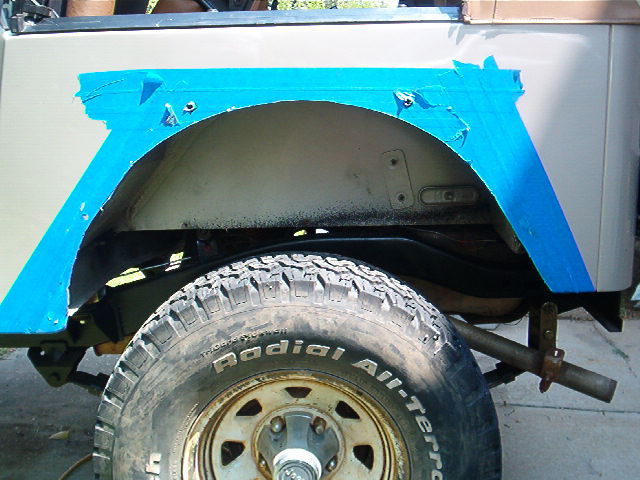
I covered the area to be cut in blue painter's tape, which will help protect the sheet metal from the jigsaw shoe, plus it won't leave a residue when you remove it. I held a flare in place and traced a line along the bottom lip of the flare. The green circle shows the seam that I used to line up the rearward most tip of the flare. (Click to enlarge) |
|
|
|
|
|
 |
|
|
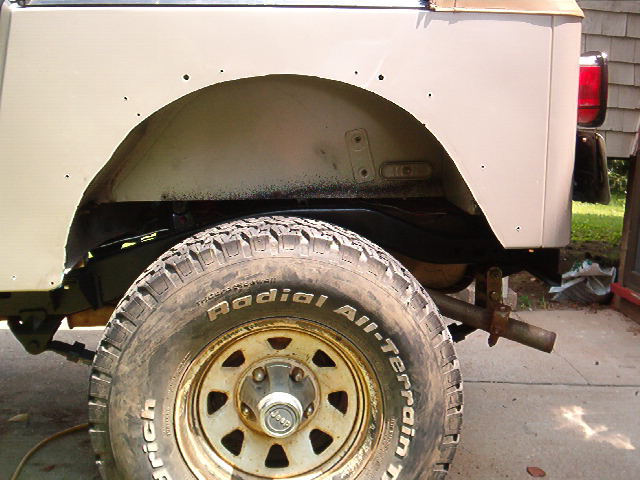
The cut has been made and holes drilled for the mounting pegs. To simplify the location of the mounting peg holes, I marked them with a black permanent marker and them pressed them agains the tape, leaving a small but visible mark to locate the drill bit. |
|
|
|
|
|
 |
|
|
|
|
|
|
After tape removal, the sheet metal is marked for the holes for the mounting bolts. |
|
|
|
|
|
1/4" Metal rod is welded into the wheelwell to lend rigidity (picture to come). |
|
|
|
The lip of the flare is trimmed (picture to come). |
|
|
|
 |
|
|
 |
|
|
|
|
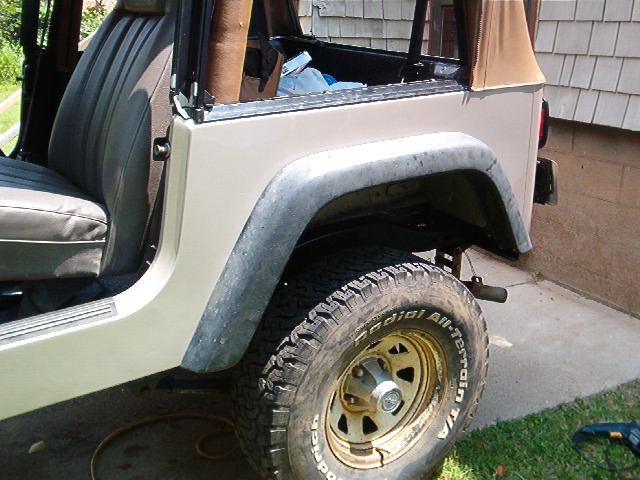
Looks pretty sharp, doesn't it? |
|
|
|
Back |
|