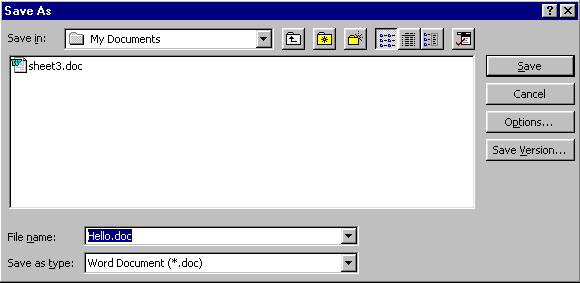
1 - Printing


Although some of you will be able to send a copy of your document electronically to your professors, many of you will have to print the document you create. A printed version of the document is referred to as a hard copy.
From the standard toolbar select the print icon ![]() . This will give you a printer dialogue box. There
are two printers in the Penn State CAC labs. Dot matrix and laser printers are provided at
all CAC labs. Students can print on dot matrix printers free of charge, and also are given
60 free pages of laser printing each semester (60 sheets of paper, or 120 double-sided
pages). Laser printers are set to print on both sides of the paper in order to reduce the
cost of printing and waste of paper. Each student receives up to $6.00 of laser printing
(10 cents per page, 60 sheets of paper, or 120 double-sided pages) at no charge per
semester. This is a non-refundable credit. There is no charge for the cover sheet that is
printed to identify your printout. You can also print on the dot matrix printers free of
charge. After you use up your 60 sheets of free laser printing, one of two things will
happen:
. This will give you a printer dialogue box. There
are two printers in the Penn State CAC labs. Dot matrix and laser printers are provided at
all CAC labs. Students can print on dot matrix printers free of charge, and also are given
60 free pages of laser printing each semester (60 sheets of paper, or 120 double-sided
pages). Laser printers are set to print on both sides of the paper in order to reduce the
cost of printing and waste of paper. Each student receives up to $6.00 of laser printing
(10 cents per page, 60 sheets of paper, or 120 double-sided pages) at no charge per
semester. This is a non-refundable credit. There is no charge for the cover sheet that is
printed to identify your printout. You can also print on the dot matrix printers free of
charge. After you use up your 60 sheets of free laser printing, one of two things will
happen:
- if you agreed to charge your laser printing to the Bursar when you received your Access Account, you will be charged 10 cents per sheet of paper (that's a nickel per page if you print on both sides of the sheet); or
- if you did not agree to have laser printing charged to your Bursar's account, you will no longer be able to do laser printing after you use up your 60 free pages.
Both the IBM and the MAC labs have an icon on the desktop of each computer titled "How to Print." If you are having any trouble, double click on these icons and instructions will appear on your screen. Once you choose your printer, hit the OK button in the printer dialogue box. The mouse pointer changes to an hour glass shape and a message will appear indicating it is preparing to print your document and how many pages it is preparing to print. This goes by rather quickly.