|
Judy Farrugia
MAGIC WELLS QUILT
Class Size for
both days: 12
(Max)
This
quilt is quite simple to make, but the quilt itself has maximum
impact and looks deceptively difficult to assemble. The magic wells
part of your quilt top will easily be able to be completed in a two
day workshop. If you want, you can take some pressure off yourself
by cutting and/or sewing together the strips prior to the workshop
beginning � however, this is not really necessary.
The
size of your quilt will depend on the total width of your strips
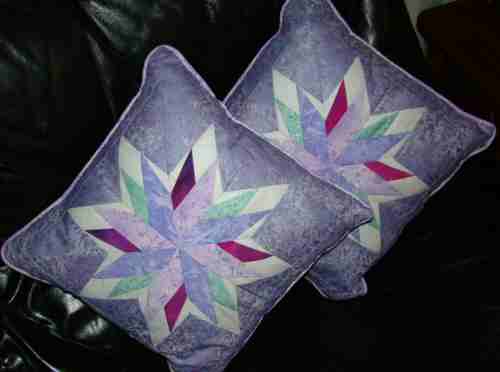
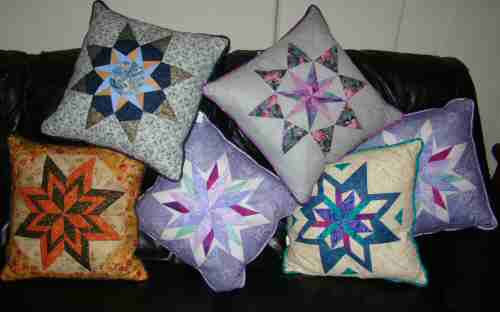
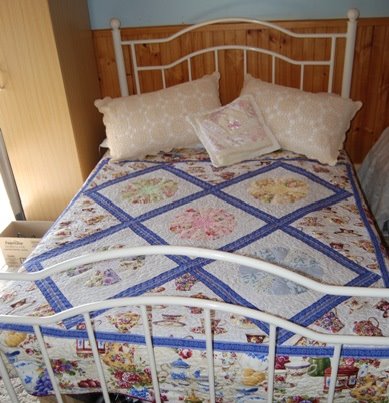
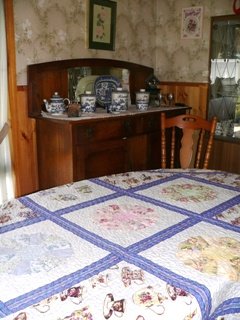
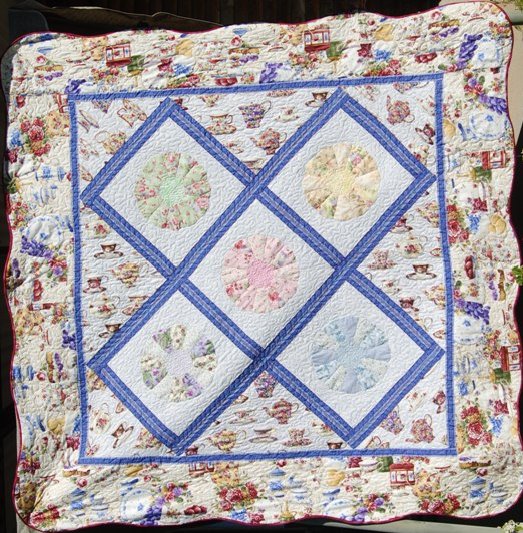
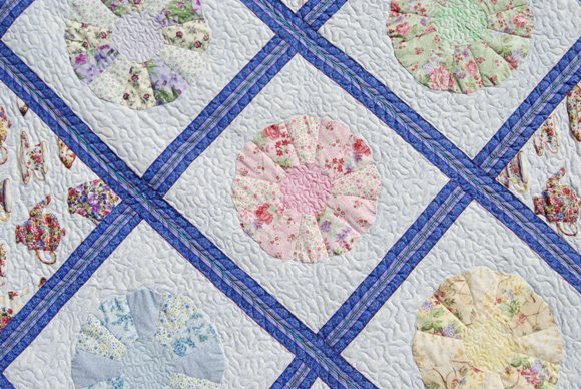
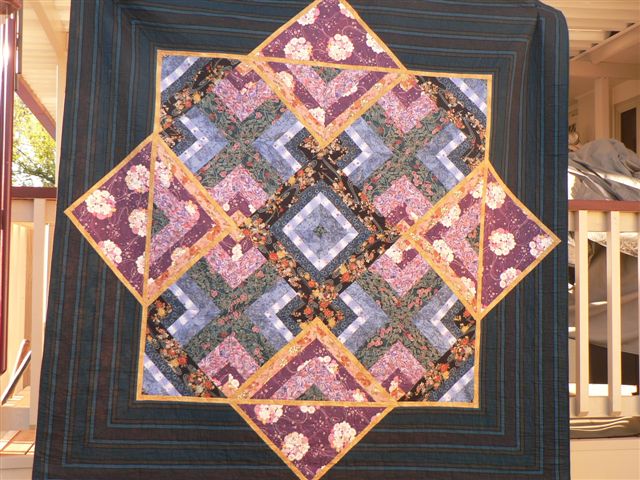
once they are sewn together. The blue and lavender quilt uses a
strip set that is approximately 19� wide (this quilt measures 82�
square finished, with the magic wells centre part measuring 51�
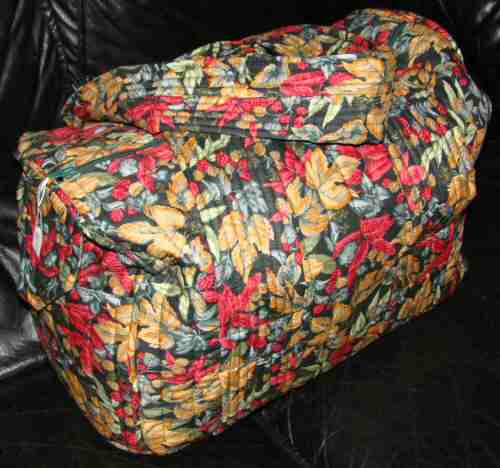
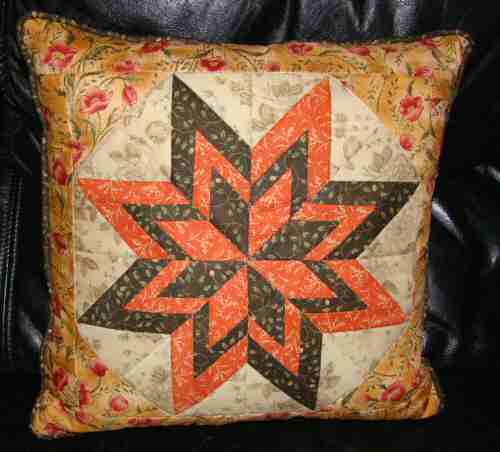
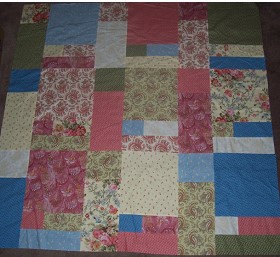
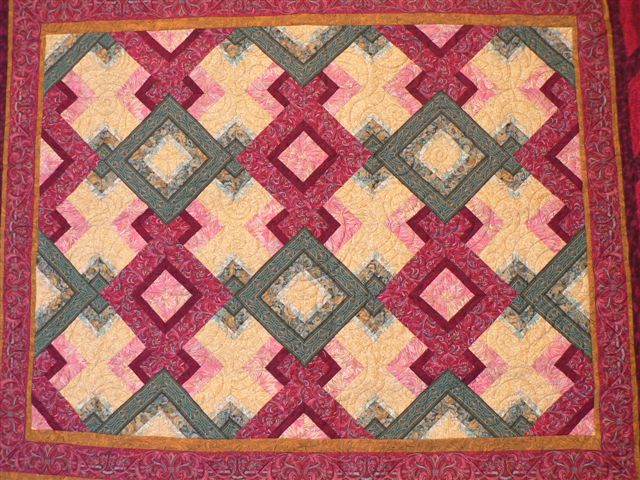
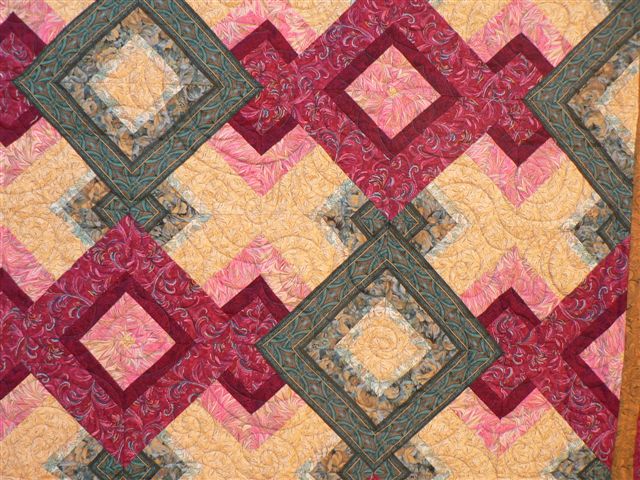
square); the red, gold and green quilt uses a strip set that is
approximately 11� wide (the magic wells part of this quilt measures
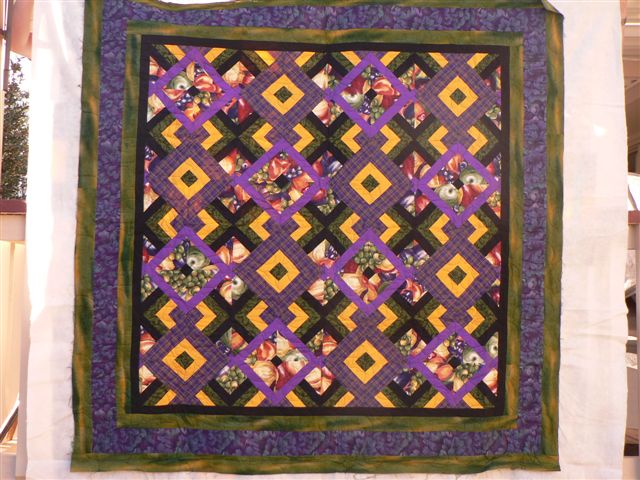
39� x 52�); while the green, purple and yellow quilt uses a strip
set approximately 13� wide (the magic wells part of this quilt
measures 48� square).
I find
it easiest to have the finished width of the strip set to be no more
than �� bigger than whatever sized square ruler you have (eg, strip
set 13� wide if you have a 12 �� ruler, strip set 19� wide if you
have an 18 �� ruler). For the most economical use of fabric, make
your total width of strips (less seam allowances) about 10 ��.
If any
of the workshop attendees need further clarification to this
requirements list, please contact me on 02 62420402 between
6.30pm-7.30pm during the week, or on a Saturday afternoon (I�m often
home on a Saturday morning after about 9am as well). Please also
call me if you decide to cut and sew the strips prior to the
workshop so I can give you some hints on how to end up with a
straight set of strips (no bowed strips!!).
Fabric
5-9
different fabrics cut into strips. The strips need to be of varying
widths, but make sure the two outside strips are of differing widths
(1 wide, 1 narrow). I used widths varying from �� all the way up to
3 ��.
N.B.
The strips at the top of the strip set will make one square, the
strips at the bottom another. Therefore, to get two different
coloured squares lump one group of colours at the top and another at
the bottom of the strip set.
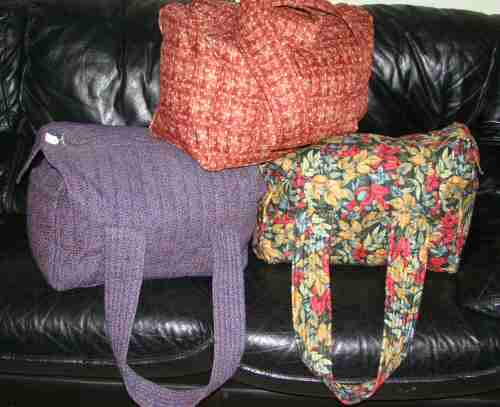
You
will need 4-6 strips of each colour. Therefore, you will have
either 4/5/6 sets of strips sewn together. If you look at the
photos of the quilts; the blue and lavender quilt used 4 sets of
strips; while the red, gold and green quilt used 6 sets of strips.
The
border fabric is quite hard to pick for this particular type of
quilt, until after the �wells� are sewn together. If you want,
bring a few choices from home. (I had planned on using a beautiful
Japanese print of koi as the border of the blue and lavender
quilt. However, when I completed the �wells�, that particular
fabric didn�t enhance the quilt at all. The striped fabric however
was perfect!!)
Other
Items Needed
Rotary
Cutter (ensure the blade is sharp � if needed, put in a new blade)
Quilting Pins
Sewing
Machine in good working order (I am not a mechanic!)
New
sewing machine needle (Universal size 80/a denim needle is fine)
Neutral
thread for your sewing machine (to compliment your fabrics)
A long
quilter�s ruler (a standard 24� long one is great � doesn�t matter
about the width) � if you don�t have one, don�t buy one as I will
bring mine along
A
square ruler to cut squares from your strips (I will bring along my
12 �� ruler and my 18 �� ruler)
Neutral
thread for your sewing machine (to compliment your fabrics)
Thread
snips if you have them
�� foot
for your sewing machine if you have one (if you don�t it is not of
any great concern for this particular workshop)
Walking
foot for your sewing machine (again, only if you have one)
NOTE
The
first 5 items on the above list are essential. If you don�t already
own the rest of the items on the list, don�t go out and buy them as
I will bring mine and you are most welcome to borrow and share them
during the workshop. This way, you can see if you enjoy the process
before you outlay too much money!!
|