 |
|
|
|
|
|
|
|
|
|
|
|
|
|
|
|
|
|
|
|
|
|
|
|
|
|
|
|
|
|
|
|
|
|
|
|
|
13" LCD TV Installation |
|
|
|
 |
|
|
|
Project - modify cabinet in Bedroom and install LCD television |
|
|
|
 |
|
|
|
 |
|
|
|
|
|
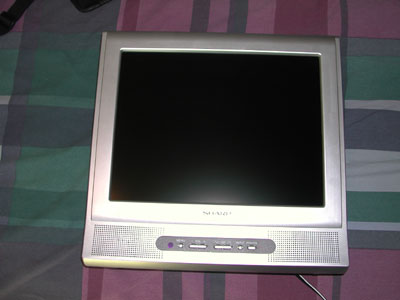
Here is the tv to be used in this installation. It is a Sharp 13" LCD Color TV that I was able to purchase as an open box deal at my local CompUSA at a much reduced cost. |
|
|
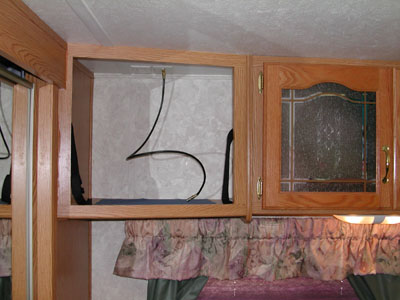
This is the existing open TV cabinet in the bedroom. It contains power, cable, satellite and antenna connections. |
|
|
|
|
|
|
 |
|
|
 |
|
|
|
|
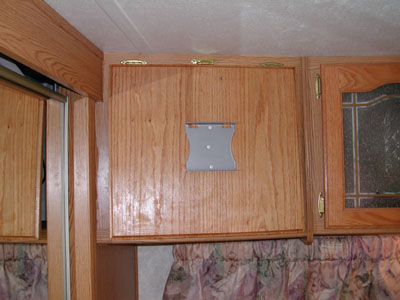
I picked up a couple of pieces of 12" wide oak at my local home store. I glued them together, cut to size, routed to match the cabinets in the coach and applied a MinnWax polyurethane stain/sealer. |
|
|
|
I hinged the door at the top and attached a LCD TV hanger to the center of the door. Then a hole was bored to the left of the bracket to pass the antenna, power and component cables through. |
|
|
|
|
|
 |
|
|
|
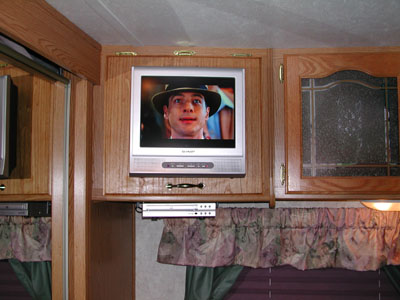
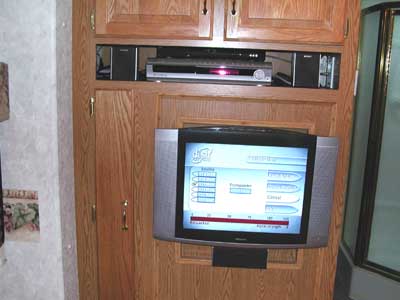
Here is the finished installation. I installed a handle to open the cabinet and a latch was installed to keep the door closed. The DVD player was installed to the bottom of the cabinet using brackets I riveted to the case. The DVD player is spaced 3/4" below the cabinet to allow for proper ventilation. A chain was installed to the cabinet door to keep it from opening into the ceiling. The recovered cabinet space is now used to store our cameras and other A/V equipment. |
|
|
|
 |
|
|
|
To keep weight down and to use space efficently we also have a 20" LCD TV in the Livingroom. The recovered space was used to install a Washer/Dryer that faces into the Bathroom. |
|
|
|
|
|
|
|
 |
|
|
|

|
|