This presents a couple of problems. (1) The breakers in the electrical panel are rated in Amps. A 1560 W load needs 13 Amps at 120 Volts. This same 1560 W load needs 15.6 Amps if the Voltage drops to 100 Volts. The result is the 15 Amp circuit breakers start tripping because the amperage draw is exceeding 15 Amps. (2) Another problem is that the electrical wiring is now carrying more current that its rating (14 AWG is rated for 15 Amps.) The over current condition also presents a problem in electric motors as the motor windings are not rated for the additional current causing the motors to over-heat which shortens the life of the motor. This is especailly true for the RV airconditoners.
There is, however, a solution to this problem through a device called an autoformer. An autoformer has the ability to step the voltage up or down as required by using one of several windings in a transformer. By stepping the voltage up to 120 Volts the equipment can run at its rated current which is more efficient and increases the life of the appliance. Hughes Autoformer offers such a device for 30 Amp and 50 Amp RV service. This device plugs into the Shore Power post and the shore power cord plugs into the autoformer. Alternately the autoformer can be wired in series with the Shore Power Cable inside the coach.
Below are pictures of my installation inside the coach:
Note: If you are not comfortable working with electricity use a licensed electrician.
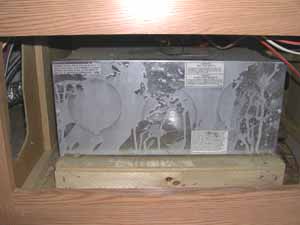
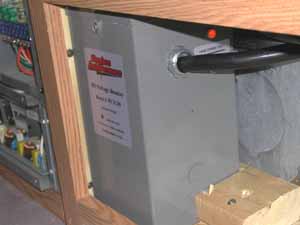
Pic 2. is the area under the refrigerator adjacent to the power panel where the autoformer will be installed. (The silver box is the furnace plenum.)
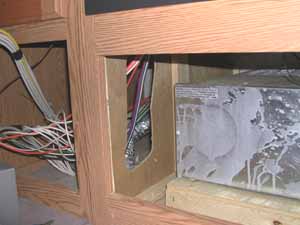
Pic 3. shows the cutout made between the adjoining cabinets for routing the autoformers wires.
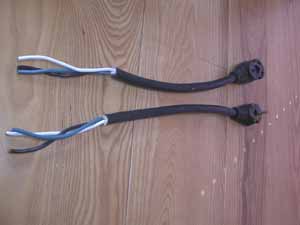
Pic 4. Male and female pigtails picked up from local RV store.
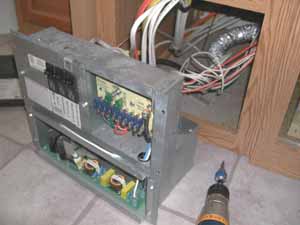
Pic 5. A junction box is used to contain the wiring for the pigtails. The 10 AWG orange conductor is the shore cable input to the breaker panel. This
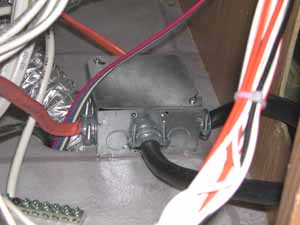

Pic 6. shows the completed junction box fastened to the floor behind the breaker/converter panel
Pic 7. Shows the autoformer in place. The male pigtail from the juntion box, which supplies power to the breaker panel plugs into the female output plug on the autoformer and the male cord from the autoformer plugs into the female pigtail coming from the junction box which is connected to the sShore Power cord. In the event that the autoformer fails the two pigtails on the junction box can be joined to bypass the autoformer.
