
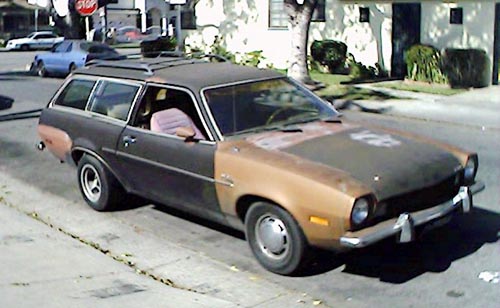
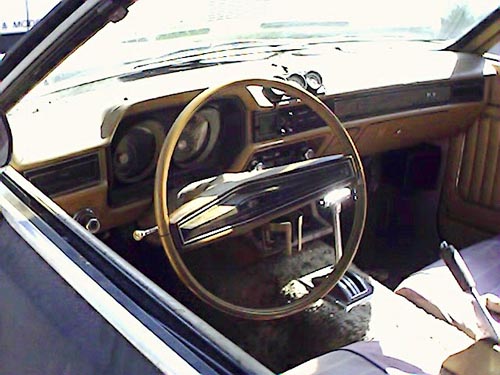
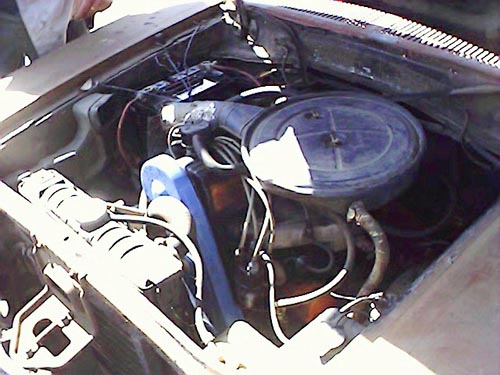
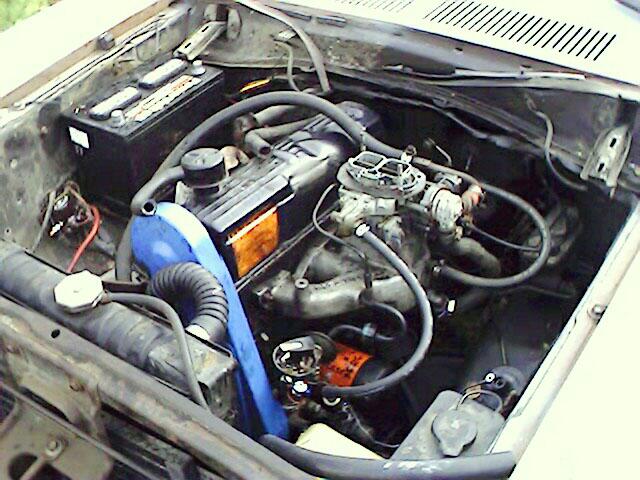
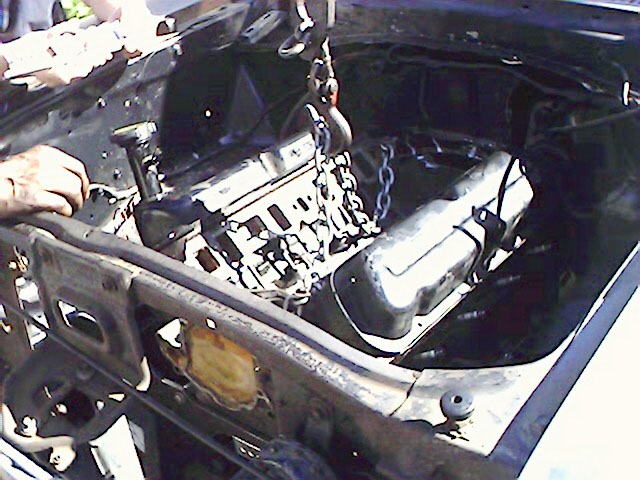
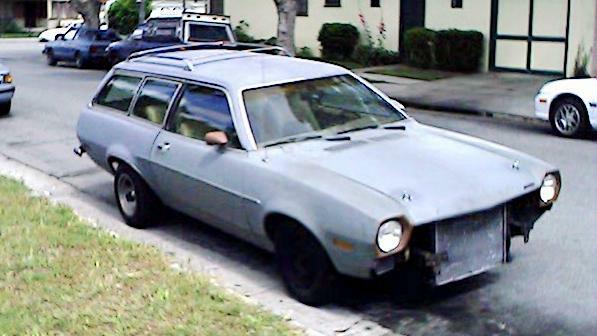
This is what it looked like the day that I brought it home, FRONT INTERIOR ENGINE
As you can see, it needs quite a bit of work. The day that I bought the car, I drove it 20 or so miles to my parent's house, and my brother and I did a full tune up on it, and changed all the fluids and filters and it actually ran very well. I then drove it to my home about 100 miles away the next day and it ran great all the way there too.My original plan was to drive the car with the 4cyl engine and upgrade the suspension and do the paint and body work first before I did the engine, but fate had other plans.
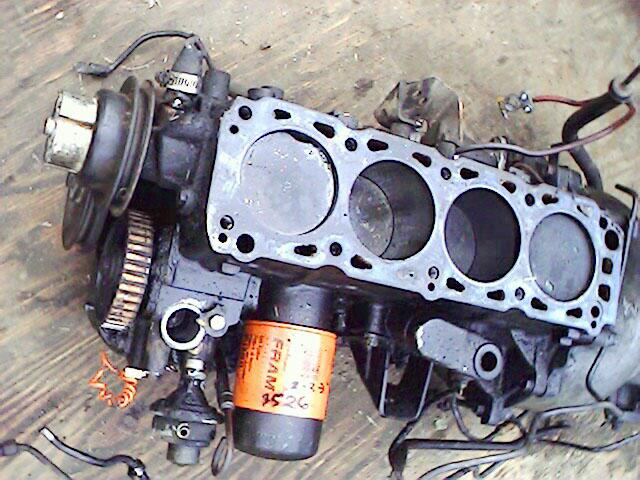
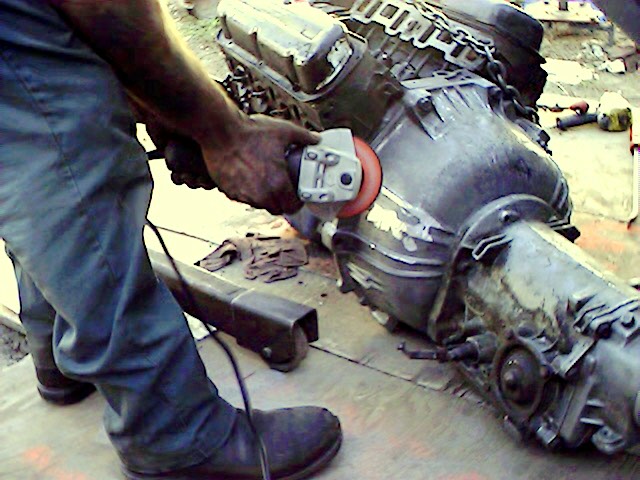
I drove the car around for the next week happy as I could be and everything was fine, I was driving back and forth from the local junkyard 60 miles round trip every day collecting parts for the interior and bumpers and whatever else I could find, when on Thursday of the first week, I developed a problem with the transmission that turned out to be a broken coolant line. My brother came down and we worked on it all day on Saturday, and we had the car on back on the road by the next day.I was feeling so confident the next day, that I decided to drive the car back to my parent's house 100 miles away. That's when the engine decided to blow a hole in the #1 piston
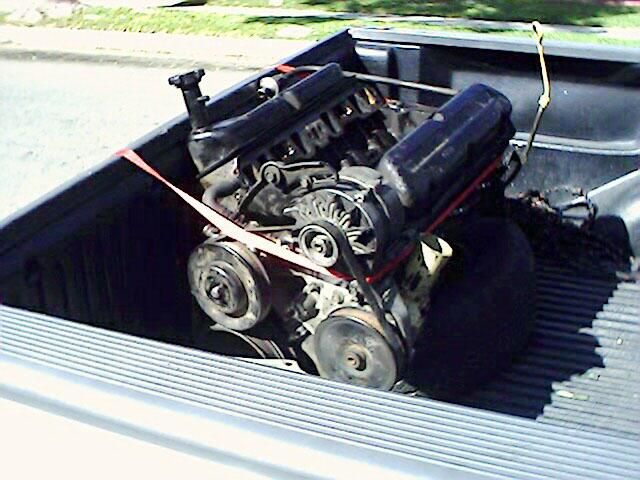
I don't know why that happened, but I had to decide what I was going to do about it. Since my plans were to have a V8 I didn't want to invest anymore money into the 2.0L Pinto engine.
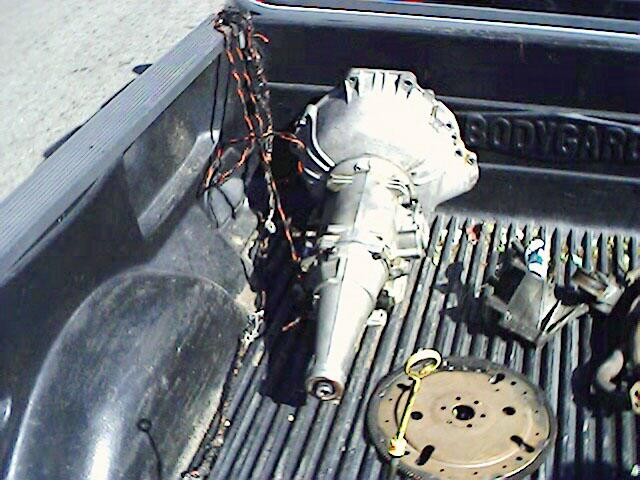
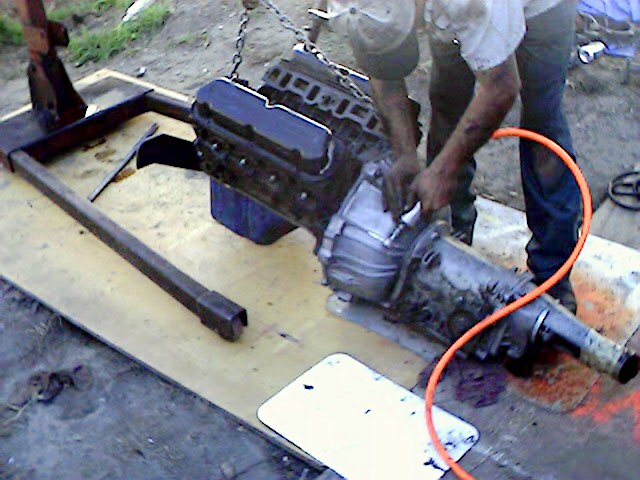
So, we made some phone calls and found a complete late model 5.0 roller cam engine with low miles on it, and a freshly rebuilt C4 trans.Thus begins our saga.
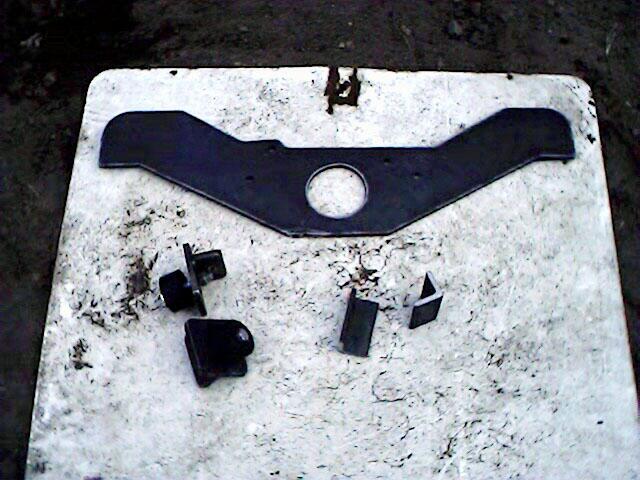
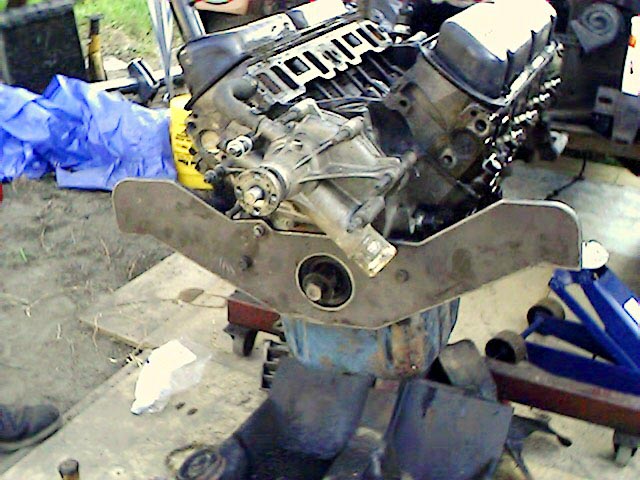
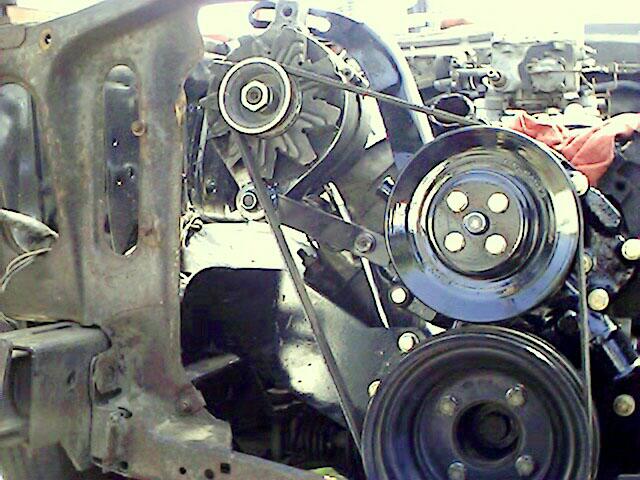
I wanted to use some type of OEM engine mount system so that it could look as factory as possible. Hooker Headers makes a engine swap kit (part# 12602) that uses factory type engine mounts and Mustang II motor mounts, but I soon found out that this part is discontinued, so I went to Headman Hedders, and they have an engine plate system that is designed for this swap.It mounts with the front timing cover bolts and bolts to the frame of the car with T-style brackets and rubber bushings. You have to do some welding to the plate once you have it in place in the car. The T- style brackets mount to the frame of the car and then you drill and weld the angle iron pieces into the correct place for the engine.You also have to remove the harmonic balancer for the engine plate to mount. Here was the first problem that I encountered, because the late model 5.0 engines have their own harmonic balancer, and they have a different bolt pattern, so if you want to use early style Vbelt pulleys then you have to buy an expensive aftermarket harmonic balancer (like $160)
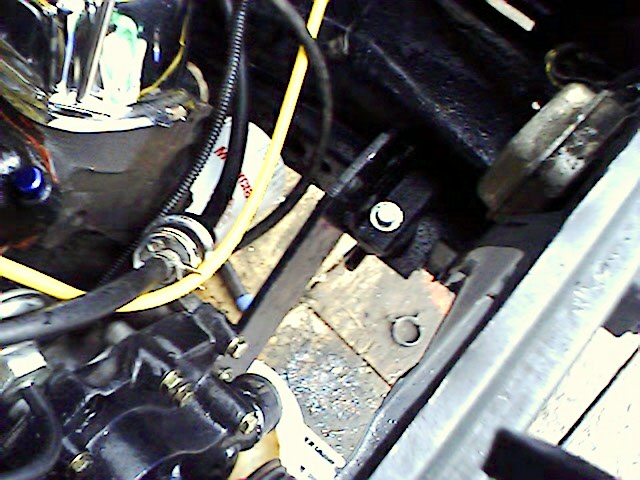
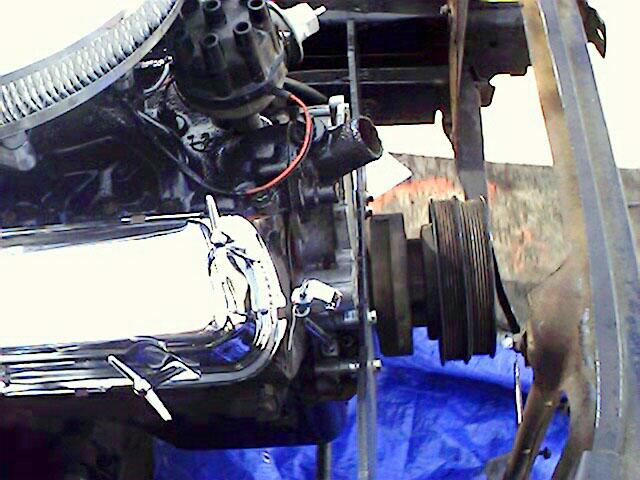
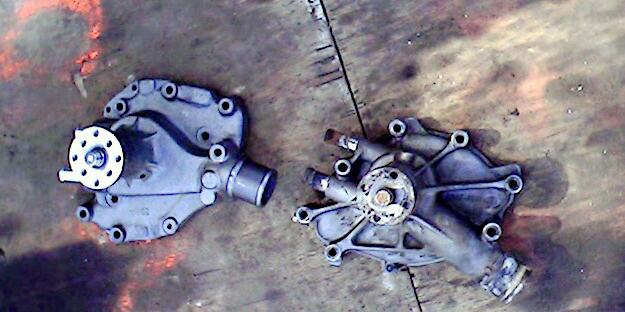
So, we just made the serpentine pulleys work. It doesn't look that great, but it will work. We fabricated the alternater bracket, and I bought a new waterpump. This also is a problem, because the water pump on the late model roller cam engine is a reverse rotaion and I needed a standard rotation pump.So the first pump that I bought, I just went and bought an early style Mustang water pump, because I knew that It would be a standard rotation and I wouldn't have to worry about it, but I found out when I got home that it was different from the late model pump in that the actual pump drive is in a different place and it wouldn't line up with my other pulleys, so I went back and I bought on from an 80-82 Ford LTD or Crown Vic. That one is the same as the one that was on the engine, and it is a standard rotation.
The next problem that we encountered was the distributor. The engiine is a late model roller cam engine and It uses a steel gear in the distributor, and If you are using the stock distributor and ignition then this isn't a problem, but I am using an early style distribuor, with points and a coil, not the HEI setup, So we found out that we could use the early style distributor, but we had to put on a late model steel gear, the only one that will fit the early distributor is on the 85 Mustang roller cam engine with a carburator.
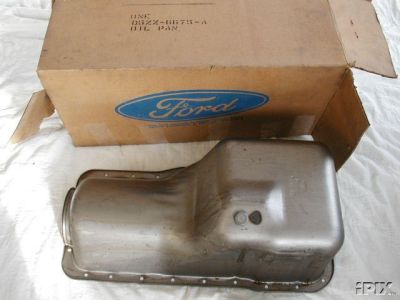
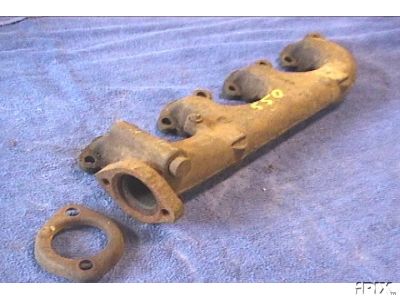
In order to drop a 302 into a Pinto, You must first remove the original 4 cyl mounts from the frame of the car,then, you must also use an oil pan from a 75-78 Mustang II because it is designed to clear the rack and pinion and front crossmember. These oil pans are very rare these days and expensive when you do find them, so I bought a couple of stock 302 oil pans from the junkyard and we tried to make one work by heating with a torch and hammering on it.
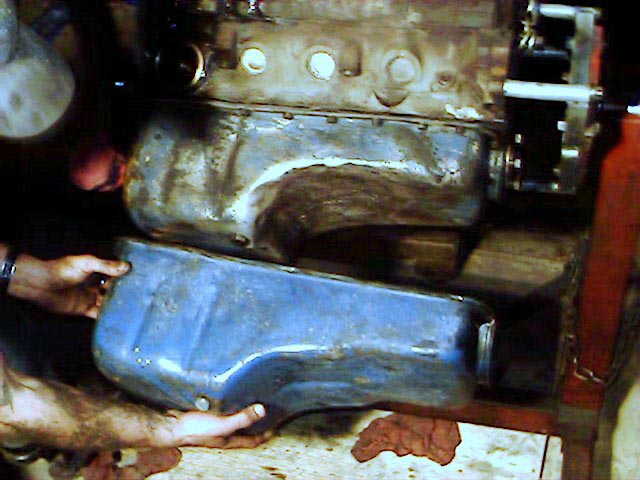
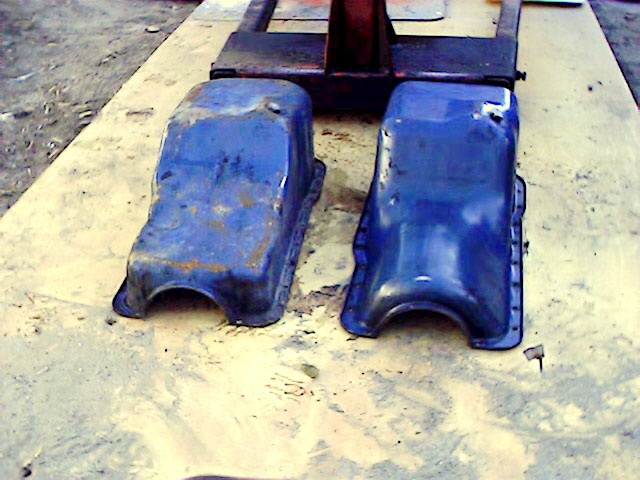
This doesn't work very well either, we hammered too much on the small end of the pan and now the crank shaft hits the pan.I was going to have a welder try and fabricate a pan for me, but I finally found a pan in the junkyard, actually I found 2 pans so I sold the extra one on eBay and made some money back .You can see the difference between a stock pan and a Mustang II pan HERE the Mustang II pan is on the right.
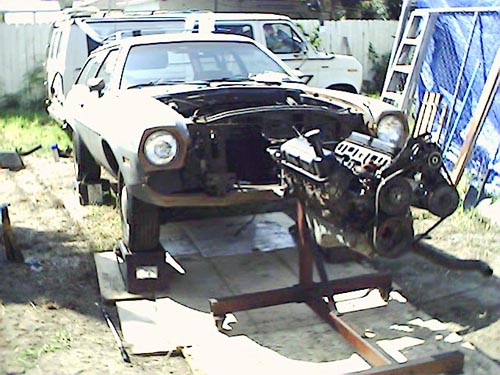
Now that we had the oil pan issue resolved, we were able to drop the engine and trans in place to get everything where it should be.
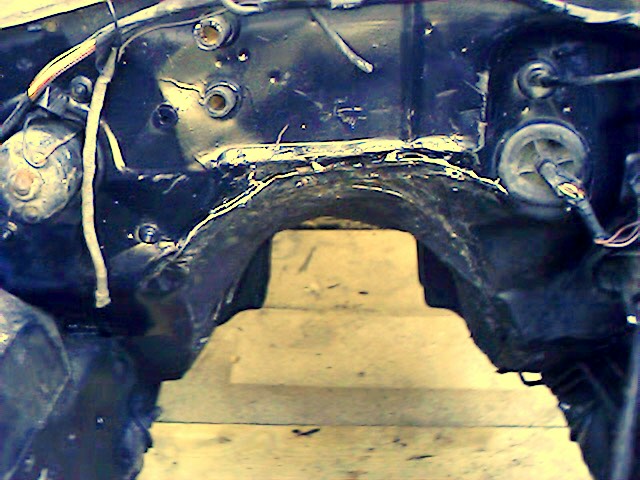
Needless to say, it's a tight fit The front of the engine sits almost right under the front radiator core support. and the trans tunnel needs to be "massaged" (read with a big hammer)quite a bit so that the trans bellhousing can fit under it. We also found that it helped to grind off two of the ribs on the bellhousing because they hit the firewall even when it is "massaged". I was able to use the stock transmision crossmember and driveshaft.
I am also finding that I will not be able to run a front sway bar on the car, It just won't clear the oil pan even though I have the engine as far back as it will go.
This is the first picture of the engine in the car. The aircleaner won't clear the hood, but a drop type or low profile one will
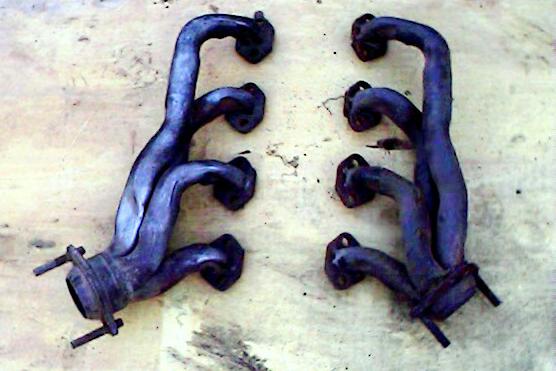
Next, we will be dealing with the exhaust system. I had some factory 5.0 headers, but they would not work. They would sit right on top of the steering box. I found a pair of Hooker 6120 headers on one of the Mustang IIs that I pulled the oil pans off of, but they wouldn't fit either. We even tried to "massage" them a bit, but they still wouldn't. So I traded my Mustang II headers to a friend of mine who has a 65 Mustang and he gave me his stock exhaust manifolds, but believe it or not, only the passenger side one will work. The drivers side turns down and hits the steering box, so I needed to find a pair manifolds that goe straight back and does not turn down like this.I found a pair in a 65 Fairlane, so now that is taken care of.
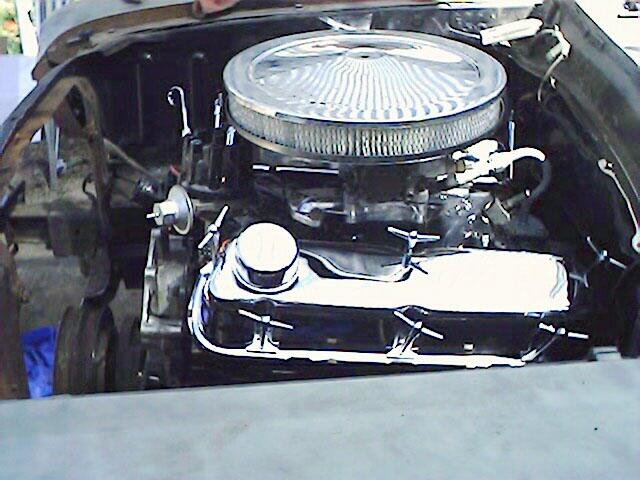
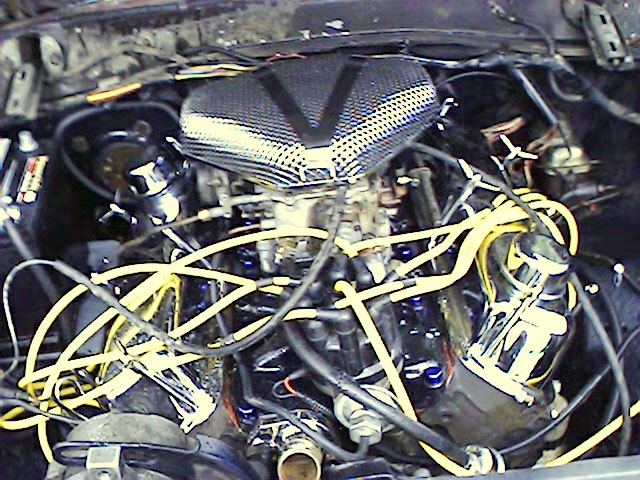
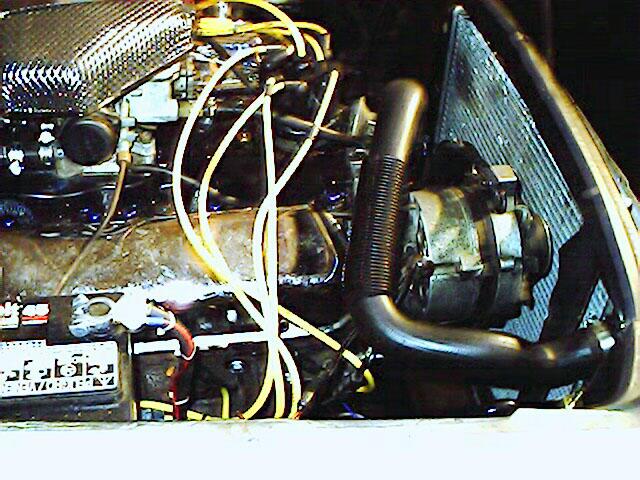
Here is a picture of the finished engine with all of the plugs and wires attatched.
This is the first time that we started the engine, just to hear it run.We still didn't have the radiator installed.It is an aluminum 4 row from a late model Mustang.This is going to be another issue to deal with, because it must be installed on the outside of the core support, between the grill and bumper, which leaves very little room for a fan. I will need a low profile electric pusher on the outside, there just is no room between the engine pulley and the radiator to install a manual fan.
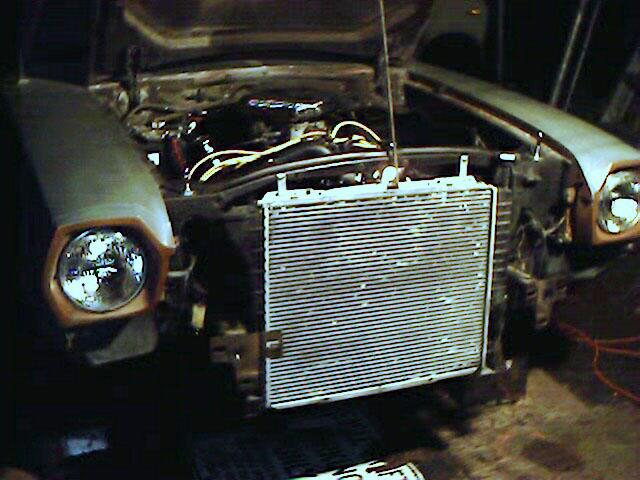
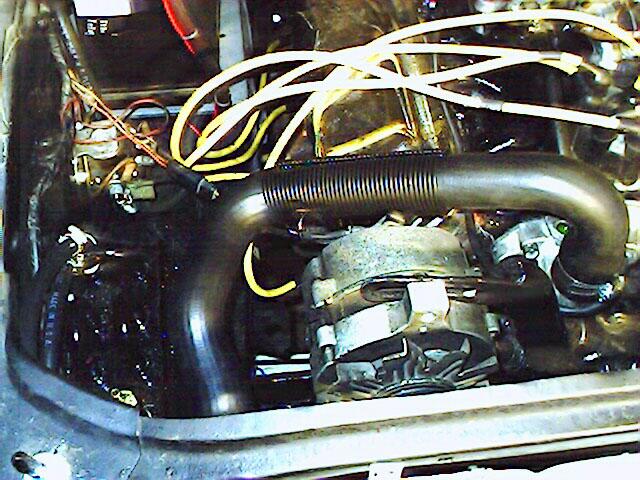
Here is the radiator installed. I was able to use the top and botom radiator hoses from 88 Mustang 5.0.
We just had to make a few precision cuts to the core support with a cutoff wheel to route the top hose through from the thermostat housing to the radiator. The thermostat housing is also out of a late model Mustang, it goes straight up not out, like an an early style housing.
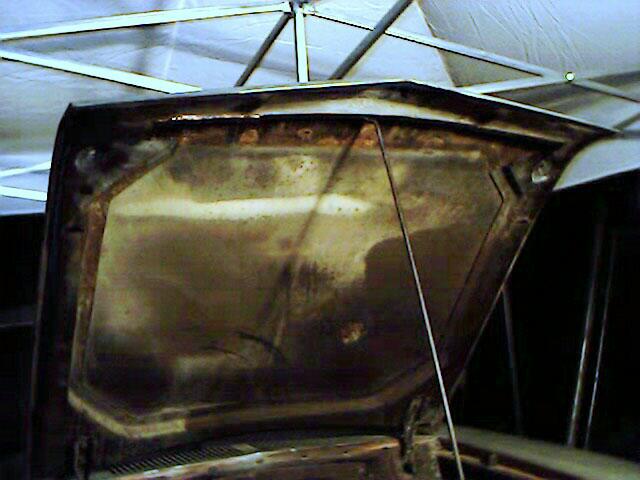
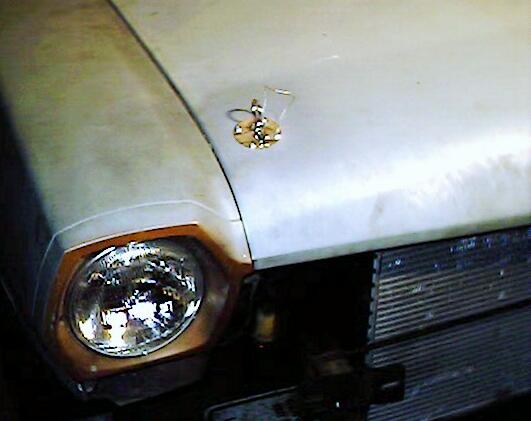
When you install the radiator on the outside of the core support, you have to cut the inside of the hood for clearance, and then use hood pins because there is no longer and way to latch the hood from the inside.
As you can see, with the car sitting on the ground, it really doesn't sit any lower than it did with the 4 cyl engine in it.
NEXT PAGE-->